FFmpeg crop video commands give a really exact way to lop off the unwanted bits, adjust the frame, and sort out video layout with these straightforward lines. This guide goes through installing it, several cropping techniques, plus a bit of an easier alternative for people who want a more visual editing tools experience.
Part 1. What is FFmpeg and Why Use It for Cropping
Cropping removes the unneeded parts of a video, like black bars or those distracting objects that jump in your face. With FFmpeg, it becomes easier because command-line tools can deliver accurate and often more efficient results than you would expect.
What Is FFmpeg?
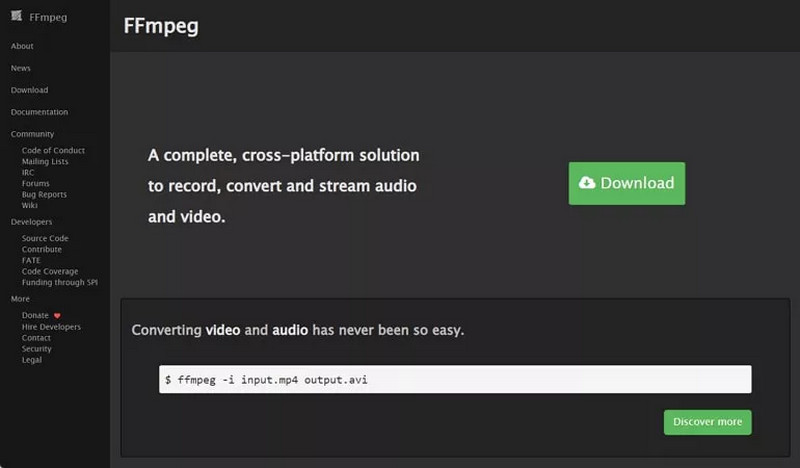
FFmpeg is a free, open-source multimedia framework used for editing, converting, recording, streaming, and compressing video and audio files. It handles hundreds of formats and relies on command-line instructions instead of a graphical interface.
The crop filter basically lets you delete unwanted zones by setting exact width, height, and position values.
Why It is Great
FFmpeg gets used a lot because it is: free, open source, and also kinda reliable, for that pixel-perfect cropping thing. It is compatible with hundreds of media formats, it helps a ton with bulk jobs batch processing, and you can run it on Windows, macOS, and Linux. Plus, it is flexible enough that you can pair cropping with other edits in one single command, which feels really handy.
FFmpeg Crop vs Resize vs Scale
| Feature | Crop | Resize | Scale |
| Purpose | Removes unwanted areas. | Changes video dimensions. | Changes video resolution. |
| Effect | Cuts part of the image. | Shrinks or enlarges the full image. | Keep the full image while resampling. |
| Common Uses | Remove black bars or edges. | Match screen or platform size. | Convert to HD, Full HD, or 4K. |
Part 2. Installing FFmpeg
Before you crop videos with FFmpeg, you first need to install it, and then make sure it is available on the system (added properly). The installation steps are slightly different depending on what OS you are on.
1. Installing on Windows
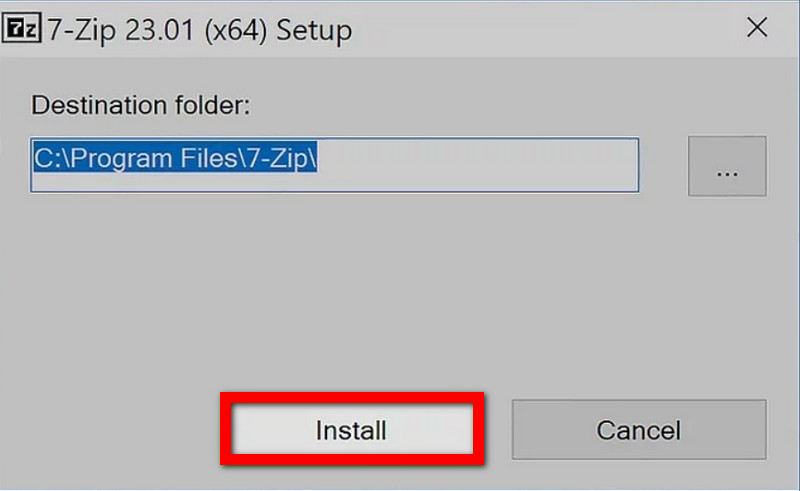
Step 1Go to the official FFmpeg website and download the newest build for Windows.
Step 2Unzip the downloaded ZIP file into something like C:FFmpeg, keep it right there
Step 3Open the bin folder and copy the full path (the whole thing).
Step 4Add that bin folder path to the Windows Path environment variable, so that it can be found more easily.
Step 5Open Command Prompt, type ffmpeg -version, then press Install. If you get version info popping up, then FFmpeg is basically installed.
2. Installing on macOS
Step 1If Homebrew is not on your system yet, install it.
Step 2Open Terminal.
Step 3Then run this command: brew install ffmpeg
Step 4Once the installation is done, check it by typing: ffmpeg -version
If you see version information printed, then FFmpeg is good to go, and you can use it to crop video on Mac or perform other editing tasks.
3. Installing on Linux
Step 1Open the Terminal application.
Step 2Install FFmpeg using the package manager for the Linux distribution.
For Ubuntu and Debian:
- sudo apt update
- sudo apt install ffmpeg
For Fedora:
- sudo dnf install ffmpeg
For Arch Linux:
- sudo pacman -S ffmpeg
Step 3Verify the installation with: ffmpeg -version
Part 3. Basic FFmpeg Crop Command
Once FFmpeg is installed, cropping a video is mostly about getting the crop filter and the numbers right. That crop filter sets both the output size and which part of the frame survives to the final clip.
1. The Crop Filter Syntax
Basic Command
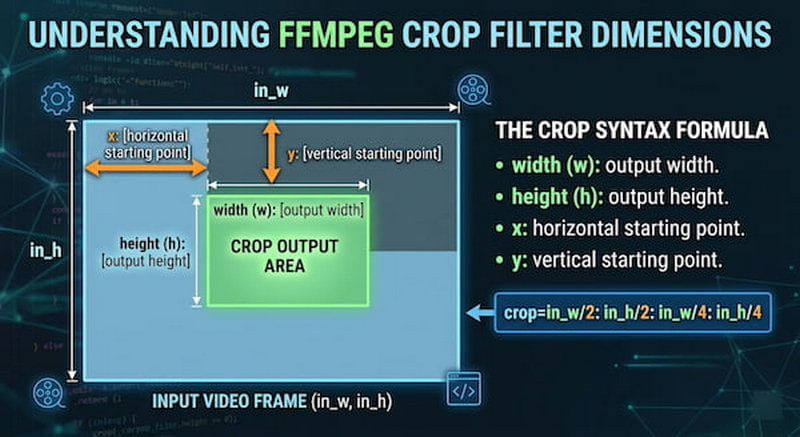
You can think of the general form like this: ffmpeg -i input.mp4 -vf "crop=width:height:x:y" output.mp4
Parameter Breakdown
- width: The cropped band width, counted in pixels.
- height: Height of that cropped zone, also in pixels.
- x: Where to begin, horizontal offset, measured from the left border.
- y: Where to begin, vertical offset, measured from the top border.
2. Basic Cropping Examples
Example 1: Crop a 1080×1080 Square from Position (420, 0)
This makes a square cutout, which starts about 420 pixels from the left, and it is placed at the top of the frame.
ffmpeg -i input.mp4 -vf "crop=1080:1080:420:0" output.mp4
Example 2: Take a 1280×720 Portion from the Top-Left
It crops a 1280×720 chunk straight from the top-left corner area, really straightforward, just.
ffmpeg -i input.mp4 -vf "crop=1280:720:0:0" output.mp4
Example 3: Crop a 200×200 region from (50, 50)
This keeps a 200×200 rectangle, and it begins at 50 pixels from the left side plus another 50 pixels from the top, so the offsets line up too.
ffmpeg -i input.mp4 -vf "crop=200:200:50:50" output.mp4
3. Using Variables for Dynamic Cropping
FFmpeg can also use variables that figure out the crop numbers automatically, based on the dimensions of the video. So the same command can be used across multiple files without rewriting everything.
| Variable | Description |
| iw | Input video width |
| ih | Input video height |
| ow | Output crop width |
| oh | Output crop height |
Part 4. Advanced Cropping Techniques
1. Auto-Detect and Remove Black Borders
Black bars show up a lot when the video aspect ratio does not match the screen, like it just sits there awkwardly. FFmpeg can sort of sniff out those borders and remove them too, using the cropdetect filter.
Step 1Start with crop detection so FFmpeg can take a little look at the clip, sorta.
ffmpeg -i input.mp4 -vf cropdetect -f null -
Step 2After that, FFmpeg prints the crop hints, usually like this: crop=1280:720:0:0
Step 3Then you just paste those values in, and it should slice the borders off for real.
ffmpeg -i input.mp4 -vf "crop=1280:720:0:0" output.mp4
2. Cropping to a Specific Aspect Ratio
Trimming to a certain video aspect ratio is handy when you want the video to fit more smoothly on different screens and feeds, like 16:9 TVs, 1:1 square posts, or that bit more cinematic vibe.
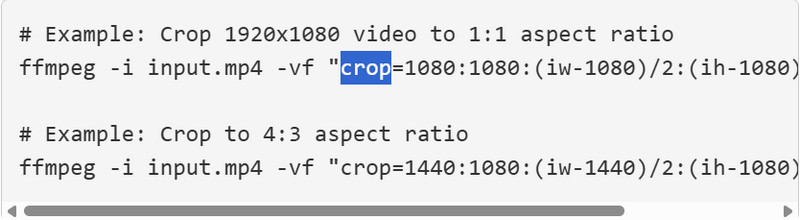
Step 1Pick the ratio, then compute the crop width and height. Example, set it to 16:9 from the center-ish area: ffmpeg -i input.mp4 -vf "crop=iw:iw*9/16" output.mp4
Step 2If the important stuff is not centered, nudge the crop position a bit: ffmpeg -i input.mp4 -vf "crop=iw:iw*9/16:0:(ih-oh)/2" output.mp4
3. Cropping for Social Media (9:16 Vertical Video)
A ton of platforms lean toward vertical video, especially for short content. You can take landscape footage and reshape it into 9:16 by trimming the sides, pretty straightforward.
Step 1Create the vertical frame with the crop filter: ffmpeg -i input.mp4 -vf "crop=ih*9/16:ih" output.mp4
Step 2Center it automatically so the subject stays more or less in place: ffmpeg -i input.mp4 -vf "crop=ih*9/16:ih:(iw-ow)/2:0" output.mp4
4. Cropping with Panning (Animated Crop)
If static cropping just slices everything and stays there, animated cropping does something more dynamic; it changes the crop window over time. That is what gives you the pan vibe across a bigger frame.
Step 1Try to slide the crop area over a bit, using FFmpeg expressions, and yes, it can feel a little weird at first: `ffmpeg -i input.mp4 -vf "crop=640:480:x='min(t*50,iw-640)':y=0" output.mp4`
Step 2Adjust the movement tempo, basically by touching this part: `t*50` Put more there, and it travels faster, put less, and it gets slower, kinda calmer pan.
Step 3Change x and y if you want another vibe, like vertical panning, or even a diagonal kind of drift; it depends on what you’re after.
Part 5. Best FFmpeg Alternative to Crop Video
FFmpeg is super powerful, but honestly, the whole command-line style can feel a bit tricky for beginners, especially at first. With that said, AVAide Video Converter basically makes cropping videos a lot easier; it gives you a simple interface instead of typing everything out. It also includes conversion, trimming, editing, and enhancement tools, so you can do more than just crop one thing.
- Crop videos in a visual way, then fine-tune the frame region using built-in tools.
- Supports MP4, MOV, AVI, MKV, and more, for easier file changing.
- Keeps the image sharp for 4K, 5K, and 8K support.
- Works with NVIDIA, AMD, and Intel acceleration, so the process usually runs quicker.
- Also includes trimming, merging, filters, and some other useful settings.

 Secure Download
Step 1Download and Install
Head to the official website, download AVAide Video Converter, then install it on your machine. Once it finishes, open the software right away.
Step 2Import the Video File
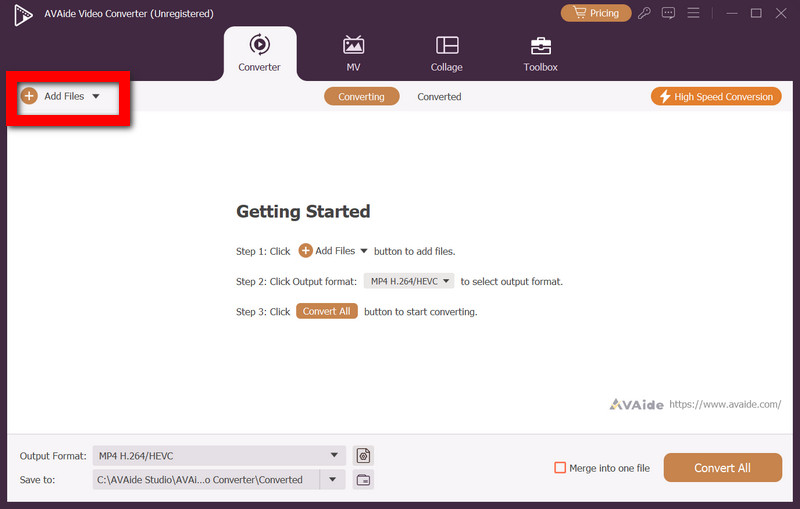
Hit the Add Files button to load the video you want to crop. This thing kinda supports a bunch of formats, such as MP4, MOV, AVI, and even MKV.
Step 3Open and Tweak the Crop Tool
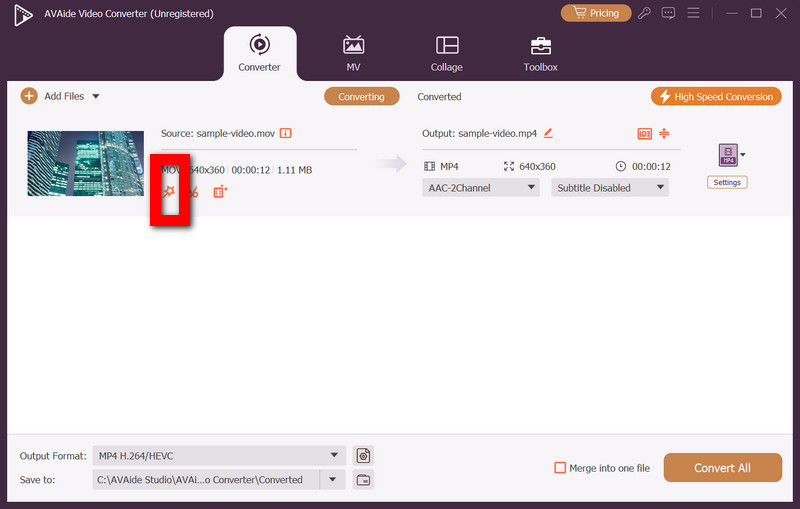
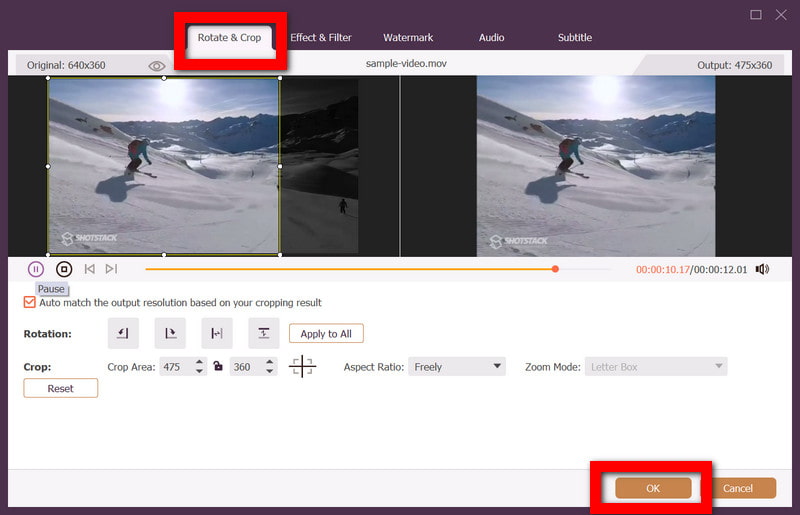
Hit the Edit button, choose Rotate & Crop, and drag the crop frame a bit so the weird, unwanted parts get removed. If you need it, the aspect ratio can be swapped too, for different platforms, or for various screen sizes.
Step 4Pick Output Settings
Take a look at the previewed result, tap OK to lock in the changes, then go to the profile menu and choose the output format and the resolution you want.
Step 5Export the Cropped Video
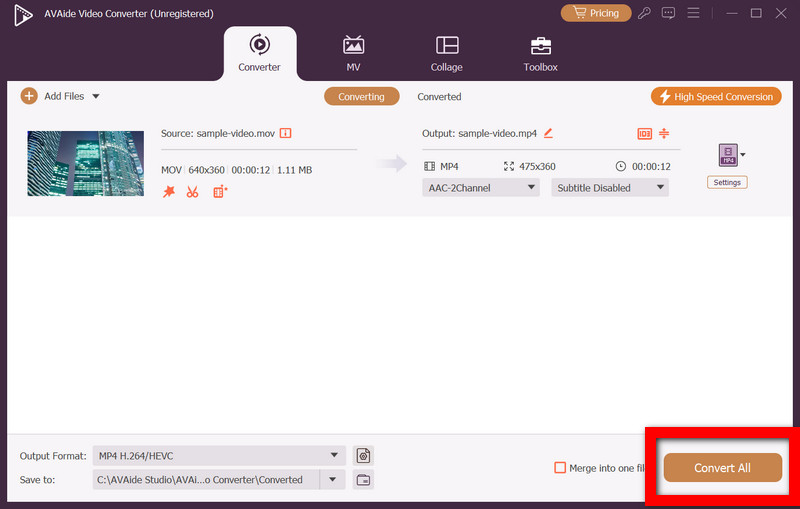
Select a destination folder, then click Convert All, to store the cropped video with high-quality output.
Cropping video with FFmpeg gives you very exact control for removing unwanted areas, adjusting framing, and even building custom video layouts. But yes, you do need command-line knowledge. Still, FFmpeg stays incredibly capable, while AVAide Video Converter gives a simpler, more friendly editing experience, especially when you just want the crop done quickly.
ABOUT THE AUTHOR

Your complete video toolbox that supports 350+ formats for conversion in lossless quality.