


Making a movie may sound like a job reserved for professional filmmakers, but you don't need a film studio or expensive equipment to get started. With a good story, a camera or smartphone, and a video editor, you can create your own movie from start to finish.
So, how do you make a movie? The basic process includes developing an idea, writing a script, planning your scenes, recording footage, editing the video, adding music and effects, and exporting the finished movie. This guide explains each step and shows you how to make a movie on Windows, Mac, iPhone, Android, and online.
Part 1. How to Make a Movie: 7 Basic Steps
If you're wondering how to make your own movie, you can follow a simple seven-step workflow. The process can be adapted to everything from a short home video to a more carefully planned short film.
Step 1. Develop a Movie Idea
Every movie starts with an idea. Think about the story you want to tell, the message you want to convey, or the experience you want your audience to have.
Your idea doesn't have to be complicated. A short story about a family event, a travel experience, a fictional character, or an everyday situation can become the foundation of a movie.
At this stage, define three basic things:
- What is the story about?
- Who are the main characters?
- What should happen from beginning to end?
Keeping your first project simple can make the filmmaking process much easier.
Step 2. Write a Script
Once you have an idea, turn it into a simple script. The script provides a plan for what happens in each scene and what your characters say or do.
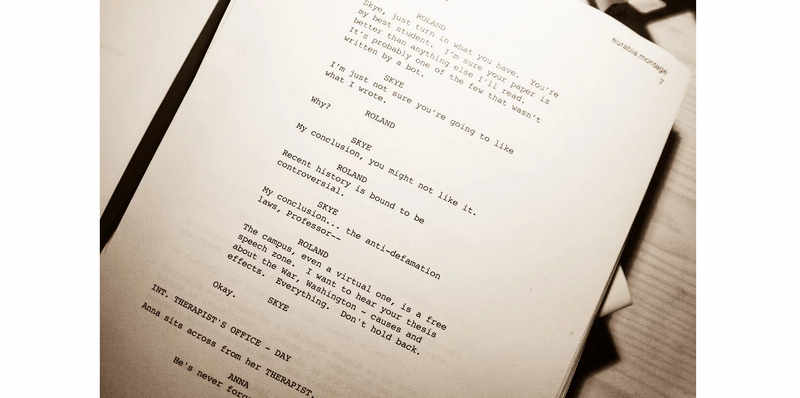
For a beginner movie, you don't need a complicated screenplay. Write down the main scenes, dialogue, actions, and locations. You can also make a simple shot list describing what you need to record.
For example:
| Scene | Location | Action | Shot |
| 1 | Home | Character prepares to leave | Wide shot |
| 2 | Street | Character walks outside | Medium shot |
| 3 | Park | Character meets a friend | Wide + close-up |
A simple script and shot list can prevent you from forgetting important footage during filming.
Step 3. Plan Your Scenes and Shots
Before you start recording, decide where and when each scene will take place. Consider the location, lighting, camera position, actors, and props you need.
You don't need professional filmmaking equipment to plan your shots. A smartphone camera can be enough for a beginner project.
Try to record several types of shots, including:
- Wide shots to show the location
- Medium shots to show people and their actions
- Close-ups to capture details or emotions
- Over-the-shoulder shots for conversations
Planning your shots will also make editing easier later.
Step 4. Record Your Footage
Now it's time to shoot your movie.
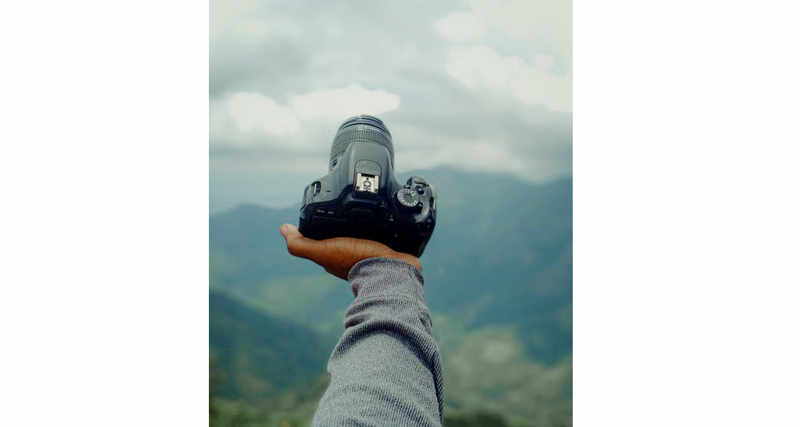
Before recording, make sure your camera has enough storage and battery power. If you're using a smartphone, clean the camera lens and choose a location with sufficient light.
Keep the camera as stable as possible and pay attention to audio quality. Viewers can tolerate simple visuals more easily than unclear or distracting sound.
It is also a good idea to record multiple takes of important scenes. This gives you more options when editing.
Step 5. Edit the Movie
After recording, transfer your footage to your computer or open it in a mobile video editor.
Start by removing unwanted clips and arranging the remaining footage in the correct order. Then trim the beginning and end of each clip to create smoother transitions between scenes.
At this stage, you can also:
- Crop or resize videos
- Rearrange clips
- Adjust video settings
- Add transitions
- Correct basic visual issues
- Combine videos and photos
Don't add too many effects. Good editing should help the story move forward rather than distract viewers from it.
Step 6. Add Music, Text, and Effects
Music and sound can change the mood of a movie significantly. Add background music where appropriate and adjust its volume so that it does not overpower dialogue or important sounds.
You can also add:
- Opening titles
- Subtitles
- Captions
- Closing credits
- Sound effects
- Filters
- Transitions
Make sure you have the right to use any music or other copyrighted media in your movie, especially if you plan to publish it online.
Step 7. Export and Share Your Movie
Once the editing is complete, preview the entire movie from beginning to end. Check for missing scenes, unwanted clips, audio problems, spelling mistakes, and abrupt transitions.
Then choose an appropriate output format and resolution. MP4 is a common choice because it is widely supported by computers, phones, TVs, and online platforms.
After exporting, you can save the movie to your computer or share it through a video-sharing platform, social network, or messaging service.
Part 2. What Do You Need to Make a Movie?
You don't need a professional film set to make a simple movie. The equipment you need depends on the type of movie you want to create.
1. Camera or Smartphone
A camera is obviously important for recording your footage, but a modern smartphone can be sufficient for many beginner projects.
2. Microphone
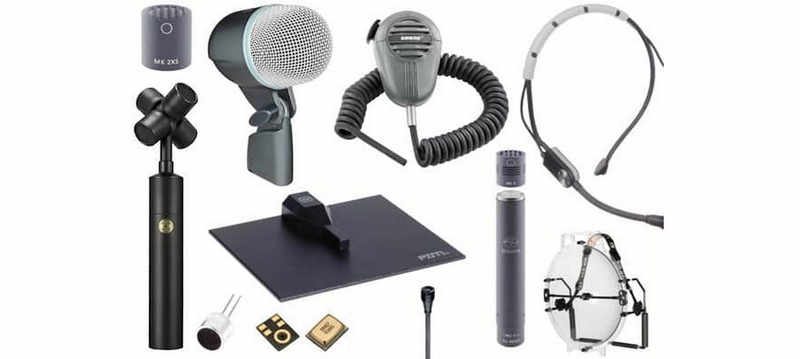
Clear audio is important, particularly when your movie contains dialogue. An external microphone can improve sound quality, but you can start with your phone's built-in microphone if necessary.
3. Lighting
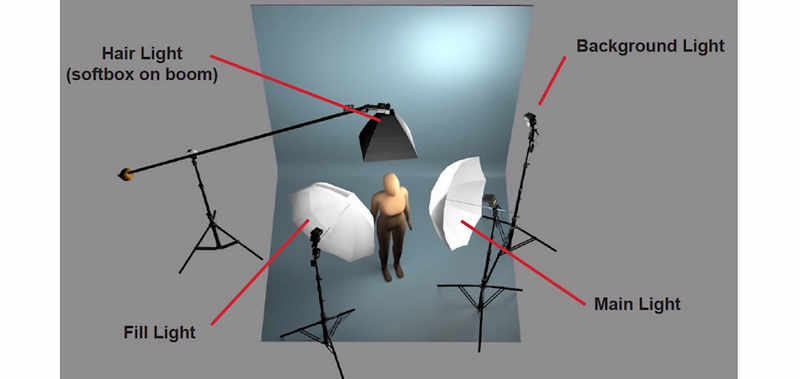
Good lighting can make your footage look cleaner and easier to see. Natural light can work well for simple projects, while additional lights give you more control over the scene and enhance the video quality.
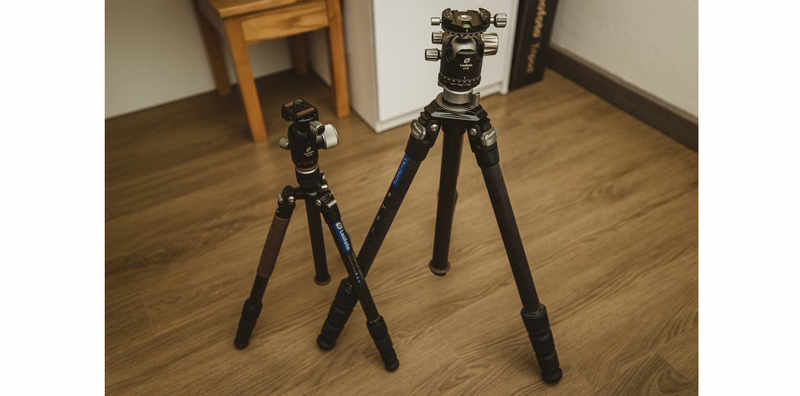
4. Tripod
A tripod can help keep your camera stable. If you don't have one, place your smartphone or camera on a stable surface when appropriate.
5. Video Editing Software
After shooting your footage, you'll need a video editor, like AVAide Video Converter, to combine clips and create the final movie. Choose software based on your experience level, device, editing requirements, and budget.
6. Music and Sound Effects
Background music and sound effects can make a movie more engaging. Use audio that you have permission to use, particularly if you plan to distribute your movie publicly.
Part 3. How to Make a Movie on Windows and Mac
If you have many video clips, photos, and audio files to organize, a desktop video editor can provide more control than a phone.
For an easy desktop workflow, AVAide Video Converter can be used to combine video clips and photos, add music and text, apply basic effects, and export the finished movie.
- Combine clips, trim footage, crop videos, and make basic adjustments.
- Import background music and adjust the audio volume and timing.
- Turn a collection of photos into a video slideshow.
- Personalize your movie with titles, captions, and subtitles.
- Use built-in themes, filters, and effects to change the look and feel of your movie.
- Export your finished project to commonly used video formats.

 Secure Download
Step 1Install AVAide Video Converter
Download and install AVAide Video Converter on your Windows or Mac computer. Launch the program after installation.
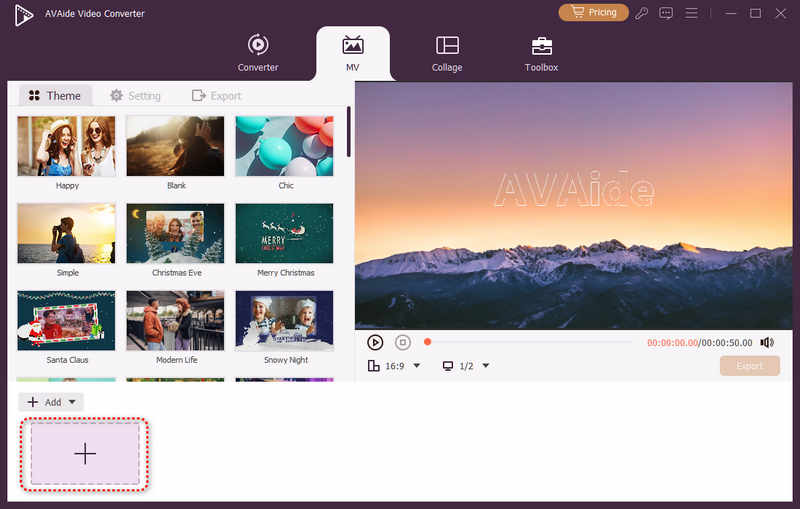
Step 2Import Your Videos and Photos
Open the MV feature and click the Add button to import the video clips or photos you want to use. You can select multiple files and arrange them in the order you want your movie to play.
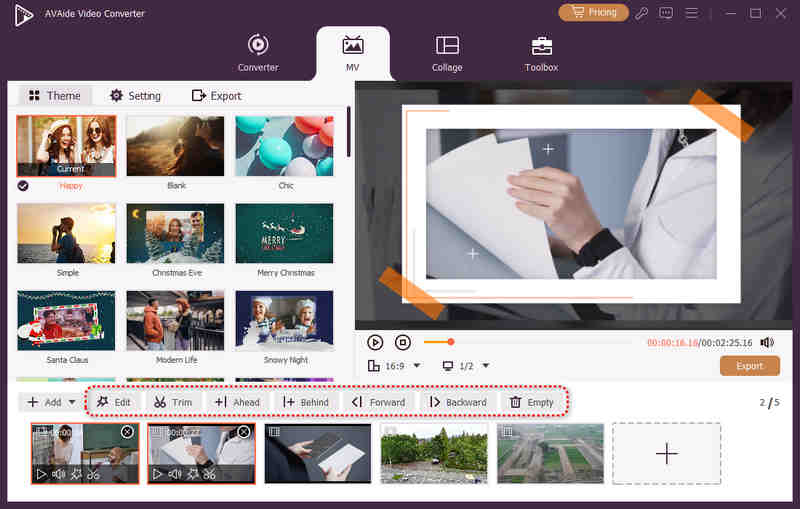
Step 3Arrange and Edit Your Clips
Preview the imported media and adjust the order of your clips. You can also use the available editing tools to trim, rotate, crop, or make other basic adjustments. Try to arrange the footage according to the story you planned during the scripting stage.
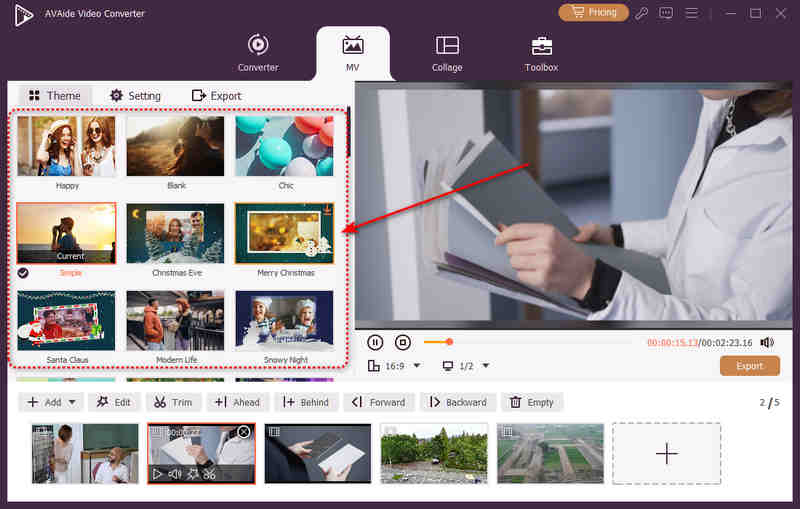
Step 4Add a Theme
Choose the Theme option to apply a preset style to your movie.
Themes can help you quickly create a consistent visual style without manually adjusting every clip.
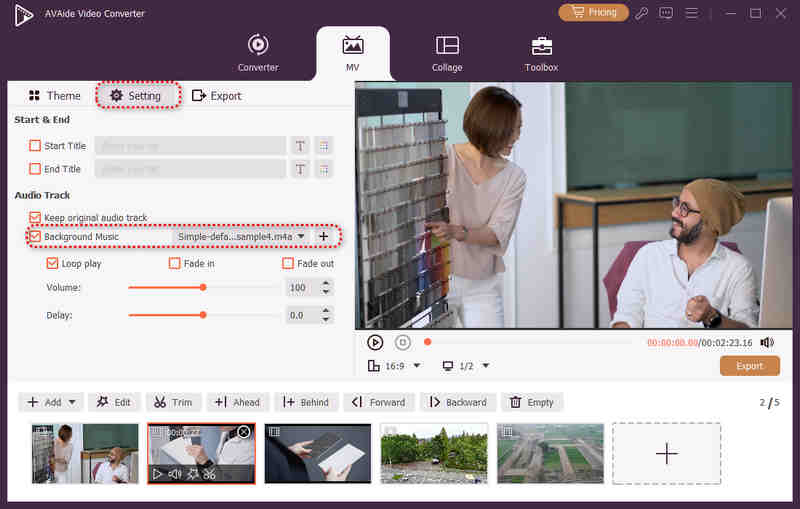
Step 5Add Background Music
Go to the Settings tab and click the Add button in the Background Music section to add audio and import your background music. You can adjust the audio volume and timing so that the music fits the movie without overwhelming dialogue or other important sounds.
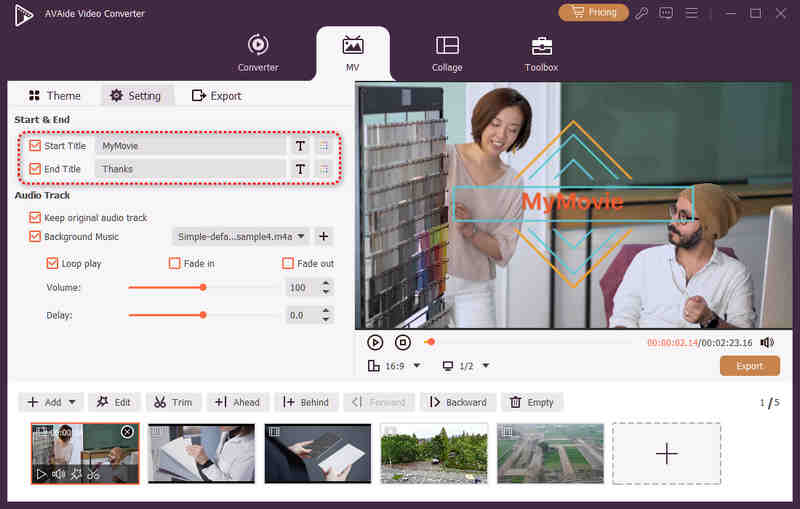
Step 6Add Text and Effects
Add titles, captions, or other text elements when necessary. You can also use available filters and effects to further customize your movie. Keep these elements consistent with the style and story of your movie.
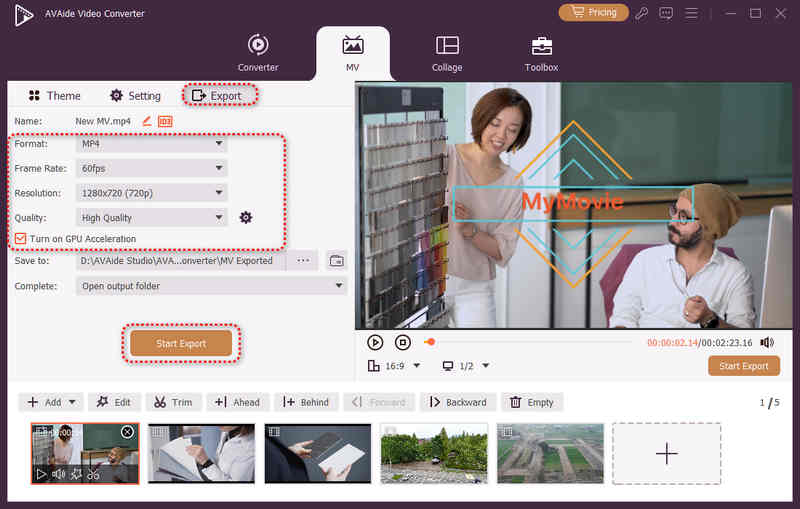
Step 7Preview and Export Your Movie
Go to the Export tab. Here, you can choose a desired output format, like MP4. You can also increase the video frame rate to 60FPS. You can also adjust the video resolution, quality, and turn on GPU acceleration.
Preview the entire project before exporting it. When you're satisfied with the result, choose the appropriate output settings and click the Start Export button. Your completed movie will then be rendered as a video file that you can save, transfer, or share.
Part 4. How to Make a Movie from Photos
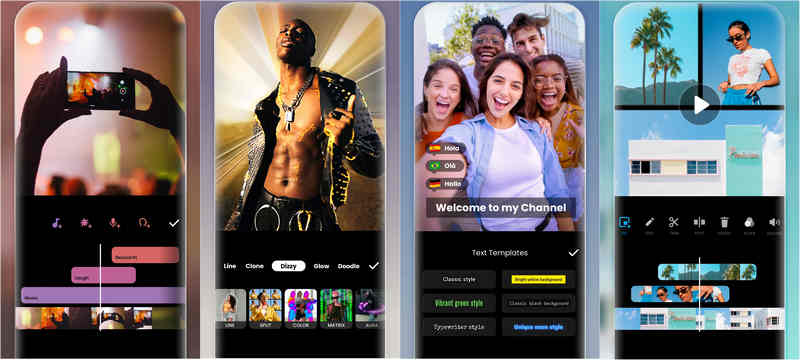
You don't necessarily need video footage to make a movie. A collection of photos can also be turned into a slideshow-style movie with music, transitions, and text.
The basic process is simple:
Step 1Collect Your Photos
Choose the photos you want to include and organize them in the order you want them to appear.
Step 2Import the Photos
Open a video editor that supports photo-to-video creation and import your images.
Step 3Arrange the Photos
Place the photos in the desired order. Adjust the duration of each image if your editor provides this option.
Step 4Add Music
Choose background music that matches the mood of your movie. Make sure you have permission to use the audio if you plan to publish the finished video.
Step 5Add Transitions and Text
Add simple transitions between photos and include titles, captions, dates, or other useful information.
Step 6Export the Movie
Preview the slideshow and export it as a video. MP4 is generally a convenient format for sharing across different devices and platforms.
This approach works particularly well for travel memories, family events, presentations, photo collections, and other personal projects.
Part 5. Tips for Making a Better Movie
Once you understand the basic filmmaking process, a few simple practices can improve the final result.
- Plan Before You Shoot: A script, shot list, or storyboard can save time during filming and editing.
- Pay Attention to Audio: Make sure dialogue is clear, and background noise is under control.
- Keep Your Camera Stable: Avoid unnecessary camera movement unless it is part of your creative plan.
- Use Consistent Lighting: Try to keep lighting conditions consistent between shots that appear in the same scene.
- Don't Overuse Effects: Transitions, filters, and animations should support the story rather than distract from it.
- Back Up Your Footage: Keep a backup of your original videos and photos before you start editing. This prevents you from losing important footage.
- Watch the Entire Movie Before Exporting: Always review the finished project from beginning to end. Look for problems with video, audio, transitions, subtitles, and pacing.
Part 6. FAQs About Making a Movie
Can I make a movie as a beginner?
Yes. Beginners can make a movie with a smartphone or basic camera and a video editor. Start with a short and simple project, then gradually learn more advanced filmmaking and editing techniques.
Can I make a movie with my phone?
Yes. A smartphone can be used to record, edit, and export a movie. Modern phones can capture high-quality video, while mobile editing apps can handle common tasks such as trimming, combining clips, adding music, and inserting text.
How long does it take to make a movie?
The time required depends on the movie's length, complexity, and production process. A simple photo slideshow or short video can be completed in a few hours, while a scripted short film may take days or weeks. A professional feature-length movie can take months or longer from pre-production through post-production.
Making a movie doesn't have to be complicated. Start with a simple idea, plan your story, record your scenes, and bring everything together with a video editor. You can even make a movie using only a smartphone and a few video clips or photos. For desktop users, AVAide Video Converter provides an accessible way to combine videos and photos, add music and text, apply themes and effects, and export the finished movie. Whether you're creating a short film, travel video, family slideshow, or personal project, choosing the right workflow and keeping the story clear are the most important steps. If you're a beginner, start small, focus on the story, and improve your filmmaking skills with each project.
ABOUT THE AUTHOR

Your complete video toolbox that supports 350+ formats for conversion in lossless quality.