Do you want to know how to make a lyric video to complement your favorite song? A lyric video can promote a song and include visitors with nice animation and reasonable timing of the words. The following describes the different ways to make a great lyrical video, including the use of desktop software such as AVAide Video Converter or mobile phone applications.
Part 1. The Best Way to Make Lyric Video on Windows and Mac
Making a lyric video from your computer has never been easier than with the AVAide Video Converter. This well-rounded media converter has great editing and converting features, making it the best application to create music lyric videos. Regardless of whether you wish to embed the lyrics within a music clip or add value to the clip, AVAide provides perfect options.
- They incorporate text layers in the videos and manage layered fonts, colors, animations, and timings for each lyric line.
- It should be in 1080p and 4K format or better, as long as the lyrics are crisp and vivid.
- Thanks to the acceleration technology of the tool, the conversion and editing process is 30 times faster.
- Enhance audio and video quality, adjust rotation crops and trims for the clip, and change the frame rate and resolution where required.

 Secure Download
Step 1Download and install AVAide Video Converter on your PC.
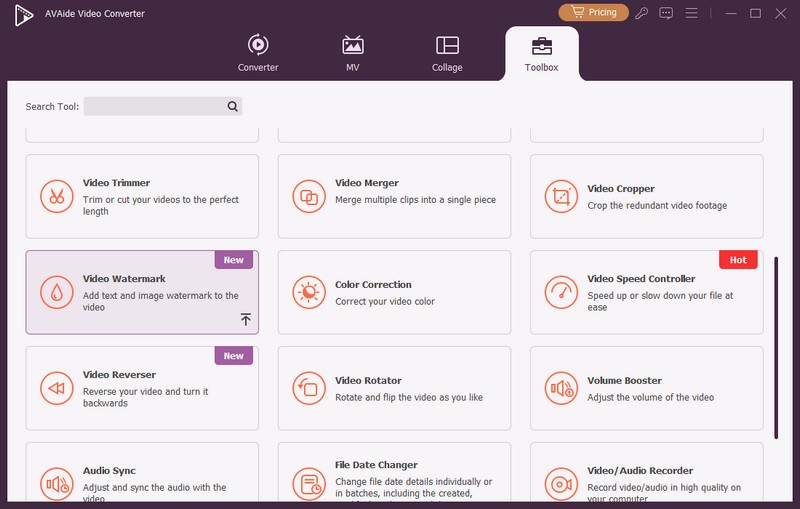
Step 2Open the program, click on the More Tools tab, and choose Video Watermark from the list of offered special tools.
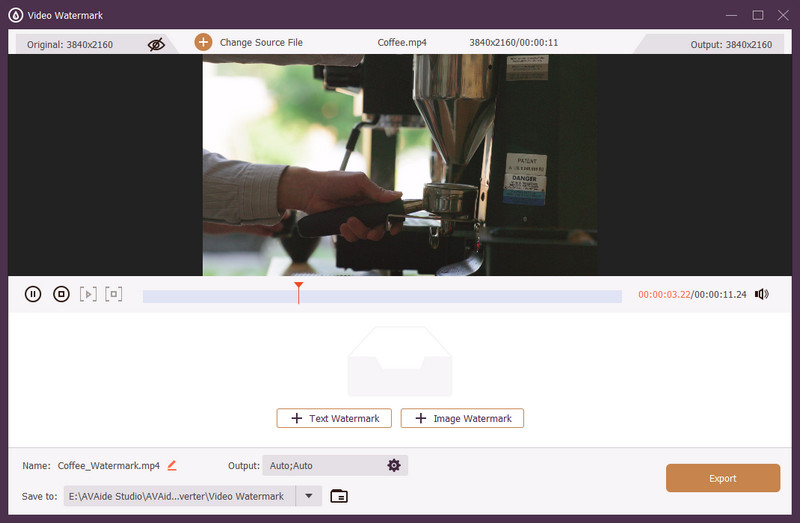
Step 3To import your video, click + Text Watermark under the options to import your lyrics.
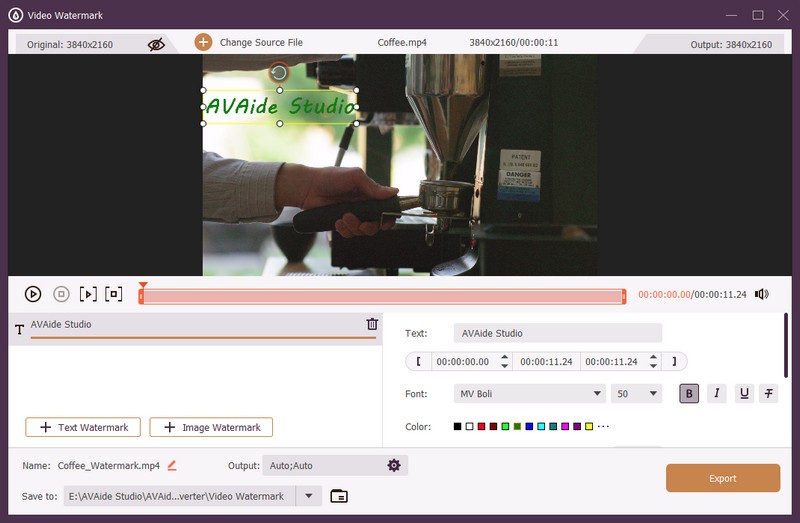
Step 4Make sure to watch the video all the way through so that you can place where each partial lyric line will come in the song. Use the time sliders to time and place the subtitles over the video.
Step 5Write the lyrics in the text box, and edit the following lyrics according to what you like in terms of font family, size, color, and location.
Step 6Move further by pressing + Text Watermark after each additional line of lyrics to see new parts of the verses align with certain song beats.
Step 7When the placement and appearance of the last lyrics are satisfying, do not forget to press the Export button to finish editing your video. Your lyric video is now ready, and you can post it on any social network you want.
Part 2. How to Make a Lyric Video in iMovie on Mac
Using the templates and title effects of iMovie, creating a lyric video that presents the lyrics of the song in a fashionable, high-quality lyric video is a good idea. When creating a lyric video in iMovie using a Mac, let us consider the order of actions, including setting the video aspect ratio.
Step 1Open iMovie, choose Create New, and choose Movie to create a new project.
Step 2Bring the song and a background video or an image in JPG or PNG format on the timeline. Place them the way you want to create the video background.
Step 3To see the video, you can press the button that looks like an arrow under the window showing the image. If any scenes are unnecessary, highlight them and use Split or Trim to remove them.
Step 4Click on the button in the toolbar that says Titles, click on a template and drag it to the top because you will want it to be the first thing on the timeline. Add information: song title, artist, composer etc. and move and resize the text on the timeline.
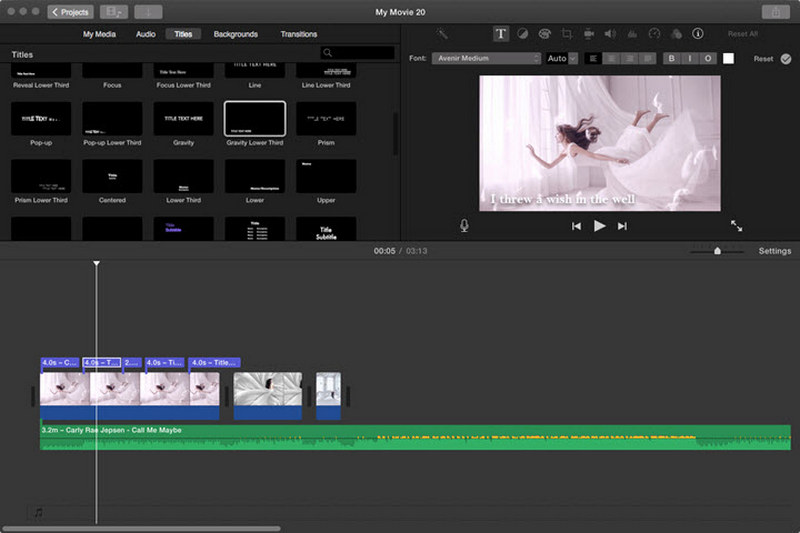
Step 5Grab just the right title from the Titles panel and go to the Lyrics part. Move it to the timeline, put the first line in the title box, and then click on the formatting above the preview image to adjust for a desired style.
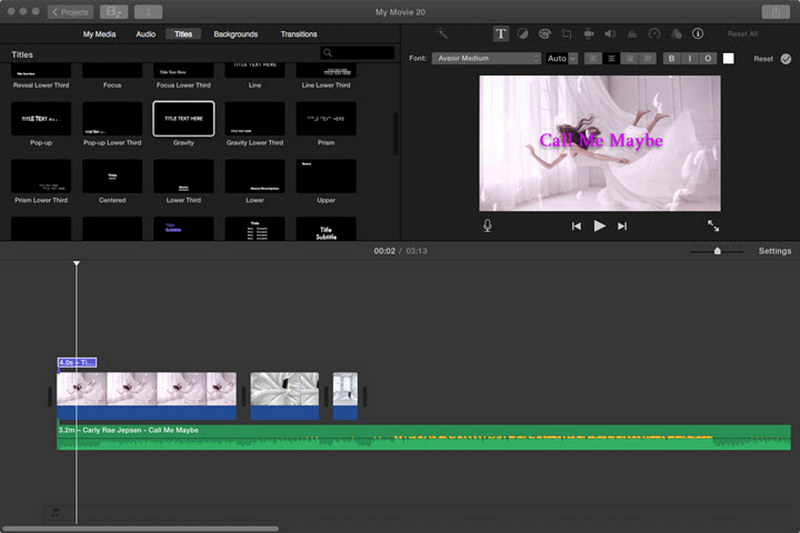
Step 6Copy and paste the title box for each new line of lyrics. Double-click each one to update the lyrics line by line. Make sure all the boxes are in line with the rhythm of the song.
Step 7Play the video, using the timeline to move and adjust the timing of each lyric title to match the vocal recording.
Step 8Preview the entire video to see any changes, then click the Export button to save it on your Mac or upload it directly to YouTube.
Part 3. How to Make Lyric Videos for YouTube on Premiere Pro
Lyric videos induce an interesting change where users get to see the words matching the beat and rhythm of the song, thus enhancing the overall experience of its users. By employing Adobe Premiere Pro, you can easily create beautiful lyric videos with customized text, motion effects, backdrops etc. Here’s a step-by-step guide to get you started.
Step 1Start by launching Premiere Pro. Next, start a new project and import your audio track and the background image/video.
Step 2Using the Type Tool (T), add the lyrics by creating text layers for each line and then position the lyrics on the relevant part of the screen.
Step 3Synchronize the lyrics by setting the duration of each text layer to correspond with the audio while also setting the opacity so that the layers reveal themselves when they are supposed to.
Step 4Use the Effects Controls option to create a more dynamic text reading by changing its position, rotation, and scale.
Step 5For more engagement, use motion graphics templates that are available in the Essential Graphics panel.
Step 6To show your video background, put the video layer beneath the text and use the Text Mask tool so that the video appears inside the lyrics.

Step 7Watch the video again to check the timing and reposition any elements if needed.
Step 8Once your editing is done, export your work by heading to File > Export > Media, then go ahead and upload the file to your YouTube account.
Part 4. Easily Make a Lyric Video on Your Phone
This part will discuss how you can easily make a nice lyric video from your smartphone. This project can be quite enjoyable with the right video editing application. Using KineMaster, considered one of the best movie-maker apps available for iPhone and Android, you will only need a few steps to create a video showcasing the lyrics of your favorite song.
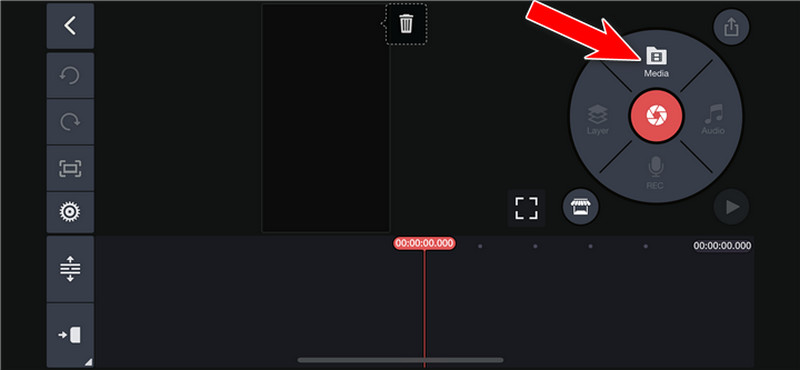
Step 1Open KineMaster after tapping the plus button and select your preferred video aspect ratio to begin a new project.
Step 2Tap Media to bring in the video or picture and use the song now to merge with your media file and tab Audio for music.
Step 3Play the video while on the segment at which the first chorus ends and tap Layer followed by Text to insert the first line of lyrics, changing the timing as necessary.
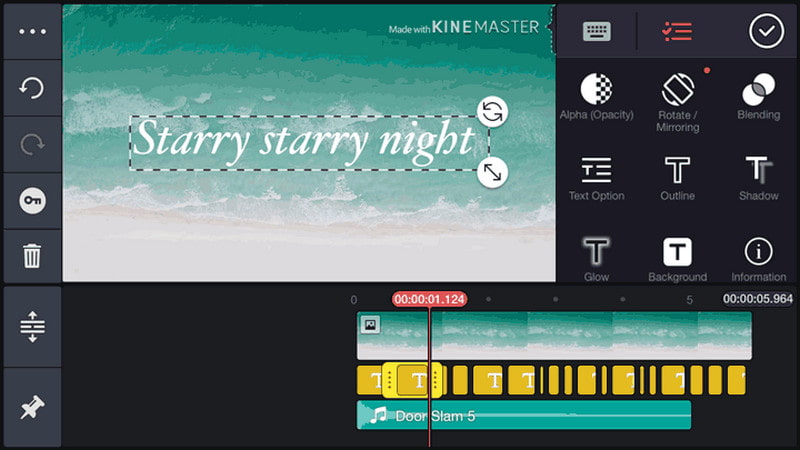
Step 4Keep repeating the above for each song line, and remember to add lyrics every time.
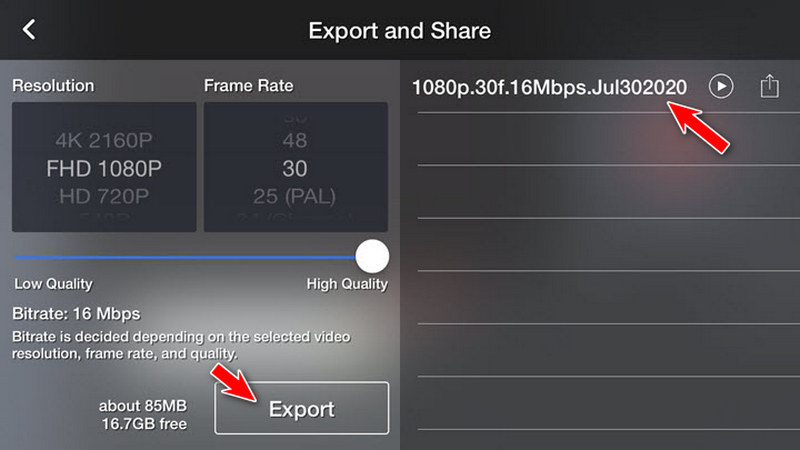
Step 5Then, watch the whole footage one final time, focusing on every individual portion of the lyric, adjust accordingly, and render your lyric video.
By reading this post, you should be able to create lyrical videos that will make your YouTube videos even better. Creating appealing lyric videos is now easier thanks to AVAide, iMovie, Premiere Pro or KineMaster.
Your complete video toolbox that supports 350+ formats for conversion in lossless quality.