When it comes to uploading, sharing or just saving storage space, video compression is essential for reducing the file size while maintaining quality. Adobe Premiere Pro is a rich piece of video editing software that allows users to compress a video well and easily, using the various compression options available during the export process. In this guide, we'll explain what video compression is, how to compress a video in Premiere Pro, and all the best tips and settings to optimize it! We'll also offer a very simple alternative to Premiere Pro if anyone is just looking for an even easier/quicker alternative.
Part 1: What Is Video Compression
Video compression is the process of reducing the size of a video file while preserving as much quality as possible. It removes or simplifies redundant data to make videos easier to store, upload, and stream. Several key elements influence how a video is compressed and how the final output performs: codec, resolution, bitrate, and frame rate. A codec (short for coder-decoder) is a tool or algorithm used to compress and decompress video files.
Resolution refers to the number of pixels displayed in a video. Higher resolutions, such as 1920×1080 or 3840×2160 (4K), result in clearer images but also larger file sizes. Lowering the resolution will reduce the file size during compression. Bitrate refers to the amount of data processed per second in a video; it is often measured in kilobits or megabits per second. A higher bitrate means better quality, but it also means larger files. Efficient compression is finding the right tradeoff between bitrate and quality.
A frame rate is measured in frames per second (fps), which is how many frames are presented each second. Common frame rates include 24fps, 30fps and 60fps. The higher the frame rates, the smoother the motion will appear, but the file should also get larger. To effectively learn how to compress video, you need to take the time to understand your bitrate and frame rates. Each different setting refers to how small your file will become after compression, and how good your video will end up looking after you have exported it. Learn how to improve video quality in Premiere by reading more information below.
Part 2: How to Compress Video with Premiere Pro via Exporting
It's simple and really effective to compress video with Adobe Premiere Pro software, especially when it comes to exporting. Whether your goal is to send your video via social media or email or simply to store it on a hard drive, Premiere Pro video compression provides a nice option that lets you set export settings to reduce file size while still keeping good quality. By changing a few parameters such as format, resolution, bitrate, and so on, you can get a smaller file size without losing too much definition in the visual content. In the following section, we will provide a step-by-step tutorial on how to compress video with Premiere Pro through the Export Settings window.
Step 1Download and launch Premiere Pro. If you haven't installed it, go ahead and do that. If you have it on your system, launch it.
Step 2The next step is to import the video you want to compress. To do that, simply drag and drop the video file onto the software interface.
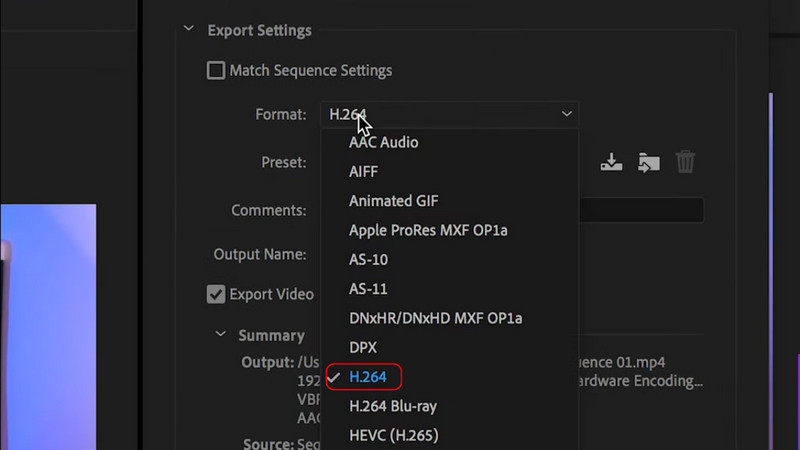
Step 3After you have imported the video, click on File > Export > Media. A window will then pop up where you can set the video output type. Simply click on the Format tab and select H.264.
Step 4After you have set the right output format, let us now export the compressed video. Simply click the Export button available below.

Part 3: Tips for Optimizing Video Compression in Premiere Pro
1. Pick the best format: In most cases, H.264 is going to be the best exporting format for most users because it is of good quality and has a lot of compression for size. Also, take note that MKV is not supported in Premiere Pro.
2. Target a bitrate: The exported bitrate is closely linked to the resulting file size and the quality of the finished file. Variable Bitrate (VBR) is better for results than a constant bitrate, and choosing at least a 2-pass method is ideal. The recommended target bitrate is reasonable (e.g., 4 - 8 Mbps for 1080p video), and you can increase or decrease this based on your needs. Keep in mind that the lower the bitrate, the smaller the file, but it also results in poorer quality.
3. Reduce frame size and frame rate: If high resolution is not needed, the frame size can also be reduced from 1080p to 720p to get a smaller file. Lowering the frame rate from 60 fps to 30 fps is also a consideration, as reducing the file size typically still works for most content types when 30 fps is used.
4. Use Hardware Encoding: If your system allows you to enable hardware encoding in the encoding settings, do this. It will allow you to export faster and get the most efficiency from your encodes.
5. Don't go wild with the audio settings: Use AAC audio at 128 kbps or lower if you don't need high-quality audio. This will still take additional space from the final export, which can matter.
Part 4: The Easiest Alternative to Premiere Pro to Compress Videos
Suppose you're looking for a much simpler and faster way than learning how to compress video on Premiere Pro without needing to go through a complex export setting. In that case, AVAide Video Converter is a lightweight alternative to Premiere Pro. AVAide is intuitive and makes video compression simple and easy, even for the most inexperienced beginner. AVAide supports batch video compression, meaning you can compress multiple files at the same time! AVAide also allows you to pick a user-based compression rate and target file size so that you can have full control of the output. By using AVAide, you can shrink large video files in just a few clicks - perfect for freeing up storage or even speeding up an upload.
Step 1Download and Launch App
The first thing you want to do is download the application. After you have installed the application, launch it. Do that by clicking the shortcut button on your desktop.

FREE DOWNLOAD For Windows 7 or later
 Secure Download
FREE DOWNLOAD For Mac OS X 10.13 or later
Secure DownloadStep 2Select Tool
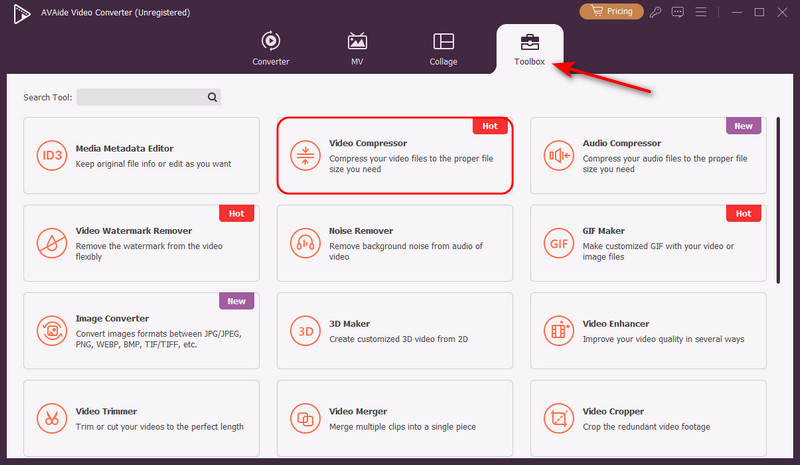
After you have launched the application, let us select the tool for video conversion. Click on Toolbox and find Video Compressor.
Step 3Import Video
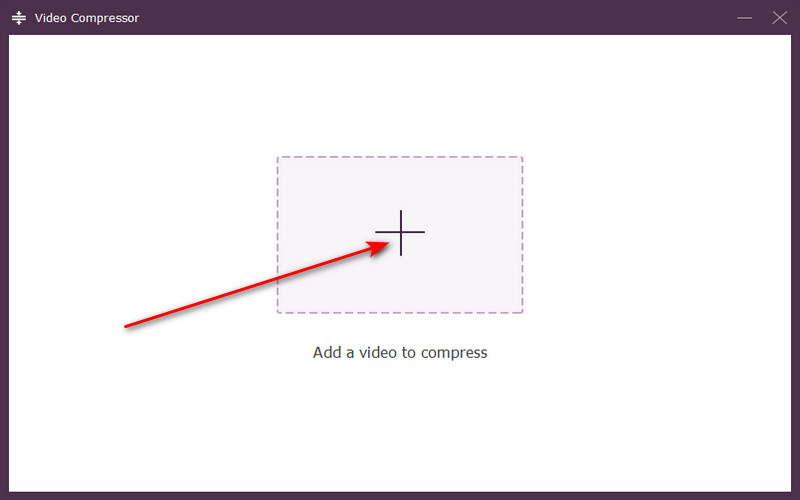
To import your videos, click the big + button in the center of the application interface. This will open your local directory, where you can search for your videos.
Step 4Compress Video
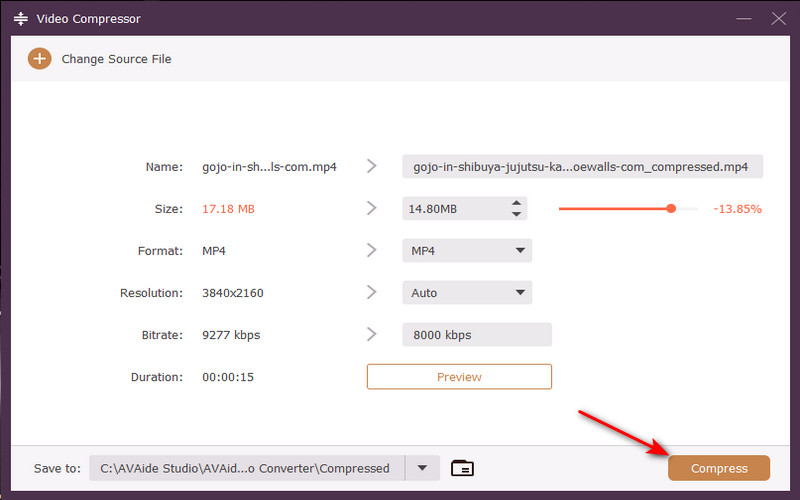
After you have imported your video, we can compress it. To do that, simply click on the Compress button at the bottom-right corner of the application interface.
Compressing video with Premiere Pro is efficient and straightforward when you understand the key settings. By adjusting format, bitrate, resolution, and frame rate, you can significantly reduce file size while maintaining quality, making your videos easier to store, share, and upload.
Your complete video toolbox that supports 350+ formats for conversion in lossless quality.