Sometimes you may want to remove a background from a picture or you want to replace the background with a different a color or image. Here in this article, we will explain to you how to edit picture backgrounds using tools like Photoshop.
Part 1. How to Edit Image Backgrounds in Photoshop
First of all, for editing backgrounds, there are a few occasions:
1. Remove the background. It's usual that you may want to use a picture as the background for slides where you would put text. Then a colored background or a background with patterns could distract the attention from the main message you want to deliver. You will need to remove a picture's background.
2. Replace the background with another color or image. You may want to change the whole background and make yourself look like standing on top of a mountain or before a beautiful temple. Or you may just want to try with a different color. In this case, you will need to replace the background.
So without further ado, how to do image background editing with a few clips in Photoshop and save you hours?
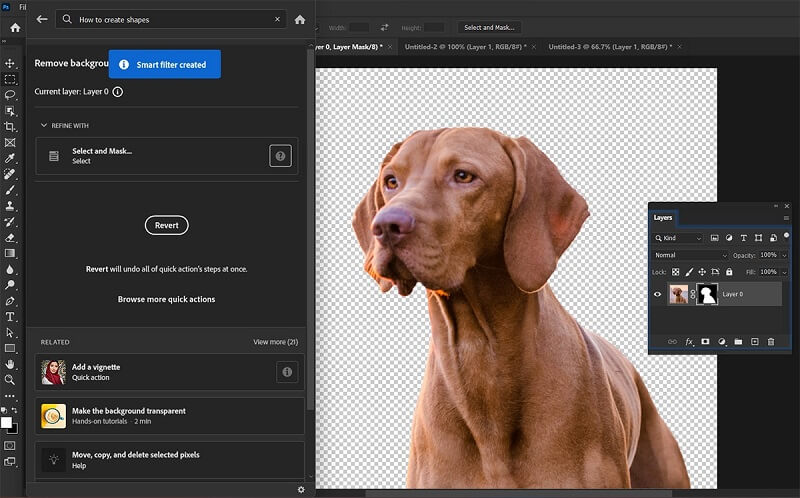
Removing a Background
Step 1Open Photoshop and then open your image. You could use Cmd/Ctrl + F to find the Discover Panel.
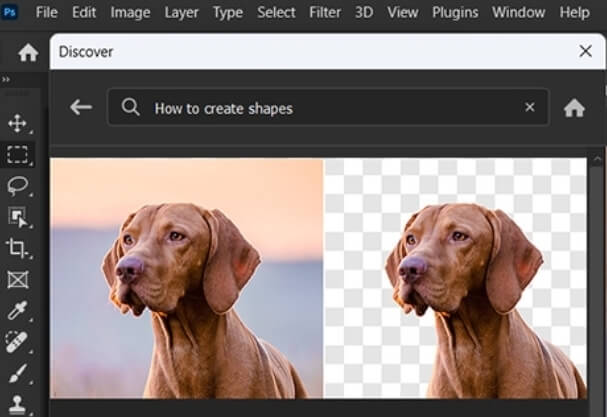
Step 2In the Discover panel, click Browse > Quick Actions and select Remove background.
Step 3Click the Apply button to remove the background from your photo.
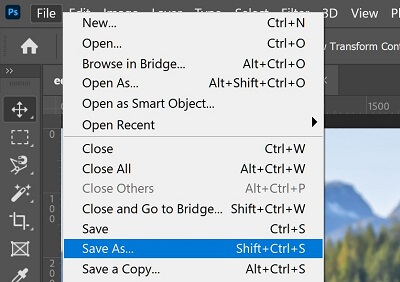
Step 4Then you could click on File in the menu bar and Save or Save As... in the drop-down menu to save your changes.
Replacing a Background
To edit the background color or add a new image as the background in Photoshop, you need to follow the steps in the first section to remove a background first. Then you can start adding a new color or image to it as follows:
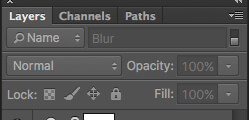
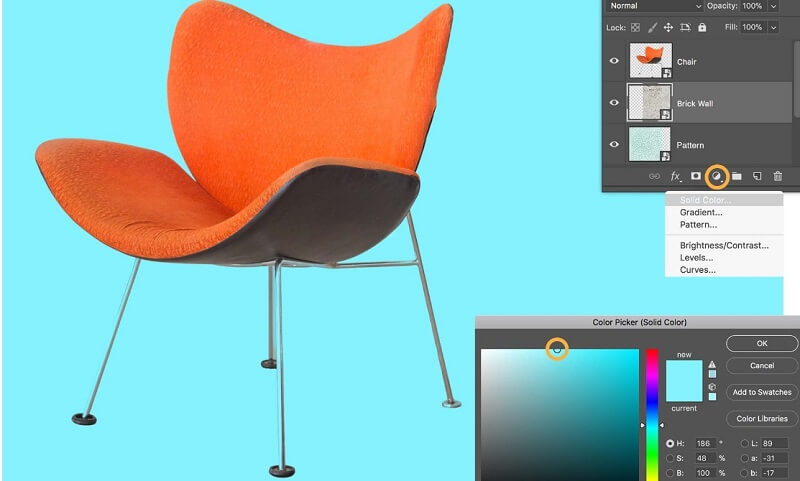
Step 1Open Photoshop and then open your image with a transparent background. Then select the Layers panel to create a new background.
Step 2Find Solid Color and right click it. You could feel free to pick a color from the palette below.
Step 3Or if you want to have a less dull background. You can also place a fresh background on the layer below this layer.
Step 4If you find it perfect, you could click on File in the menu bar and Save.
Part 2. Easier Ways to Edit Photo Backgrounds
However, using Photoshop can still be a bit tricky for most starters for its complicated interface and countless icons. Besides it's not a free tool to all. So we'll also recommend a nice and free tool to you to edit the backgrounds easily.
How to Use AVAide Background Eraser to Erase the Background?
AVAide is a free tool powered by advanced AI. You can access AVAide Background Eraser just on the website without downloading anything. It can help you with picture background editing for multiple formats of pictures, including PNG, JPG, JPEG, etc. With this single tool, you can not only remove or add backgrounds but it also has Image Convertor, Image Upscaler, and Watermark Remover.
So how to remove or add new backgrounds on AVAide?
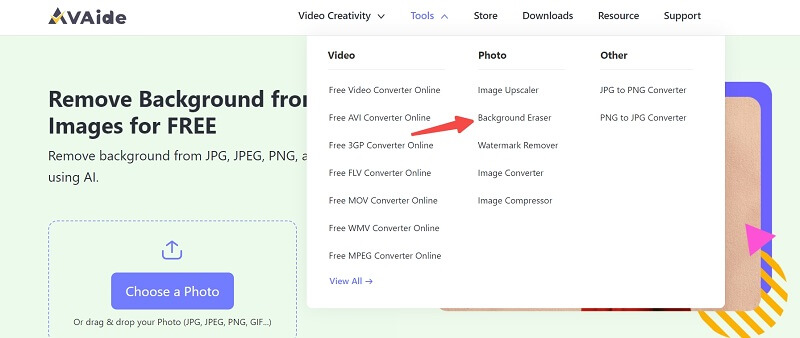
Step 1Find the Background Eraser page in the top bar and enter this page.
Step 2In the upload area, you can drag a picture here or upload from your folder. Then you can click Edge Refine to mark out the area you want to keep or erase to refine the photo.
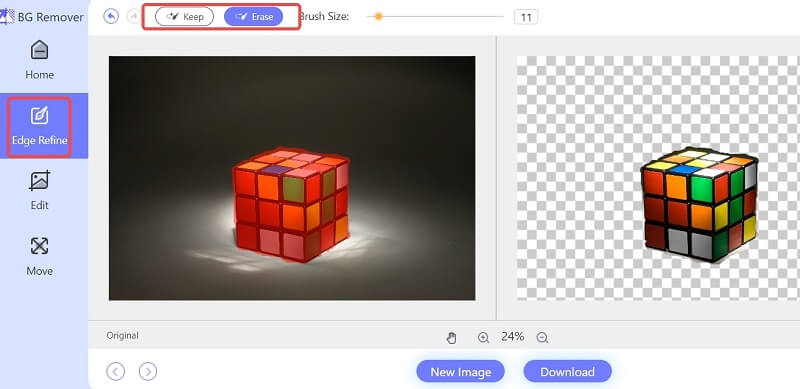
Step 3If you just want to remove the background, then you can click Download to save your new photo. But if you want to add a new background, please keep reading.
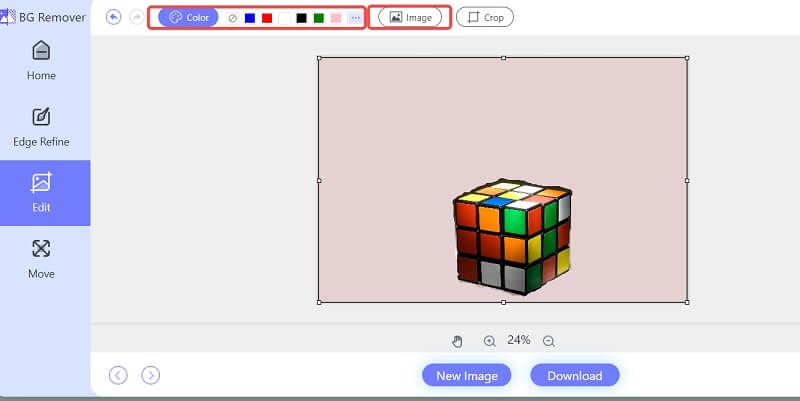
Step 4Click Edit on the left. Then you can just pick a color from the top. Or you could click Image on top to add the picture you want to use as the new background. Once it's uploaded, it will automatically appear as the new background. And you can feel free to drag the picture or resize it as you wish.
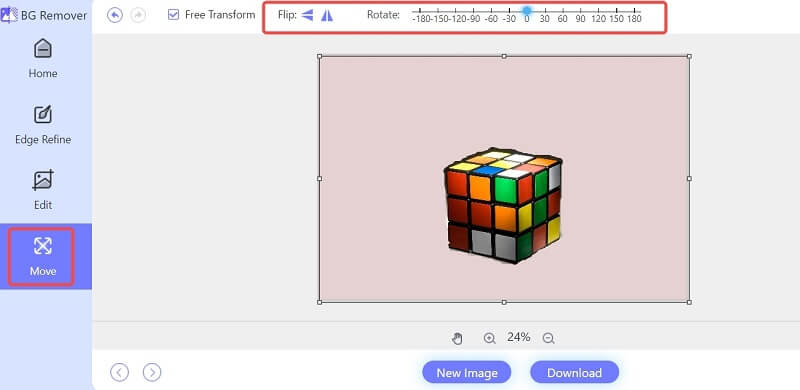
Step 6If you want to adjust the position of the major object you kept before, you can click Move on the left. Here you could flip or rotate the object. But if you find everything perfect, you can click Download below to save your new photo.
How to Use PowerPoint to Edit the Background?
Microsoft PowerPoint could also be used to edit backgrounds as well.
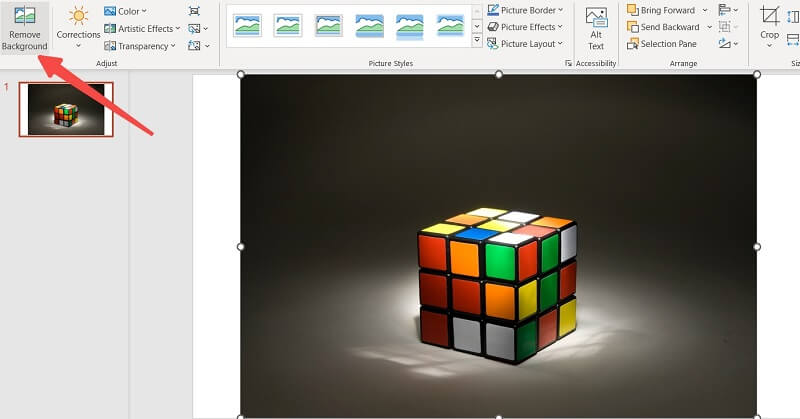
Step 1You need to create a new slide in PowerPoint and then insert the photo you want to adjust.
Step 2You will directly find Remove Background on the top right area. You can click it to remove and make some refinements.
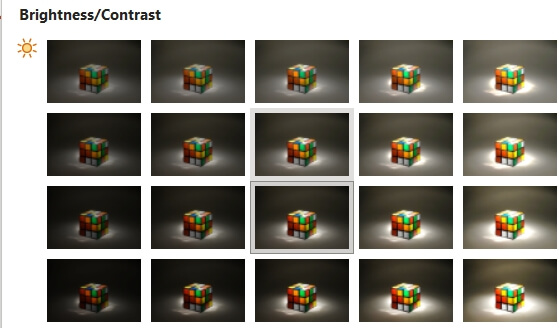
Step 3You can also click the Corrections menu to find the brightness and contrast options to adjust them.
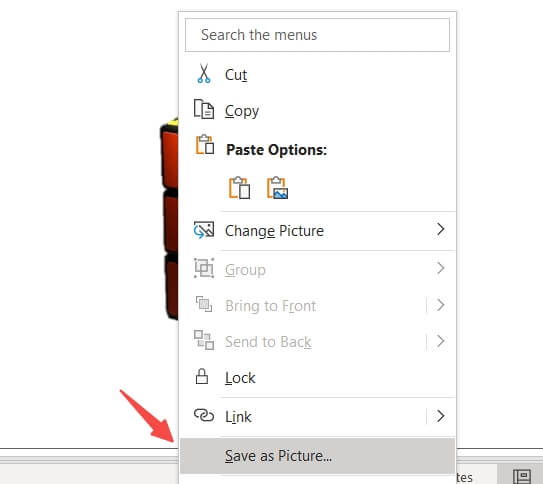
Step 4Then you could get the picture you want to be downloaded through File > Save as.
Part 3. FAQs About How to Edit Backgrounds in Photoshop
How can I edit an image in Photoshop?
You can insert the picture and use Crop Tool or Straighten to do the basic editing for pictures.
Can we edit JPEG in Photoshop?
Yes, you can just open the JPEG file in Photoshop by going to File > Open, and then selecting the file.
How do I adjust the color in Photoshop?
It could be easily achieved in the Adjustments Panel. There're multiple icons and you can feel free to choose the adjustment layer like Levels, Hue/Saturation and Color Balance.
Creating a beautiful picture with a nice background isn’t as time-consuming when you’re fully aware of the tools at your disposal. We hope this article can help you save some time by teaching you how to edit image backgrounds in Photoshop. If you want to achieve professional results easily without spending a penny then AVAide might be a go-to tool friendly to starters. Thanks for staying till the end and good luck!
ABOUT THE AUTHOR

Photo Editing Solutions

Uses AI and automated background removal technology to capture complex backgrounds from JPG, JPEG, PNG, and GIF.
PROCESS NOW