You take a photo. You upload it. Everything slows down. This is a common issue caused by oversized image files. High resolution and poor compression add unnecessary weight. An image size reducer makes images easier to manage without ruining how they look. As soon as you know what is wrong, all is easy. It is an article that takes a stroll through the need for image size, best free options, alternatives to reduce and other alternatives, and tips to use based on need.
Part 1: Why Reducing Image Size Matters
Big picture files, bulky images add weight to the page and reduce the loading speed. This has an impact on user experience and search visibility. Slow loading of the pages makes visitors exit the pages earlier, and the search engines decrease the ranks. Proper compression to minimize image size assists in faster page loading without impacting the appearance of the images to the users.
1. Faster Website Performance
High-resolution photos occupy storage space very fast and particularly in shared drives in mobile devices or servers. In the long run, it increases expenses and space. Using proper compression to reduce image size helps pages load faster without changing how images appear to users.
2. Efficient Storage Management
Most of the platforms will restrict the size of the uploaded emails, forms, and messaging tools. Huge pictures tend not to transmit or require too much time to post. An image file size reducer removes unnecessary data, so files take up less room while remaining usable for daily tasks.
3. Easier File Sharing and Uploading
A downsizing does not necessarily imply visible deterioration of quality. This is aimed at getting rid of redundant information that no user notices at all. Learning how to reduce image file size makes sharing faster and avoids upload errors across different systems.
4. Better Control Over Image Quality
Reducing size does not always mean visible quality loss. The goal is to remove excess data that users never notice. When you reduce the size of image files correctly, images stay clear while becoming lighter and easier to manage.
5. Meeting Platform and File Size Limits
Some platforms require images to stay under strict limits, such as profile photos or form uploads. In these cases, knowing how to reduce image size in KB is essential to meet requirements without repeated trial and error.
6. Consistent Image Optimization Workflow
A clear process saves time. When you understand how to reduce image size across formats, you can use the same rationale with photos, graphics, and web resources. This uniformity enhances efficiency and eliminates errors when publishing.
7. Format Specific Optimization
Data are stored in different formats in different ways. Common metadata added to photos in the form of JPEG makes them larger. A JPG JPEG image file size reducer targets this excess data, making files smaller while keeping colors and detail intact.
All these reasons indicate why image reduction is not only a technical process but a pragmatic aspect of image management to be used in the web, sharing and storage of images.
Part 2: Best Free Image Size Reducer Online
AVAide Image Compressor is a free, browser-based image size reducer online that makes shrinking images effortless. It eliminates the latent data that slows down the websites or clogs the storage space, and leaves the pictures clear and crisp. One of its strengths is batch processing, which enables you to compress numerous files within a few seconds, one-second compression and no need to sign up. Its user-friendly design and stable output also render it the favorite of both newcomers and regular users.
Step 1Open a new tab on your favorite browser to search the official website of the AVAide Image Compressor. Once you have visited it, proceed to the next steps.
Step 2On the interface of the website, tick the Choose a File and wait until a file folder appears on your screen. After that, you can now import as many images as you want here for compression.
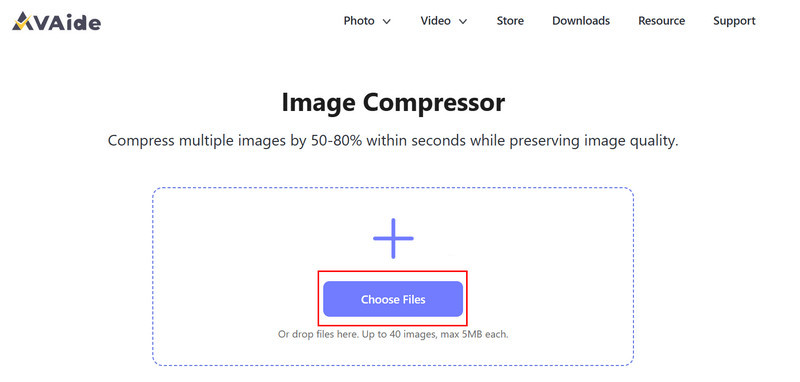
Step 3Finally, once compression is done, click the Download or Download All button to save them all on your computer drive immediately.

Part 3: Other Feasible Ways to Reduce Picture Size
Optimizing images goes beyond simple compression. Several methods help reduce picture size while keeping quality intact. Combining these techniques ensures your images are lightweight, shareable, and web-friendly.
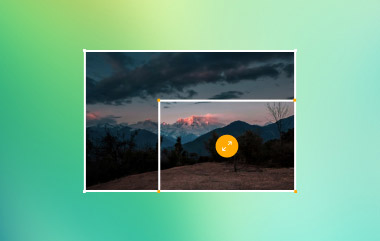
1. Adjust Image Dimensions for Smaller Files
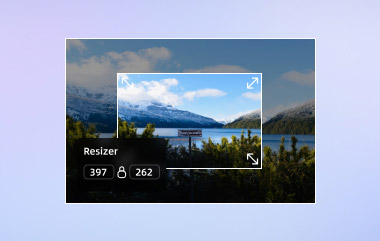
Among the simplest methods to compress an image, we have the reduction of its width and height. Reduced sizes directly reduce file size and still remain clear enough to be used on the web or even in emails. The majority of picture editors or Web tools allow you to resize pictures at a fast rate. You can make files lighter by adjusting the dimensions to suit your real requirements, and these do not affect your files on the screen.
2. Lower Image Resolution to Save Space
The number of pixels an image has is determined by the resolution, which is expressed in DPI, short for dots per inch. Photos that are of high resolution can be printed, but do not always require the internet. Reducing DPI to 72 or 96 will dramatically reduce the file size and make it ideal to use on the web, through emails and mobile distribution. The method is also easy to implement with any picture editing software.
3. Choose the Optimal File Format
Not every format is developed the same. PNG and BMP files tend to have more data and make bigger files. To save a significant amount of space, one can save images as JPEG or WebP. Visual clarity is also maintained through the use of the appropriate format. It is a necessary step that one needs to minimize picture size without several compressions.
4. Software for Advanced Control
Picture size reduction does not simply deal with compression. The selection of the appropriate tools can improve the process by being quicker, easier and more accurate. The following are seven tools that are exceptional in the size reduction of pictures.
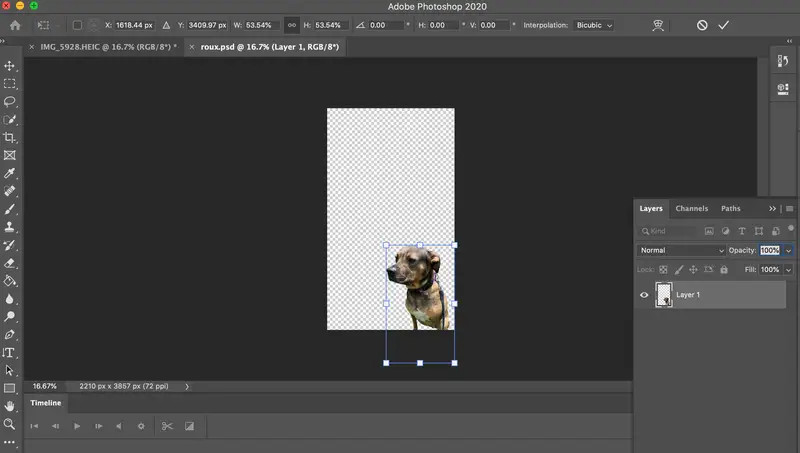
• Photoshop - Professional Compression and Resizing
Photoshop is a top choice for designers and photographers who need complete control. Its Image Size and Save for Web options allow you to adjust dimensions, resolution, and file format. This makes it an excellent picture size reducer, capable of maintaining high visual quality while minimizing file weight.
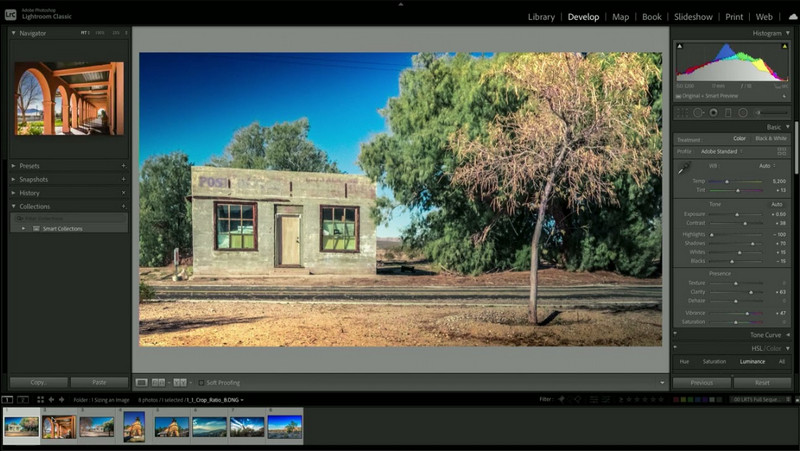
• Lightroom - Batch Optimization Made Easy
Lightroom allows batch resizing and exporting of multiple images at once. You can set maximum dimensions, resolution, and quality, which makes it simple to reduce picture size for galleries, portfolios, or blogs. The export presets also help ensure consistency across all files.
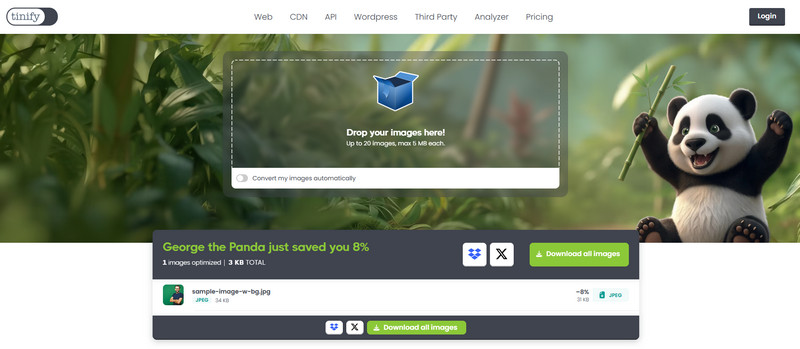
• TinyPNG – Best for Web Optimization
TinyPNG compresses PNG and JPEG images efficiently while preserving quality. It is an easy-to-use tool for anyone wondering how can I reduce picture file size quickly. Its drag-and-drop interface makes it fast and intuitive for day-to-day image optimization.
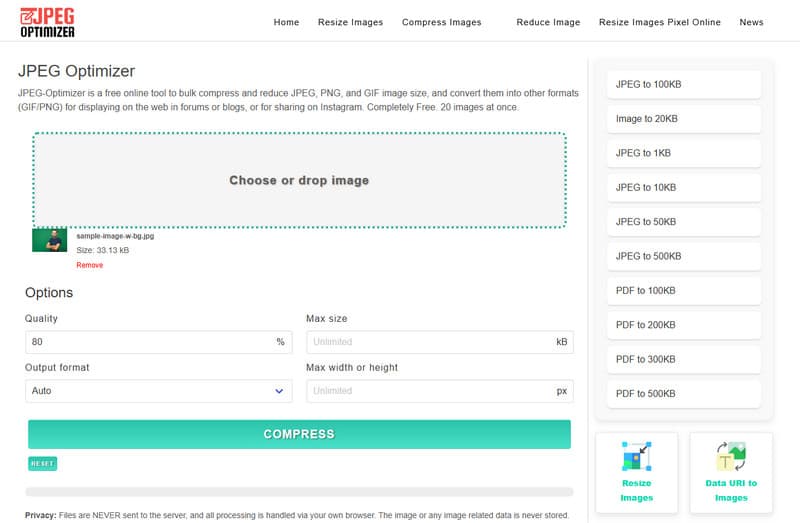
• JPEG-Optimizer - Simple JPEG Compression
Focused on JPEG images, JPEG-Optimizer lets you adjust compression levels and resize dimensions simultaneously. It is a practical solution for users wondering how do I reduce a pictures file size without noticeable quality loss.
• ILoveIMG - Batch Resizing Online
ILoveIMG provides resizing, format conversion, and compression in one platform. You can process multiple images at once, making it a convenient picture size reducer for bloggers, e-commerce, and social media posts.
• GIMP - Free Desktop Alternative
GIMP is a free, open-source image editor with professional features. You can resize, compress, and convert formats for any image type. It is an effective tool for how to reduce the picture size of JPEG files while keeping images clear.
5. Combine Methods for Maximum Efficiency
The best way to go is to use a combination of methodologies: image downsizing, reducing the image size, and saving it in one of the optimized formats. This guarantees that the images are lightweight, remain clear and ready to be shared on the web, email or any social media. An intelligent workflow with such tools may help save storage, increase the load speeds and simplify the image management.
Part 4: Tips to Reduce Image Size for Different Cases
The images are applied in numerous cases, and different approaches should be provided in each of them, in order to have the file size manageable, and also not to reduce the quality. The following are some tips that can be applied to optimize images with reference to real needs.
1. Website Images and Blog Posts
Optimized images play a major role in the performance of websites. Resizing photographs to fit into the real display size and compressing them will reduce the time of uploading the photographs. Using a reliable picture size reducer online helps reduce load time while keeping visuals clear for visitors.
2. Sharing Images from iPhone
Photos taken on iPhones are often high resolution and large in size. When sharing photos, users often search for how to reduce picture size on iPhone to make uploads faster and prevent storage issues. Inbuilt editing options or photo resizing apps can reduce the size of files in seconds by shrinking files before uploading or sharing them.
3. Free Online Compression for Quick Uploads
When you need instant results without installing software, online tools are helpful. Many services allow you to reduce picture size online for free by uploading images and compressing them automatically, making files easier to share or store.
4. Reducing Image Size on Mac Computers
Mac users can easily compress images using Preview or other built-in tools. When you want to know how to compress picture files in Mac to prepare pictures to be used on websites, emails, or cloud storage, and resize or export the pictures at lower quality settings, many people tend to find the fastest solution by resizing or exporting the pictures with lower quality options.
5. Maintaining Quality While Compressing Images
In some cases, clarity of the image is important, particularly when it is used in portfolios or in the professional field. Choosing the right compression level allows you to reduce picture size without losing quality, ensuring images remain sharp while becoming easier to handle.
6. Reducing Image Size for Upload Limits
A lot of the platforms limit the number of files to be uploaded, and thus, a shrinking of files is mandatory. It is helpful to learn how to reduce the MB size of picture files in order to satisfy the platform restrictions and retain the pictures that are adorable to look at.
7. Optimizing Images for Messaging and Quick Sharing
Messaging apps often compress images automatically, sometimes lowering the quality too much. It is better to reduce the size of picture files beforehand so images remain clear while sending faster.
8. Preparing JPEG Images for Email and Web Use
JPEG files are common for photos, but they can still be oversized. Many users search for how to reduce the picture file size of JPG to make email attachments lighter or web uploads faster. Adjusting compression settings or resizing dimensions helps achieve this balance. Moreover, many users also ask if JPG and JPEG are the same, and the short answer is yes.
9. Meeting Platform Size Requirements
Other websites or programs will limit the size of images that are allowed to be uploaded. In these situations, tools that reduce picture size in KB allow precise control to meet upload limits without repeated attempts.
10. Handling PNG Images Efficiently
PNG files are useful for graphics and transparent images, but tend to be large. Using a PNG image size reducer helps compress these files while maintaining image clarity, making them suitable for web or sharing purposes. If the transparency has been removed after you reduce its size, then find a reliable way to make the PNG transparent again.
11. Resizing Photos Directly on Mobile Devices
Mobile users frequently need quick compression before sharing photos. Learning to reduce image size on iPhone with the assistance of editing or compression software assists in controlling the storage area and makes it easier to share across devices.
Applicability of the correct technique in each case will make sure that the images will not be blurred and will be loaded very fast, and will be easy to share across platforms without having to spend extra storage or performance problems.
Reducing image size helps files upload faster and use less storage while keeping images clear. A good image file size reducer makes this process quick and simple. With the right methods, your images stay lightweight and ready for sharing or publishing anywhere.
ABOUT THE AUTHOR


Reduce the file size of an image online within seconds while preserving the quality. We support JPG, PNG, WEBP, GIF, and more.
PROCESS NOW