You want to print a photo for a frame, a gift, or a poster. The problem is that your picture is too small. It is for sure that when it is printed, it may look blurry or grainy, especially on larger paper.
But we have some good news for you. There is already a way to enlarge a picture for printing without losing clarity. This post will show you how to do it the right way. You will also learn the picture requirements for printing, which is helpful if this is your first time.
By the end, you will know how to prepare your photo so it looks clear, sharp, and ready to print.
Part 1: What Is Photo Enlargement
When you look at a small picture and want to see it bigger, that is called photo enlargement. Photo enlargement is the process of making a photo bigger than its original size. The goal is to keep the picture clear and sharp while increasing its size.
Normally, photos have tiny dots called pixels. When you enlarge a photo, these pixels need to stretch. If not done carefully, the photo can look blurry or rough. Fortunately, modern tools can help make a photo bigger without losing too much clarity. People use photo enlargement for printing posters, making signs, or just seeing small details better.
In short, photo enlargement is taking a small image and turning it into a bigger one while trying to keep it looking good.
Part 2: Picture Requirement for Printing
Before enlarging a picture for printing, make sure the image is ready. Not every photo prints well if it is too small or in the wrong format. Checking the resolution, size, and file type will help your print look sharp and bright.
| Requirement | Details |
| Resolution | • 300 DPI for small prints • 150-300 DPI for large posters |
| Pixel Dimensions | • 18" × 24": 5400 × 7200 • 24" × 36": 7200 × 10800 40" × 60": 2000+ per side (higher is better) |
| Color Mode | CMYK (for printers) |
| Aspect Ratio | Match camera ratio (3:2, 4:3) |
| File Formats | TIFF: Best quality PDF: Keeps layout JPEG: Quick prints, use max quality |
Part 3: How to Enlarge a Photo for Printing Without Losing Quality Online
Planning to enlarge your picture for printing, but worried the quality will drop? You might think it will appear blurry or pixelated when scaled up.
Do not be, because if you use AVAide Image Upscaler, you can enlarge your picture by 2×, 4×, 6×, or even 8×. It increases the dimensions of your original image while keeping it sharp and clear. It is also perfect if you do not want to spend anything, as it is free to use and works on any operating system since it runs completely online.
Without further ado, learn how to enlarge a picture for printing without losing quality using AVAide Image Upscaler:
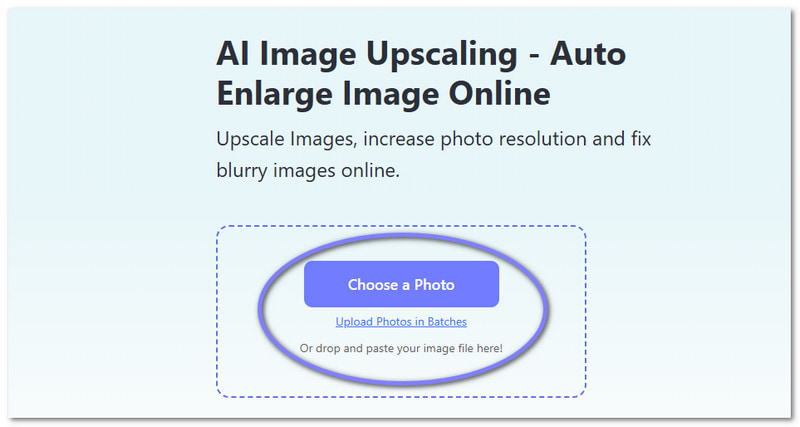
Step 1AVAide Image Upscaler runs online, so access it using your browser. Once the page loads, you are ready to start.
Step 2Upload the photo you want to enlarge for printing. You can select and drop your image into the main interface. If you have many images, click the Upload Photos in Batches option to add multiple pictures at once.
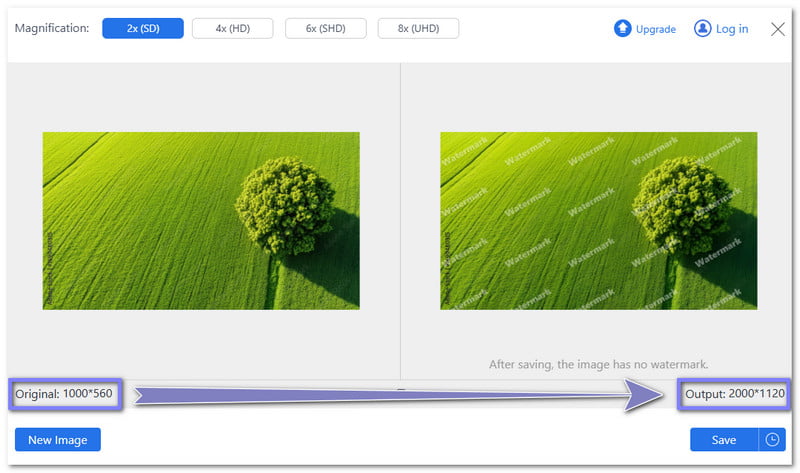
Step 3Please wait while AVAide Image Upscaler processes your image. After a short moment, it will show you a preview of your photo. On the left side, you will see the original image. On the right, you will see the enlarged version. By default, it enlarges your photo 2×. As for the photo below, from 1000*560, it became 2000*1120.
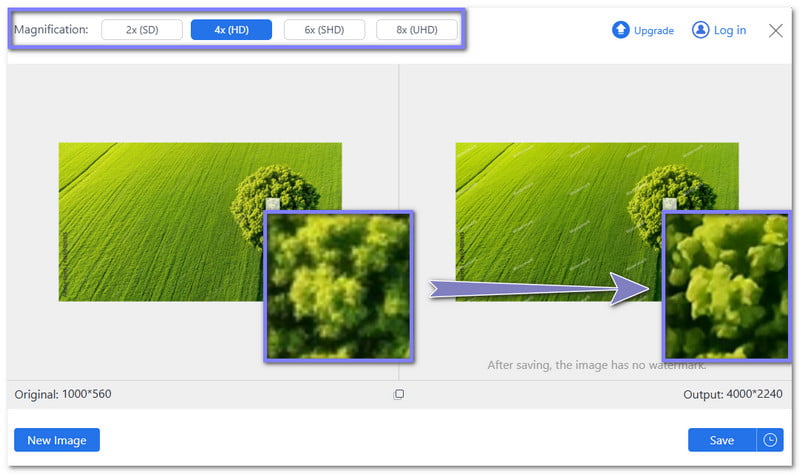
Step 4If you need a larger size, select higher levels like 4×, 6×, or 8× from the Magnification option. Your image will be processed again and show a high-quality preview. You can move your cursor over the image to compare details between the original and the enlarged version.
- 6× and 8× require upgrading your plan, while 4× is available for free.
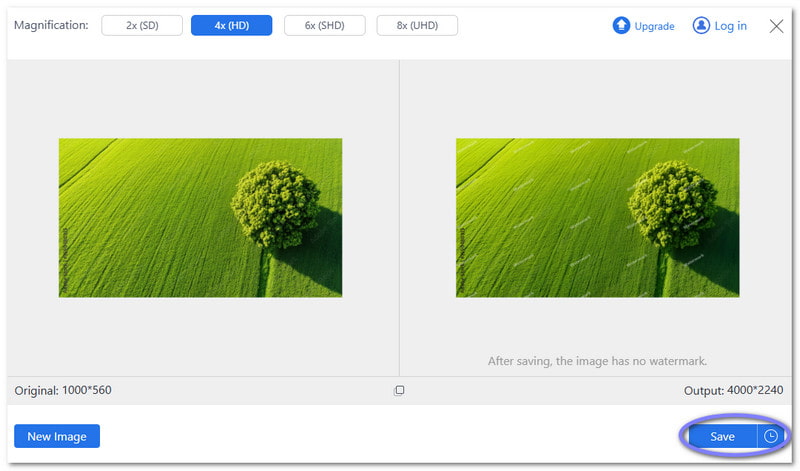
Step 5Once you are satisfied with the enlargement, click the Save button to download your image. As you can see, enlarging with AVAide Image Upscaler keeps the details sharp and clear. It means your print will not look blurry or pixelated, even at larger sizes. Now your picture is ready for printing!
What makes AVAide Image Upscaler worth using:
- Can enlarge JPG, JPEG, PNG, and BMP formats.
- Allows batch uploads to process multiple images at once.
- Uses AI to enhance and improve photo quality automatically.
- No watermarks are added so that you can use your images freely.
- Your files and information remain completely private and secure.
Part 4: Tips to Keep in Mind When Enlarging a Picture for Printing
Now that you know how to enlarge a picture for printing, it is time to learn the key tips to get the best results. A print can go from great to blurry in seconds if you overlook simple details. That is why it is necessary to focus on three things: PPI, format, and photo clarity.
1. Check Your Image Resolution
Pixels per inch (PPI) or dots per inch (DPI) is the most important factor. The more pixels, the better the image will look when enlarged. If the PPI is too low, the print will be blurry or grainy.
| Average | 72 DPI |
| Good | 150-300 DPI |
| Excellent | 300+ DPI |
Many mobile photos and images from the web are 72 DPI. That is fine for screens, but too low for printing. You can increase photo DPI using online tools or programs to improve the print clarity.
2. Pick the Right File Type
The format of your photo affects how it will enlarge. Raw or TIFF files hold more data and keep the image sharp. JPEG files compress the image and lose some detail, which can make prints look worse. For printing, you can convert Raw files to TIFF or JPEG to make them printer-friendly.
3. Take Clear & Sharp Photos
Even the best editing cannot fix a poorly taken photo. Use a good camera, a tripod, and proper lighting. Learn your camera's settings like ISO, shutter speed, and modes. The more you practice, the better your photos will be. Clear, sharp photos give the best prints.
To sum up, check the PPI, choose the right format, and take high-quality photos. Considering these three things ensures your enlarged print stays clear and detailed.
With AVAide Image Upscaler, you have learned how to enlarge a picture for printing online. You also learned the photo requirements for printing and the helpful tips to get the best results. Now, you are ready to print your enlarged picture!
We want to hear from you. How did your print turn out? Did it look sharp, clear, and bright? Share your experience in the comment section and let us know how your enlarged picture appears!

Our AI technology will automatically enhance the quality of your images, remove noise and fix blurry images online.
PROCESS NOW