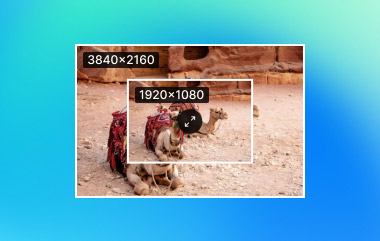
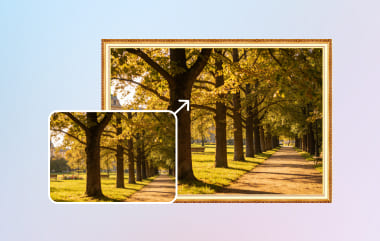
The size of an image matters a lot for clarity and use. If you need to enlarge JPG, JPEG, and PNG images, you have come to the right post. We will show the top 5 ways to enlarge those image files.
Not only that, but we will also cover the things you need to consider when enlarging images and why you should do it. By the end, you will know how to make your images bigger, sharper, and ready for any project or sharing.
Part 1: Things to Consider When You Enlarge JPG or PNG
Enlarging images is easy, but keeping clarity matters. Here are key points to check:
- Original resolution - Low-res images may become blurry when enlarged.
- File format - PNG keeps details better than JPG when enlarging.
- Aspect ratio - Keep width and height proportional to avoid stretching.
- Image purpose - Decide if the enlarged image is for print, online, or sharing.
- Tool choice - Use reliable tools with AI or clarity-preserving features.
Part 2: Top 5 Ways to Enlarge JPG or PNG Images
If you are ready to enlarge your JPG or PNG images, it is time to check out five reliable ways you can rely on.
1. AVAide Image Upscaler
Enlarge JPG or PNG images to 2×, 4×, 6×, and 8× with AVAide Image Upscaler. It lets you enlarge photos in a few clicks and shows size changes at once before saving. It also supports batch upscaling, so you can process many files in one session and save time. You can upscale resolution while keeping high clarity, and it also enhances image details and corrects color for a cleaner final result.
Key Features:
- Free to use on any desktop or mobile web browser.
- No watermarks are added, so your images are ready to use.
- Reduces noise and blur while improving overall picture clarity.
- Supports numerous image formats, including JPG, PNG, and BMP.
- Your personal information and photo data remain fully private and secure.
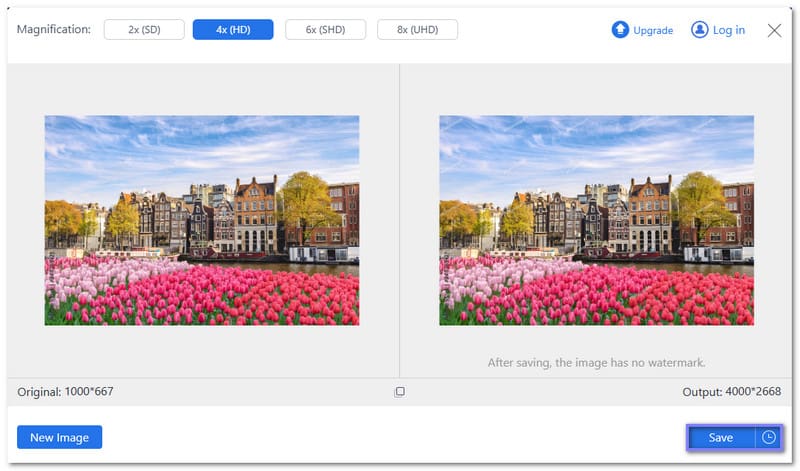
Step 1Open the AVAide Image Upscaler Website
Open your browser and go to the official AVAide Image Upscaler page. You can search for it online and open the main website.
Step 2Upload Your Image File
Click the Choose a Photo button to import your JPG or PNG images. If you want to enlarge more than one image, use the Add Photos in Batches option, and please wait until all files finish loading.
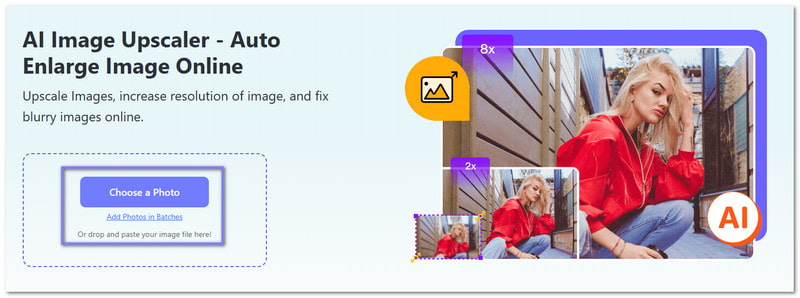
Step 3Choose the Magnification Level
Select the enlargement level you want to use. You can pick 2×, 4×, 6×, or 8×. Each time you change the level, the output image height and width update automatically. It helps you see the new size before saving.

Step 4Save the Enlarged Image
Check the final result, then click the Save button when you are satisfied. Your enlarged JPG or PNG image will download to your device and stay ready for printing, sharing, or future editing.
2. Photos App
Do you need a speedy method to enlarge a JPEG or PNG file on Windows without installing an extra program? The Photos app already has a resize feature built in. It lets you change image dimensions in a few clicks and save a new copy right away. You can choose preset sizes or enter custom numbers.
Step 1Open the JPG or PNG file on your Windows computer. Double-click the image so it opens in Photos.
Step 2Go to the upper-right corner and click the Three-dot menu and choose Resize from the list.
Step 3A small resize display will appear. Pick one of the preset sizes or click Define custom dimensions if you want to enter your own width and height.
Step 4Type the new size you want. Keep the aspect ratio on so the photo does not look stretched.
Step 5Click Save resized copy. The enlarged file will be saved as a new image, so your original photo stays safe.
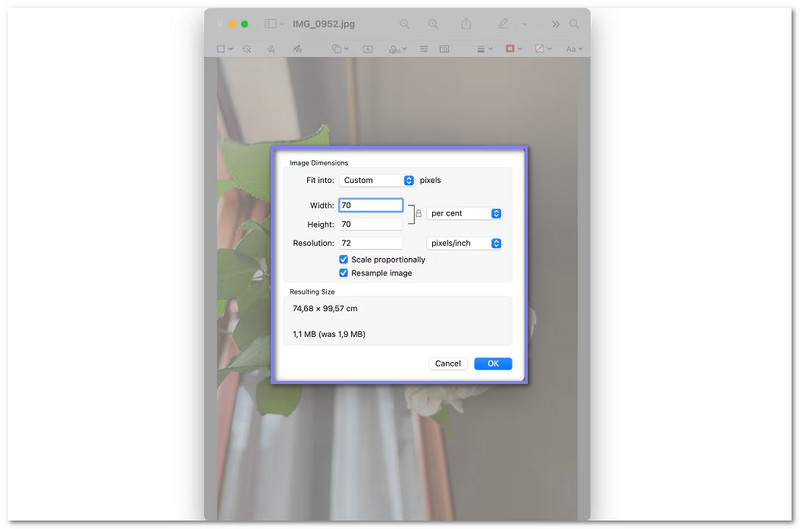
3. Preview
On a Mac, enlarging a JPG file as well as a PNG can start the moment you open the image. Preview is more than a viewer because it also gives you size controls inside the Markup tools. You can modify the width and height with clear settings and keep the image shape balanced.
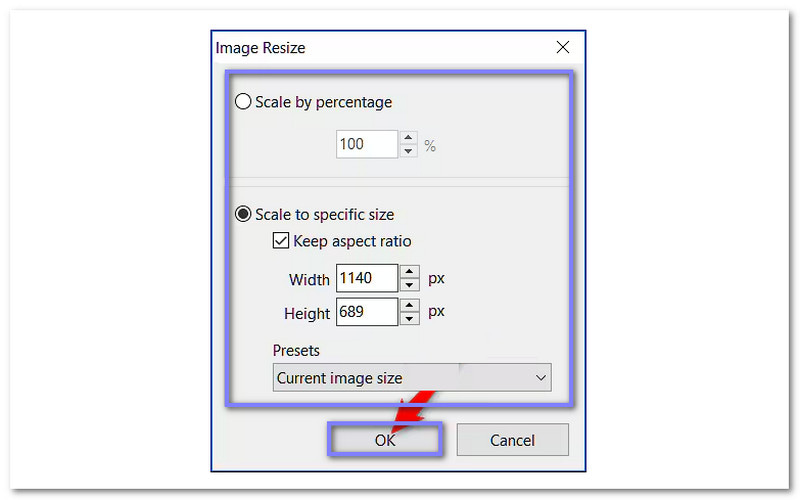
Step 1Launch Finder on your Mac and locate the image you want to enlarge. Double-click it to open it in Preview.
Step 2At the top of the display, click the Markup button so the editing tools appear. Select Adjust Size. A new window will open for image settings.
Step 3Enter the new width or height you need. Make sure the scale stays proportional so the image keeps its shape.
Step 4Hit OK, then save the file. Your enlarged image will now be ready to use on your Mac.
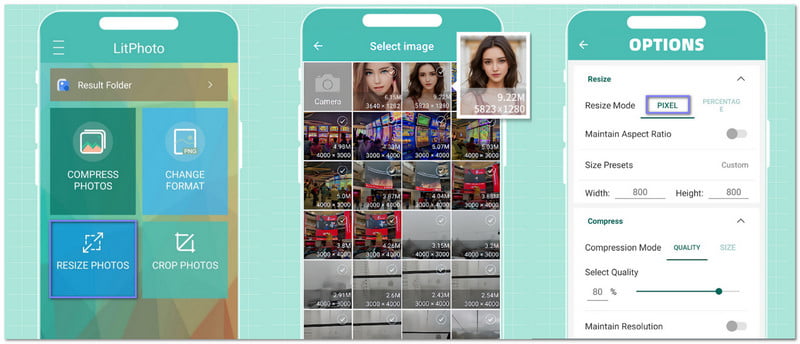
4. LitPhoto - Compress & Resize
Sometimes, a phone photo looks too large in file size but still needs better dimensions for sharing or posting. LitPhoto - Compress & Resize helps by resizing images to enlarge JPEG file, as well as PNG file formats while keeping good visual clarity. It supports batch editing, keeps EXIF data, and saves new files in a separate folder. This application also lets you crop, rotate, and prepare photos before sharing them anywhere.
Step 1Get LitPhoto - Compress & Resize from the Google Play Store and open it on your Android device.
Step 2Please allow the application to access your photos so it can load images from your gallery.
Step 3Tap Resize Photos and choose the picture you want to enlarge. You can also take a new photo inside the application.
Step 4Set the new size using Pixel or Percentage. Pick a larger value based on the result you want.
Step 5Tap Start Resizing. Once the process ends, open the Result Folder to view the enlarged image.
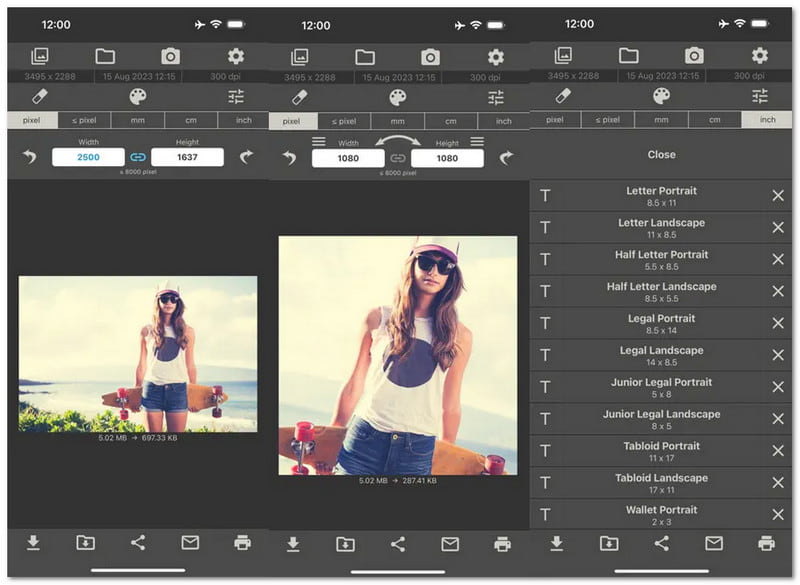
5. Image Size
If you want full control over image size on mobile, Image Size makes the job easy. It lets you enlarge JPG or PNG files using pixels, centimeters, millimeters, or inches. You can maintain the aspect ratio so the photo stays clear and balanced. After resizing, you can save, print, email, or share the new image in just a few taps.
Step 1Get Image Size from the App Store on your iPhone or iPad. After that, open the application.
Step 2Please allow access to your photos so the application can read images saved on your device.
Step 3It is time to choose the JPG or PNG file you want to enlarge from your photo library.
Step 4Tap Resize and enter a larger width or height. The application keeps both sides in the right proportion unless you unlock the size control.
Step 5Tap Save or Download to store the enlarged image in your camera roll. The new copy will appear in your Photos app, and the original file will stay unchanged.
Part 3: When Should You Enlarge JPG or PNG
Enlarging images is best done when it is needed. Consider these situations where you might want to enlarge JPG or PNG files for better clarity and use.
- 1.You need a higher resolution for presentations or projects.
- 2.You want to enlarge the picture for printing without losing clarity.
- 3.You want to display images on big screens or high-definition devices.
- 4.You need better quality for online sharing when platforms compress images.
- 5.You want to improve old or small photos for personal or professional use.
Part 4: Why Online JPG Enlargers Are Recommended
Online JPG enlargers make resizing simple and fast. You can use them on any device without installing a program. Many tools use AI to enhance quality, fix blurry pictures, and correct colors automatically. They often support many image formats and batch processing, which saves time. They are safe, easy to use, and perfect for enlarging photos while keeping them sharp, even if you have no editing experience.
So easy to enlarge a PNG file, as well as a JPG, right? Especially with AVAide Image Upscaler, which lets you enlarge images up to 8× in one click without losing clarity. You do not need to install anything because it works online. It makes it easy and dependable for anyone to enlarge images for printing, sharing, or editing.
ABOUT THE AUTHOR


Our AI technology will automatically enhance the quality of your images, remove noise and fix blurry images online.
PROCESS NOW