We are all fond of capturing the moments, the laughs, the colours, as well as the small things that make a memory its own. However, there are occasions when the images come in with small grains or dots, which do not focus on the subject matter. Being able to add noise to a picture or to remove it may transform these flaws into purposeful effects or bring back clarity. We discuss the types of noise that happen most frequently, demonstrate practical aids, and include the techniques of the experts in this guide to make each picture look high-end and clear.
Part 1: Different Image Noise Types
No image is perfect straight out of the camera. Tiny grains, specks, or distortions, collectively known as noise, can affect clarity and overall quality. Understanding the main types of image noise is the first step toward improving your photos, whether your goal is cleaning them up or adding texture creatively.
1. Gaussian Noise
Gaussian noise appears as evenly distributed grain across the image. It usually results from low-light conditions or camera sensor limitations. Learning how to add noise to an image in this style can also help simulate film-like textures for creative projects.
2. Salt-and-Pepper Noise
Salt-and-pepper noise shows up as random bright (salt) or dark (pepper) pixels. It often occurs due to transmission errors or file corruption. Many editors use methods to remove noise from an image quickly, as its sharp, isolated points are easier to fix than continuous grain.
3. Poisson Noise
Also called photon shot noise, Poisson noise is most common in low-light photography. It varies depending on brightness and can be tricky to correct. Experts rely on careful techniques to remove image noise while preserving essential details.
4. Speckle Noise
Speckle noise possesses the effect of enhancing the signal by chance numbers, and results in a grainy texture commonly observed in medical scans, radar, or some photographs. There is an efficient image noise remover that removes this noise but preserves other important textures.
5. Quantization Noise
Quantization noise arises from digital compression, especially with aggressive JPEG or bit-depth reduction. The blocky areas are smoothed without edges being blurred, and the overall image quality is maintained.
This knowledge of such noise will enable you to edit pictures with confidence. Choosing to clarify further or use the noise subjectively, understanding how each sound acts, will always make your photos shine through and appear professional.
Part 2: Best Image Noise Removers at a Glance
When grain, speckles, or digital distortion appear in your photos, the right tools can help you achieve clean, professional results. Below is a list of reliable software and online solutions, along with their key features, that make it easy to remove noise from an image effectively.
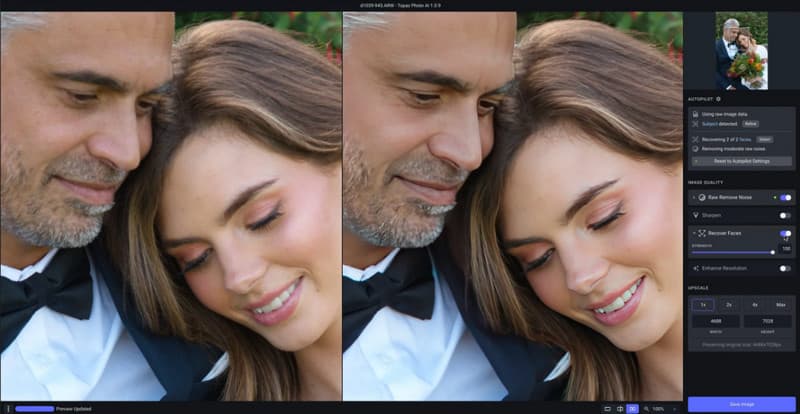
1. Topaz Photo AI
Topaz Photo AI is an effective desktop software that is used to remove noise in images precisely. This image resolution upscaler AI uses machine learning, which minimizes grain without losing details, which is why it is the best choice when dealing with high-ISO photo-making and low-light situations.
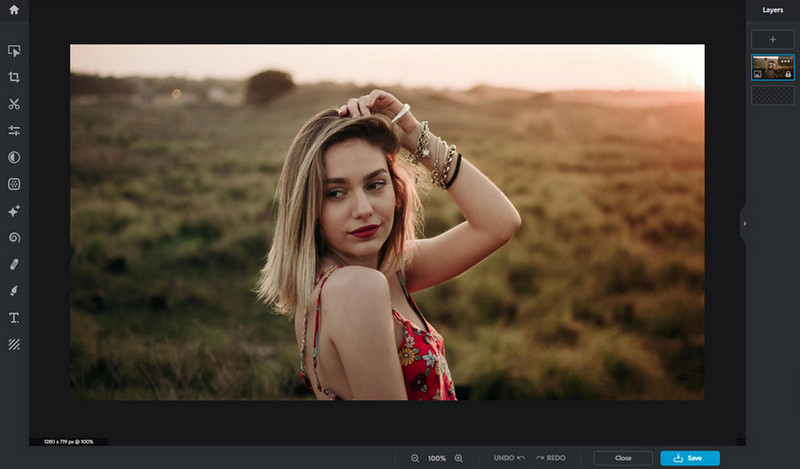
2. Pixlr Denoise
Pixlr’s browser-based tool offers simple, one-click cleanup. It is perfect for quick edits or casual users needing an easy image noise remover without installing software.
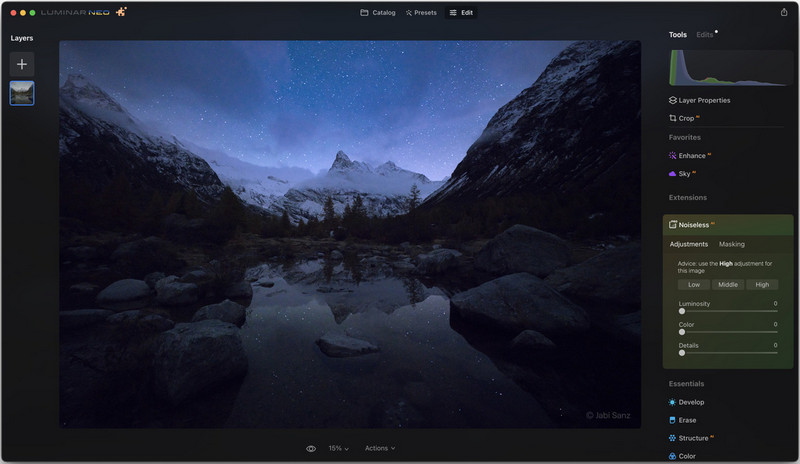
3. Luminar Neo - NoiselessAI
Luminar Neo’s NoiselessAI module intelligently targets color and luminance noise. Its sliders allow you to fine-tune the effect, giving you control over texture while maintaining clarity.
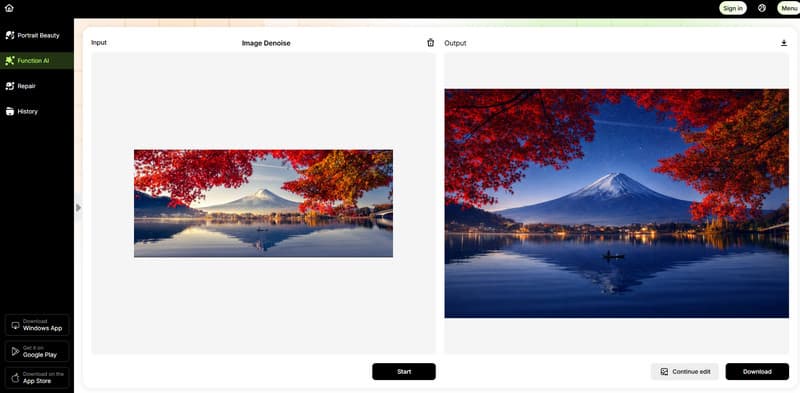
4. EaseUS Online Image Denoiser
This AI image noise remover automatically detects and reduces different noise types. It’s beginner-friendly, fast, and works well for scanned images, portraits, or everyday photos.
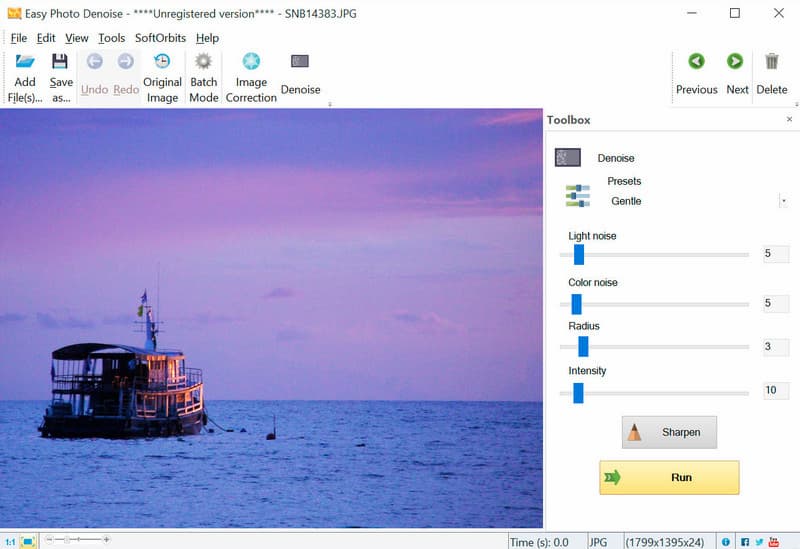
5. SoftOrbits Photo Noise Reduction
SoftOrbits offers batch processing and customizable filters for consistently removing image noise across multiple photos. This image upscaler is particularly useful for photographers or editors handling large libraries of images.
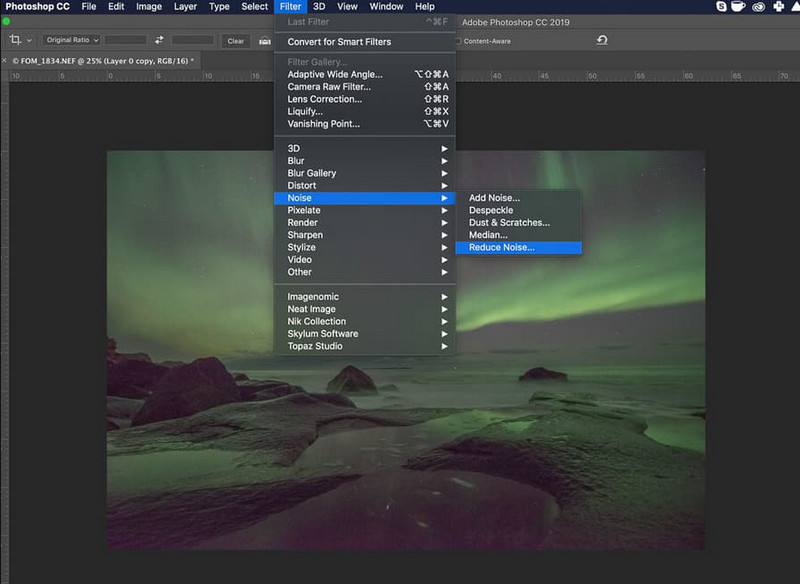
6. Adobe Photoshop - Noise Reduction Filters
Photoshop provides professional filters that target luminance and color noise precisely. These tools allow you to remove image noise while keeping fine details sharp and textures intact.
7. Adobe Lightroom - Detail Panel Controls
There are specific sliders of luminance and color noise in the Detail panel of Lightroom. Learning to eliminate noise in an image in Lightroom would guarantee a smooth and high-quality outcome without over-processing.

Choosing the right tool depends on your workflow, experience, and whether you prefer desktop or online solutions. With any of these options, you can confidently tackle noisy photos while maintaining quality and detail, setting the stage for the next part of this guide: practical, step-by-step techniques to remove noise efficiently.
Part 3: How to Remove Noise from an Image Without Losing Quality
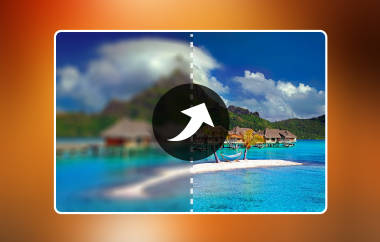
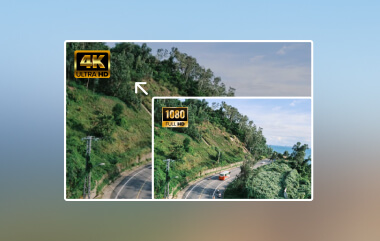
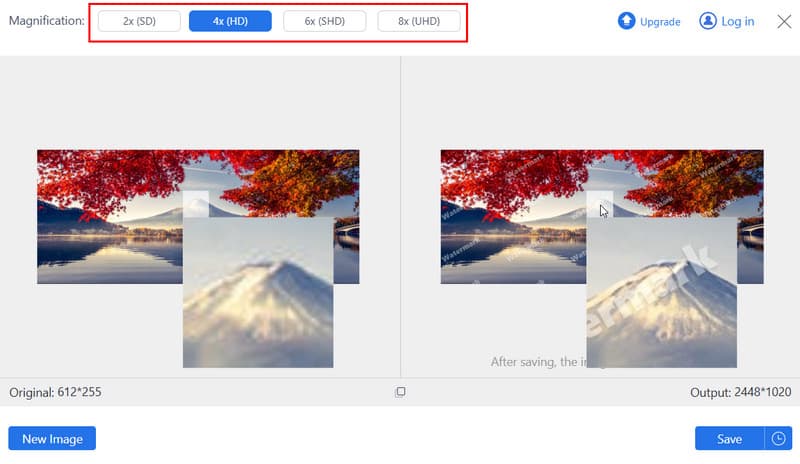
AVAide Image Upscaler is another solution that can be applied by users who need quick and clean ups without manual sliders. Although it is free and online and also operated by AI, this analysis tool considers the textures and edges. Then it corrects them, with the goal of removing the grain and still storing critical information. Rather than huge blurring, it works on balanced image improvement and is capable of upscaling photographs up to 4K quality. Where most guides emphasize the use of filters to eliminate noise in a picture to produce a creative texture, this is created to achieve the reverse - to improve the clarity and sharpness with a few clicks.
Step 1Open a new browser tab and search for the official AVAide Image Upscaler website. Click the correct result to access the tool.
Step 2On the main page, click Upload Your Image to upload your image. The system will automatically begin processing the file.
Step 3Select your preferred magnification level and preview the improvement by hovering over the watermark area. The watermark is only for preview and will not appear in the final output.
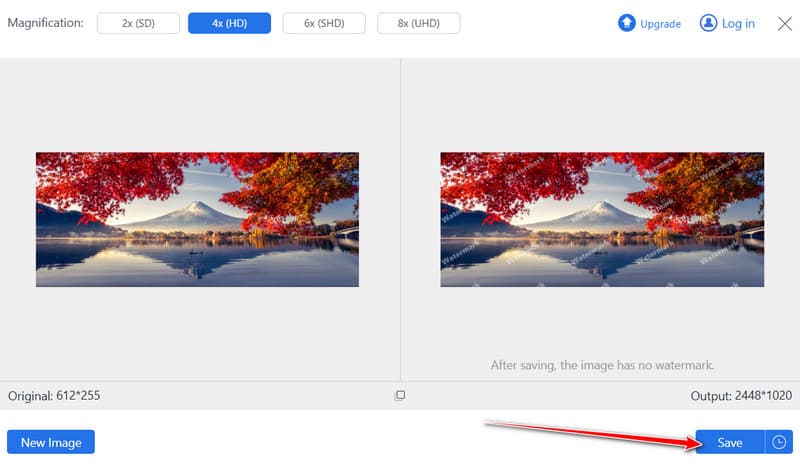
Step 4If satisfied with the result, click Save to export the enhanced version. Your image will appear cleaner, sharper, and more refined without visible over-processing.
Bonus: How to Add Noise to Images Creatively
Adding noise can give your images texture, mood, and a more authentic feel. You do not need advanced software; here are simple ways to do it:
- Use your phone’s built-in editor: Most phones have sliders for Grain, Film, or Texture. Increase slightly to add subtle noise.
- Apply social media filters: Platforms like Instagram or TikTok include filters that naturally add grain. Adjust intensity and save your image.
- Overlay a grain texture image: Use one of the free textures: Open one in any free online photo editor, and then apply it to the top of your picture by turning the oversource image low.
- Photograph through a textured surface: Photograph with sheer cloth, frosted glass, mesh, etc: Add noise to your photographs by shooting through a textured surface.
- Shoot in low light with high ISO: When taking new pictures, dim lighting and higher ISO settings produce authentic, film-like grain.
Using these methods, you can add creative noise that enhances the image without distracting from the subject. The key is subtlety, just enough to add character and depth.
Mastering noise in your images gives you creative control over both clarity and style. It is a good idea to remove graininess in a picture, or you can use the techniques and tools discussed here to add a bit of texture to the image to create an artistic effect, but in any case, the noise is removed without leaving a single pixel out of shape. With AI-powered upscalers and even the most basic creative tricks, it is now possible to turn everyday pictures into refined and professional-level images. All photos can look their best using these techniques in your arsenal: sharp, clear, and characterful.
ABOUT THE AUTHOR


Our AI technology will automatically enhance the quality of your images, remove noise and fix blurry images online.
PROCESS NOW