Video is not stored in tablets, but rather in disc players in DVDs. To play video easily, an iPad needs special codecs, resolutions and file containers. It is this technical loophole that has made users always attempt to rip DVDs to an iPad rather than copying files directly. It needs to be done in proper format, it needs to have copy protection, and in doing so, it needs to be transferred. We start by testing what is possible, proceed to describe some sure ripping methods, and finally give file transfer instructions.
Part 1: Can You Rip a DVD to Your iPad
Yes, you can rip a DVD to your iPad, but only under specific technical and legal conditions. Can I rip a dvd to my iPad? Yes, as long as you convert the DVD into a video format that iOS supports, such as MP4 with H.264 or H.265 encoding. iPads cannot read DVDs or DVD file structures directly, so ripping and conversion are required.
There are two key limits to understand. First, a lot of the commercial DVDs are copy-protected, which can either be limited or illegal to unlock, depending on your country or area. Ripping of DVDs should be done only to the DVDs that you own and which you can legally copy to use in a personal manner. Second, the video needs to be coded with the proper resolution, bitrate, and audio format in order to play on an iPad easily.
Once the DVD is properly converted, the video can be transferred to an iPad using Finder, iTunes, or wireless syncing methods. The next section explains the proven ways to perform this conversion safely and effectively.
Part 2: How to Rip DVD to iPad in 3 Proven Ways
1. AVAide DVD Ripper
AVAide DVD Ripper is a convenient application that one may use when they require a secure and easy solution to convert DVDs into iPad-readable files. It also accepts nearly all the DVDs, even those that are encrypted, and this helps to prevent frequent reading errors. The software also provides various output formats but has inbuilt iPad presets such that the files are automatically compatible with iOS playback.
Ripping speed is fast due to hardware acceleration, and the interface is easy enough to complete the process with one click. For users searching for how to rip a DVD to an iPad without technical complexity, this tool feels purpose-built and easy to trust.
Step 1Download AVAide DVD Ripper from the official site and install it on your Windows or Mac computer. The setup is guided, and you can finish it in a minute.

FREE DOWNLOAD For Windows 7 or later
 Secure Download
FREE DOWNLOAD For Mac OS X 10.13 or later
Secure DownloadStep 2Launch the program and place your DVD into the drive. Pick Load DVD, and the software will scan the disc and pull in all available video content automatically.
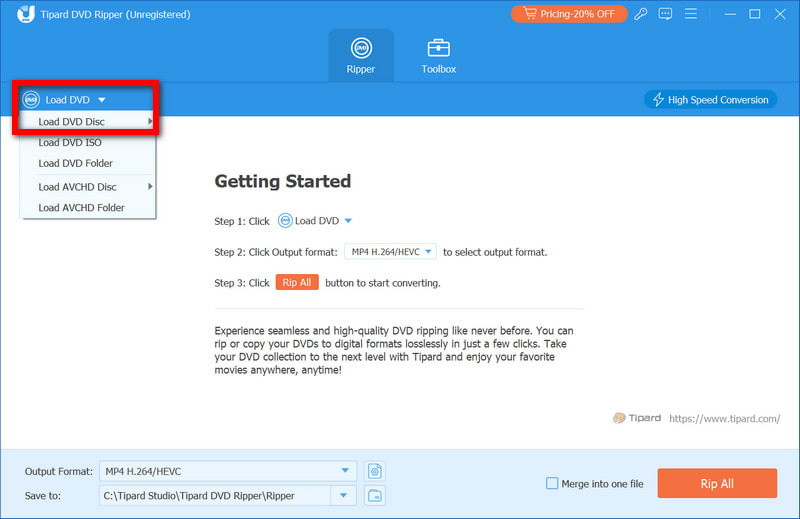
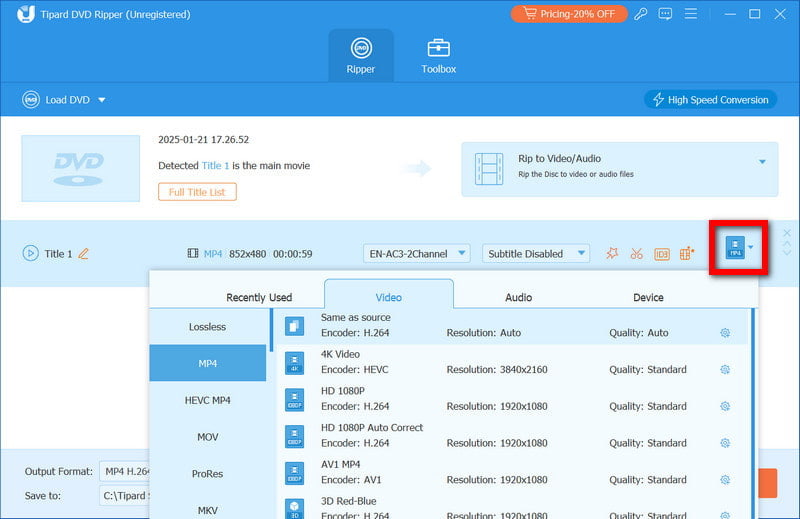
Step 3Open the Output Format menu and choose the format or device preset you want. Selecting an iPad preset ensures the video matches iOS playback requirements without manual tuning.
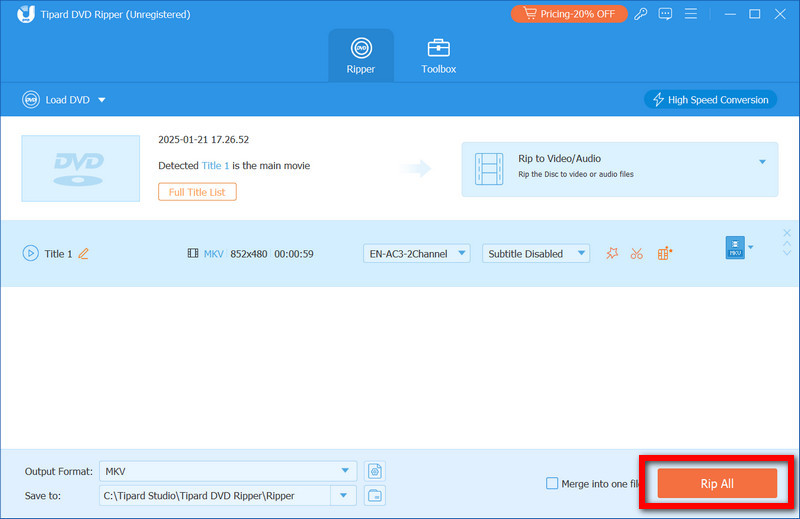
Step 4Click Rip All to start converting the DVD, and with GPU acceleration enabled, the process runs faster while keeping video and audio quality intact. Once complete, your files are ready to transfer and play.
2. HandBrake
HandBrake is open source and free, an unblemished video transcoder with long-time users and technical fans. It is most appropriate to rip homemade or unprotected DVDs, and it gives very fine control over the settings of the encoding. Although it is not as user-friendly, the interface is flexible in changing video quality, resolution, and compression. For those learning how to rip DVD to iPad using HandBrake, this option works well if you are comfortable following presets and handling longer conversion times.
Step 1Download and install HandBrake on your computer, then insert the DVD into your disc drive.
Step 2Open HandBrake and choose the DVD as the source. The program will scan the disc structure.
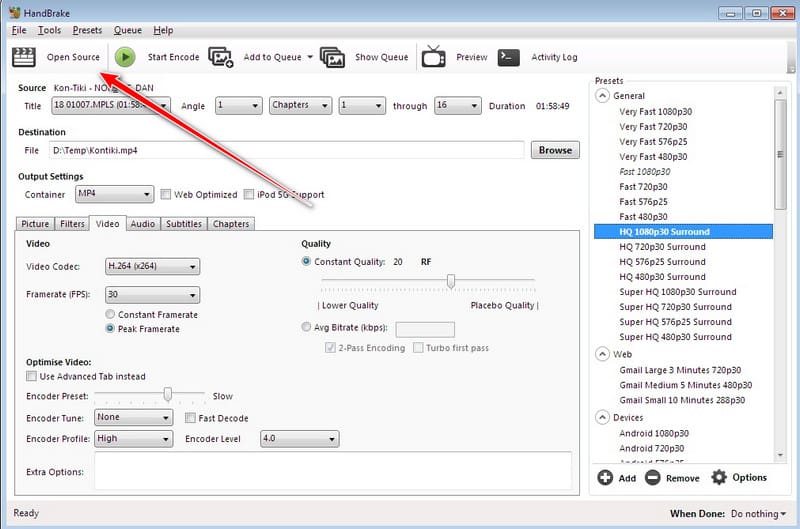
Step 3Select an iPad preset from the device list to apply compatible video and audio settings.
Step 4Choose a destination folder and click Start Encode. After conversion, the video file can be transferred to your iPad.
- When learning how to use HandBrake to rip DVDs to an iPad, keep in mind that HandBrake does not support most encrypted DVDs without additional software, and results depend on the source disc.
3. WinX DVD Ripper
WinX DVD Ripper is also a good application for converting DVDs to be played on iPads because it is reliable. It reads the majority of DVDs, even most of the encrypted commercial discs, and this prevents the frequent playback issues. The software is iPad preset, meaning that you do not have to change the technical settings manually. Hardware acceleration guarantees speed in conversion and maintains a high quality of video and audio. For anyone wondering how do I rip a DVD to my iPad, WinX DVD Ripper provides a simple and dependable solution.
Step 1Install WinX DVD Ripper on your Windows or Mac computer, then open the program.
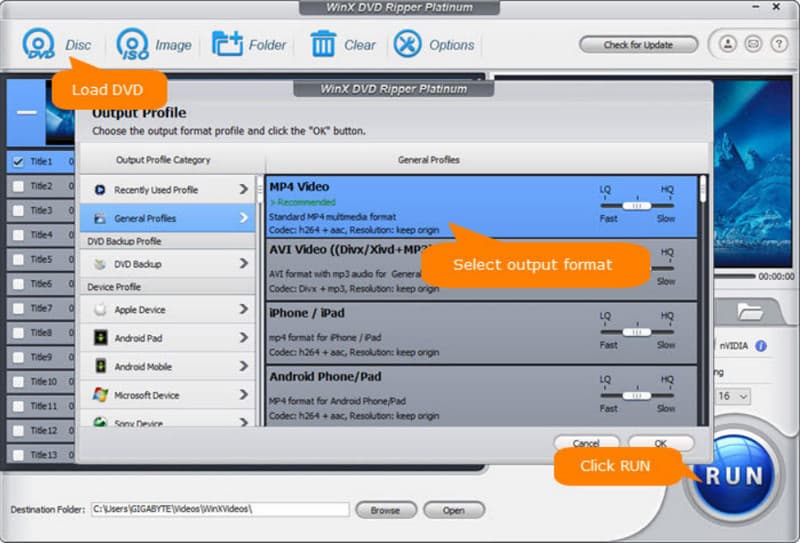
Step 2Insert your DVD into the drive and click the DVD Disc button to load the movie. The software will automatically detect titles and chapters.
Step 3Choose an iPad preset from the output profile list. This ensures the video is formatted correctly for your device.
Step 4Select a folder to save the converted file, then click RUN to start ripping. Once complete, the video is ready to transfer to your iPad for playback.
Part 3: How to Transfer Converted DVD to iPad
Once you have converted your DVD using software to rip DVD to iPad, the next step is to move the video file onto your iPad so you can watch it anytime. There are several methods, and the best one depends on whether you use a Mac or a Windows computer.
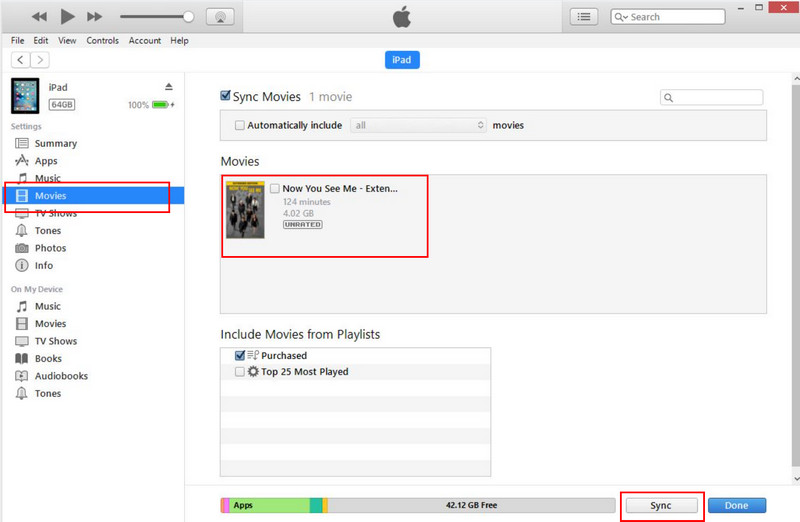
Method 1: Using iTunes
Step 1Open iTunes on your computer and connect your iPad using a USB cable. Click the Device button in iTunes and go to the Movies or TV Shows section.
Step 2Drag and drop your converted DVD file into the library. Click Sync to transfer the file to your iPad. Once syncing is complete, you can open the Videos or TV app on your iPad to watch the movie.
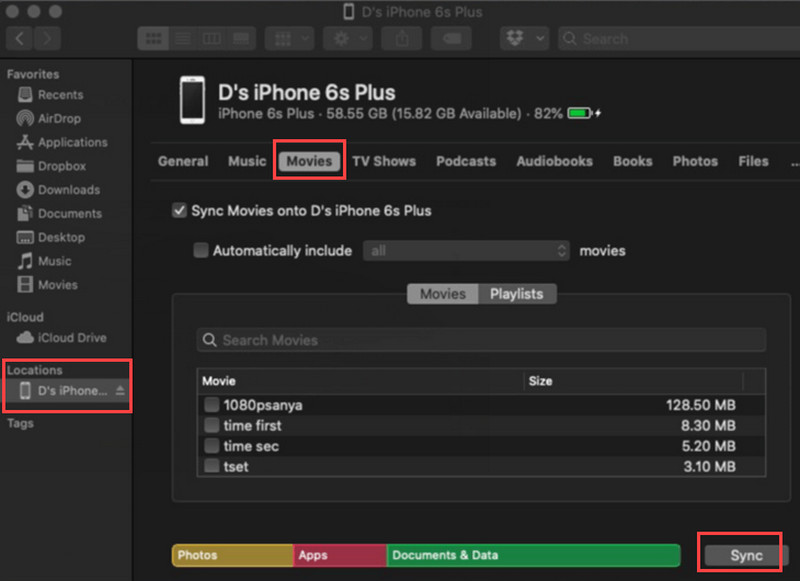
Method 2: Using Finder
Step 1Plug your iPad into your Mac using a USB and open Finder. Click on your iPad under Locations.
Step 2Click the Movies tab and drag your converted DVD file into the list.
Step 3Click Sync to transfer the video. After that, turn on the TV or the Videos app on your iPad to see whether the movie is there.
Method 3: Using Cloud or Wireless Transfer
Step 1Upload the converted DVD file to a cloud service like iCloud Drive, Google Drive, or Dropbox.
Step 2On your iPad, open the corresponding app and download the file.
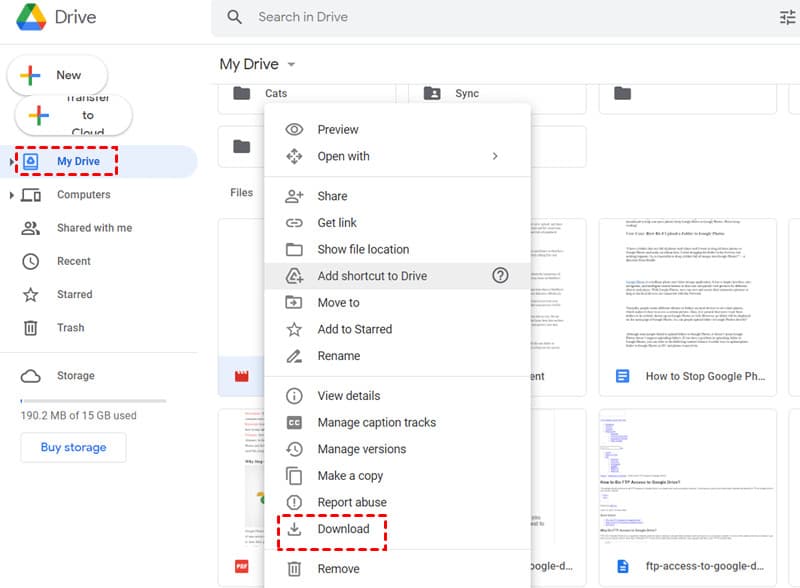
Step 3Open the video using the Files app or a compatible video player.
There are hundreds of programs available to rip DVDs for iPad, but the best program to rip DVDs for iPad is the one we have covered in this guide. These devices are fast, reliable and convenient to use and transferring your favorite movies is easy. On your iPad, you can watch your movies in high quality without any technical difficulties with the help of the steps given. The right software will make the DVD-to-device experience smooth.
Convert DVDs to iPad-ready formats quickly while preserving high video and audio quality.