Suppose you are crafting a stunning brochure, but the images do not fit right; some are too big, and others are too small. That is where resizing in InDesign becomes your design superhero! Resizing images ensures they harmonize perfectly with your layout, making your project visually appealing. This guide will explore why resizing images in InDesign is crucial for professional-looking designs. We will explore how to resize an image in InDesign and its alternative!
Part 1. What is InDesign
InDesign is a program that creates magazine, brochure, and book layouts. Adobe makes it and helps people arrange text, images, and graphics on digital pages. It is commonly used in the publishing and design industries to make documents look professional and organized.
Here is what it helps you do:
• Layouts and Designs
You can create layouts for printed materials or digital formats, arranging text, images, and graphics exactly how you want them to look.
• Typography
InDesign lets you work with different fonts, sizes, and styles to make text look fancy or simple, whatever fits your design.
• Image Handling
You can import photos, illustrations, and other visual elements, then move, resize, and edit them in your design.
• Professional Output
InDesign helps you make things look polished and professional. You can even add interactive elements for digital projects.
• Templates and Libraries
Pre-made templates and libraries are available, saving you time by giving you a head start on your projects.
Part 2. How to Resize an Image in InDesign
When working with InDesign images, resizing them without cropping or distorting their original proportions is essential. It ensures that the visual integrity of the image is maintained. Moreover, it allows for precise changes while fitting seamlessly into your layout. The following steps will guide you through resizing in a way that preserves the image's entirety and prevents any unwanted distortion or cropping.
1. How to Resize Image in InDesign Without Cropping
Have you ever wished to resize images in InDesign without losing any essential details? Good news - it is possible! Here is how to resize in InDesign without cropping:
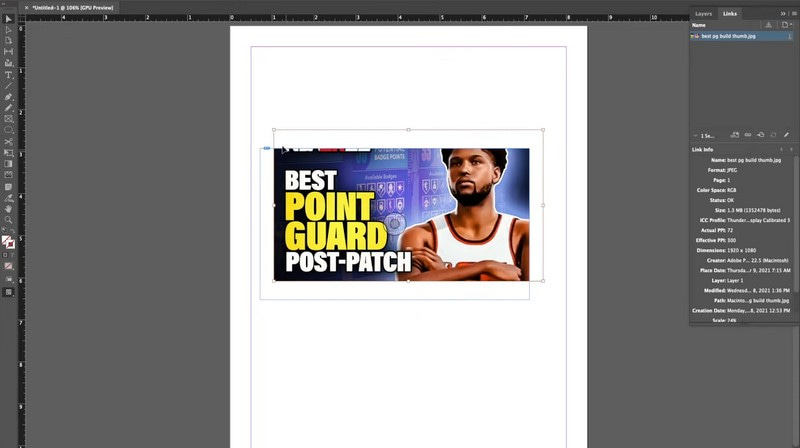
Step 1Open your document in InDesign, where the image is placed.
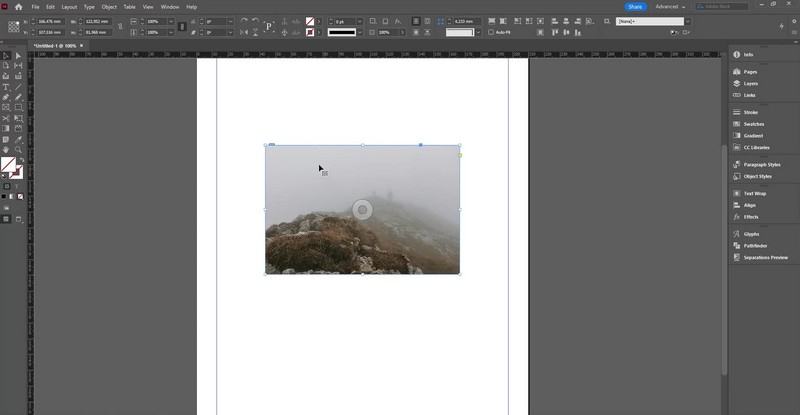
Step 2Click on the image you want to resize with the Selection Tool (V). You will see a bounding box around the picture.
Step 3To resize without cropping, hold down the Shift key on your keyboard to maintain the image's proportions. Then, click on one of the corner handles of the bounding box.
Step 4Drag the handle inward or outward to resize the image to your desired size. As you resize, the image will change accordingly within the bounding box. Release the Mouse button to enter the new size. Besides that, you can also move the image within its bounding box by clicking and dragging it.
Step 5After resizing, preview the image to ensure it fits well within the space without cropping any parts.
2. How to Resize Image in InDesign Without Distortion
Do you want to resize images in InDesign without making them look weird or stretched out? It is doable! Let us discover how to resize in InDesign without distortion!
Step 1Use the Selection Tool (V) to click on the image you want to resize. You will see a bounding box around the picture.
Step 2To avoid distortion, hold down the Shift key on your keyboard. It ensures the image's original proportions remain intact while resizing.
Step 3Click and drag any corner handles of the bounding box inward or outward. As you resize while holding Shift, the image will change proportionally.
Step 4Keep an eye on the image as you resize. The Shift key helps maintain its original shape while making it smaller or larger.
Step 5Once you are satisfied with the size, release the Mouse button to set the new dimensions.
Part 3. Best Alternative to InDesign
AVAide Image Upscaler is a fantastic alternative to InDesign that is both free and incredibly versatile. It works with all sorts of stuff in your pictures: people, products, cars, animals, and other objects.
One of the most incredible things about it is that you can upload many photos simultaneously. In addition, no annoying watermark is added to your pictures after enhancing or enlarging. The impressive part? AVAide Image Upscaler uses top-notch artificial intelligence technology. It means it is super easy to use; it does all the hard work for you. It automatically makes your images look better, especially when you want to make them bigger without losing quality.
Step 1Open your web browser and type AVAide Image Upscaler in the search bar. Once found, click it.
Step 2Click the Choose a Photo button, which you will see on the center part of the interface. It will automatically open your local file; pick one you desire to enhance and enlarge.

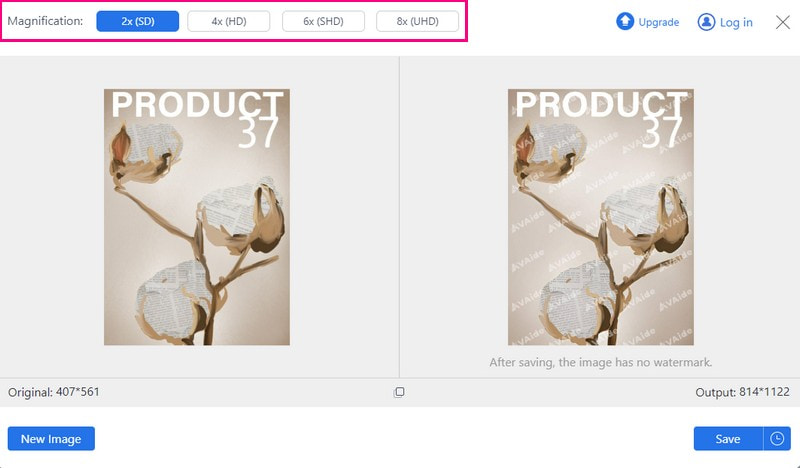
Step 3The platform will process your selected image. It will be upscaled and present a high-quality image for preview.
AVAide Image Upscaler offers a magnification option where you can choose to enlarge your image. Depending on your requirements, you can pick between 2x, 4x, 6x, and 8x. Once picked, you will see the enlarged picture in the right corner.
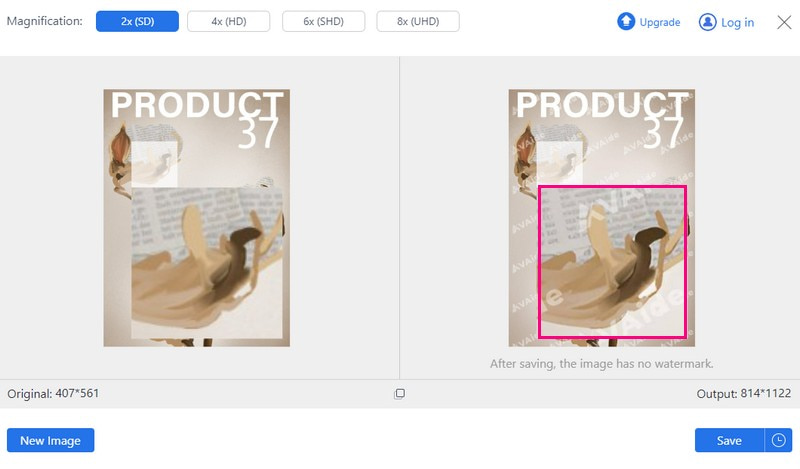
Step 4You can see the enhanced and enlarged details of your image by dragging the Magnifying cursor on every part of the image.
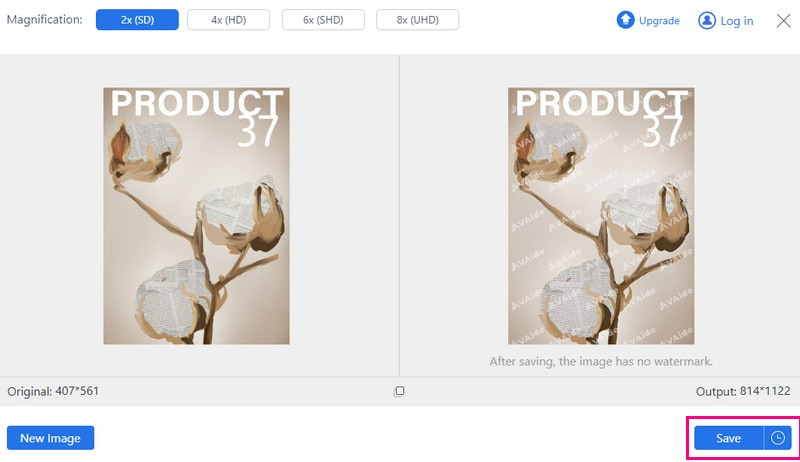
Step 5When done, click the Save button to download your output on your local file.
Part 4. FAQs about Resizing an Image in InDesign
What is the shortcut to resize an image in InDesign?
Click on the Content grabber inside the image frame. It helps you work with what is inside the frame. Use Option + Command + < (left arrow) or > (right arrow) on a Mac to make the image smaller or larger.
How do I resize an object in InDesign?
Hold Ctrl (Windows) or Command (Mac) and grab one of the box corners. Drag it until it is the size you want. Hold Shift while you do this to keep it from getting squished or stretched weirdly. If you want it to grow or shrink from the middle, hold Alt (Windows) or Option (Mac) while you drag.
Can I use InDesign for free?
Absolutely! You can access InDesign through a 7-day trial that you can download for free. During this trial period, you will have full access to all the features and functionalities of InDesign.
What is the maximum image size in InDesign?
In InDesign, the biggest size is 216 inches in any direction. But in Illustrator, things can go larger, up to 227.5 inches in width or height.
Is there a way to resize multiple images at once in InDesign?
Unfortunately, InDesign has no feature to resize many images at once. You will have to resize each picture separately, one by one.
To close, learning how to resize a picture in InDesign is handy. But if you are looking for a specialized platform for boosting image quality and size, consider AVAide Image Upscaler. This online-based image upscaler can enhance your images while keeping them crystal clear. It makes them perfect for high-resolution printing or digital projects. Give it a shot alongside InDesign for a professional touch to your visuals!
ABOUT THE AUTHOR


Our AI technology will automatically enhance the quality of your images, remove noise and fix blurry images online.
PROCESS NOW