Photopea is a versatile online photo editor used by various individuals, from casual users to professionals. When it comes to resizing images, several factors might prompt this modification. People resize images for various reasons: to fit social media requirements, create project visuals, or prepare photos for printing.
This post will delve into how to resize an image in Photopea. It will provide a comprehensive step-by-step approach to adjusting image dimensions effectively. In addition, it will introduce alternative methods for resizing images. Keep on reading for a more in-depth look!
Part 1. What is Photopea
Photopea is an impressive platform for making pictures look better, creating cool animations and websites, and fixing up photos. It is like a one-stop shop for all things design! You can use ready-made presents to make projects for social media, ads, phone designs, and even resumes.
Part 2. How to Resize an Image in Photopea
This section will teach you how to resize a picture on Photopea, which allows you to modify dimensions without compromising image quality. Here is how to do it:
Step 1First, access the Photopea using your web browser.
Step 2Press the File button, then choose New or use Ctrl + N keys. Enter the width and height and click the Create button to make a see-through layer.
Step 3Hit the Key Aspect Ratio to make the necessary changes, then click the OK button to confirm. Press the Select and choose All to pick the photo. Then, press the Edit, followed by Copy.
Step 4Return to the transparent layer. Select Edit, and press Paste to put the picture on the see-through layer.
Step 5Use the Move feature in the sidebar to modify the image position. Finally, click the File and select Export to save your resized output.
Note: If you save images in JPG format, the see-through layer will become black. To keep the picture clear, choose the PNG option.
Part 3. Pros and Cons of Using Photopea
Photopea brings convenience with its versatile features, yet it has a few trade-offs to consider before diving in.
- It is free to access.
- It boasts a straightforward interface that is easy to use.
- It supports many different file types or editing.
- It offers numerous features for editing photos and making designs.
- It only works with 8-bit color channels.
- It cannot be installed in all browsers.
- There are ads or pop-ups while using it.
Part 4. Alternatives Ways to Using Photopea
Looking beyond Photopea, a world of different tools is waiting to resize your images. Let us take a peek at a few excellent alternatives!
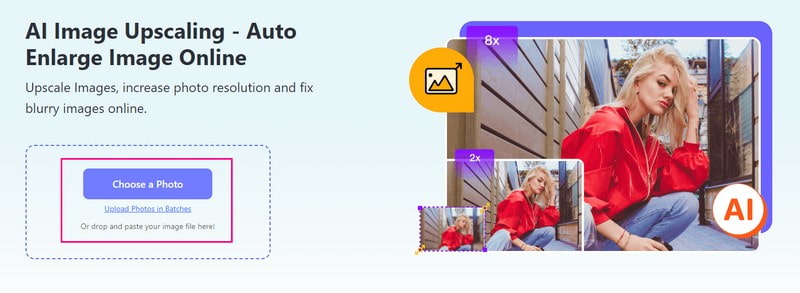
1. AVAide Image Upscaler to Enlarge Image
The perfect platform that can make your image bigger without losing its quality is AVAide Image Upscaler.
It uses top-notch artificial intelligence to enhance and enlarge photos automatically. You can make them two, four, six, or even eight times bigger, and they will still look clear and sharp. These pictures can be used for any purpose, like e-commerce, printing, etc. It is free, has no watermarks on your image, and works with many different image formats. Furthermore, it supports batch upload processing, which requires upgrading your plan.
Step 1Visit AVAide Image Upscaler's official website.
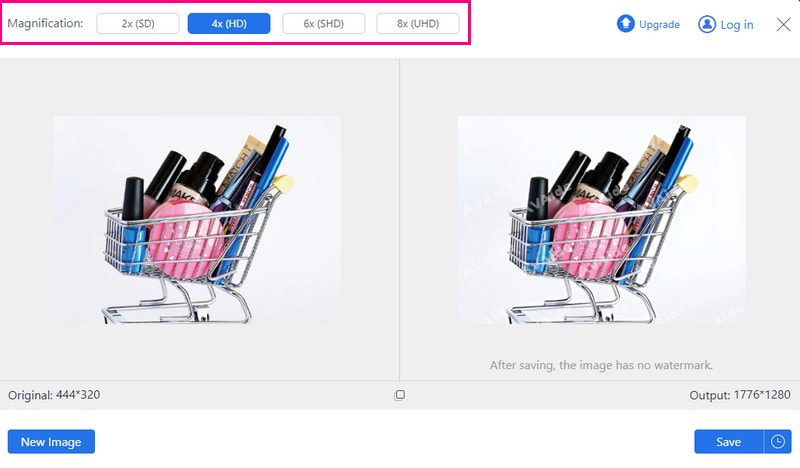
Step 2Press the Choose a Photo button to upload the small image you desire to enlarge. AVAide Image Upscaler will load your pictures. You can see the output picture in the right corner.
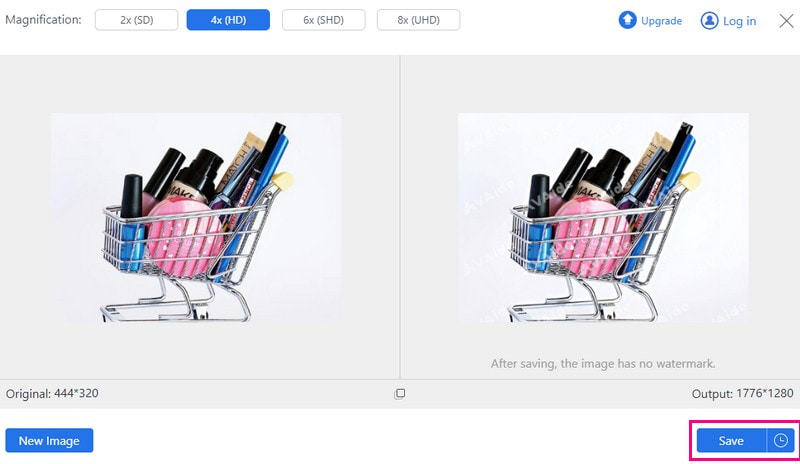
Step 3Head to the Magnification option and select your desired level to enlarge your image. You can pick 2×, 4×, 6×, or 8×, according to your liking. The image will be enlarged, but the clarity and sharpness are retained.
Step 4Once satisfied, press the Save button to download your enlarged image on your local file.
2. AVAide Image Compressor to Reduce Image Size
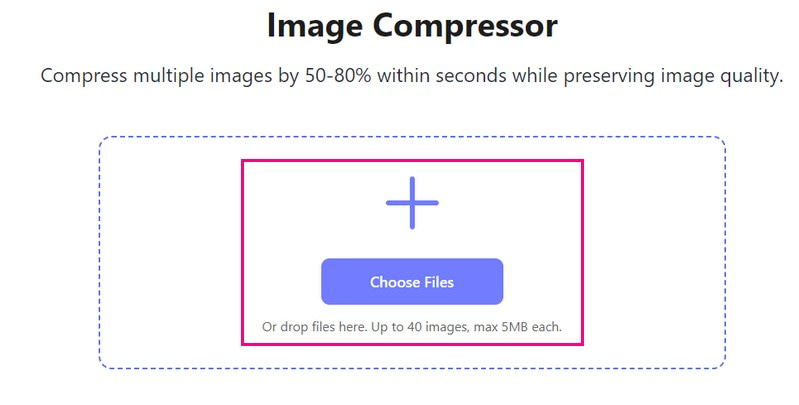
AVAide Image Compressor is your solution to shrink image file sizes without compromising quality. You can effortlessly reduce image sizes, making them smaller and more manageable. You can use it for various purposes, such as sharing online, optimizing website performance, or saving storage space.
Furthermore, the AVAide Image Compressor allows you to compress multiple images simultaneously. It can reduce the size of multiple images by an impressive 50-80% within seconds. Plus, it is super versatile since it supports almost every image format.
Step 1Go to AVAide Image Compressor's official website.
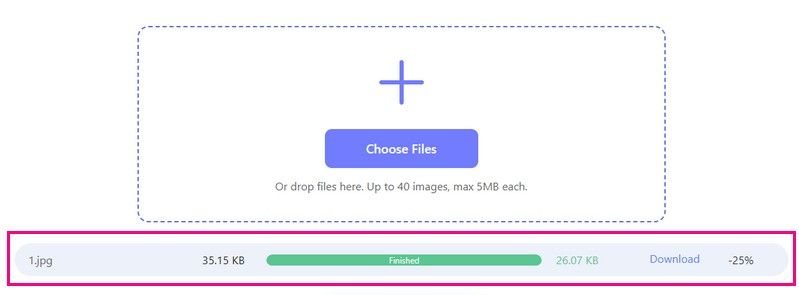
Step 2Press the Choose Files button to import the image that has a large file.
Step 3Your image will be loaded after a few seconds. You will see the original image size in the left and the reduced image size in the right corner. From 35.15 KB, it became 16.04 KB after the process.
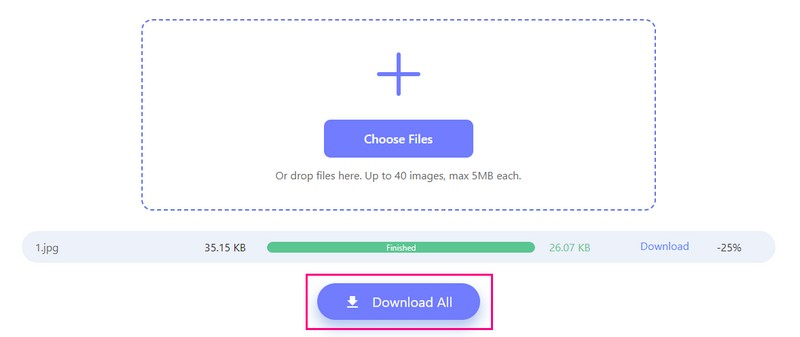
Step 4Once done, press the Download All button to save your reduced image size in your local file.
3. Picwand to Enlarge Image on Phone
A mobile application perfect for enlarging images and excellent for sprucing up visuals is Picwand. You control how much bigger you want your image to be. You can make it two times, four times, or even more! Besides that, it can help you turn your lower-resolution images to higher-resolution.
As it uses intelligent artificial intelligence, you do not need to do anything; it does everything for you. However, you must upgrade your plan to enable acceleration and other enlargement levels.
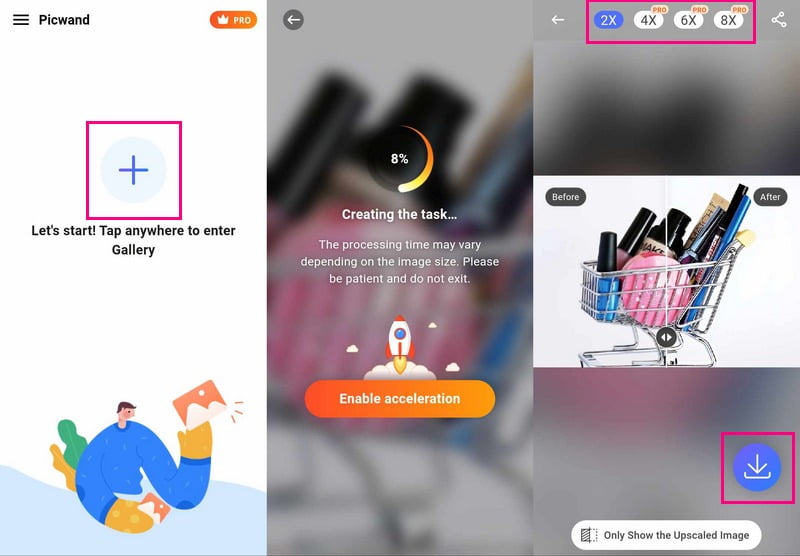
Step 1Get the Picwand installed on your mobile device and open the application.
Step 2Press the (+) button to access your phone's gallery and pick the image you want to enlarge.
Step 3Once your picture is loaded, please choose how much you want to enlarge it. Depending on your need, you can select from 2×, 4×, 6×, or 8×.
Step 4When satisfied with the result, hit the Save button. Your newly enlarged image will be saved immediately on your device.
Part 5. FAQs about Resizing an Image in Photopea
How do I change the size of a shape in Photopea?
Select the shape layer, and then hit Ctrl and T or Cmd and T. Then, drag corners or adjust the width and height to get your desired dimensions.
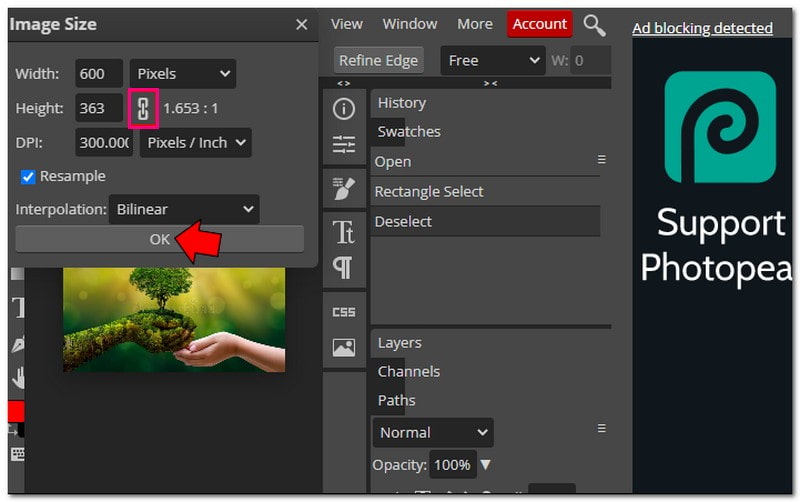
How to resize an image without stretching it in Photopea?
Open your image in Photopea. Click Image, and then Image Size from the top menu. In the dialog box, make sure the chain link symbol between Width and Height is enabled. This feature ensures Photopea locks the aspect ratio. Then, you can enter your desired width and height and click the OK button to resize the image.
Is Photopea the same as Photoshop?
Photoshop costs money, but Photopea is a free online platform that works like Photoshop. One big difference is that you can use Photoshop without the internet, but Photopea needs it because it is an online tool.
What file formats does Photopea support?
Photopea can work with many files, like Photoshop (PSD), PNG, JPEG, GIF, SVG, etc. You can use AVAide Image Converter to convert your photos to a format compatible with Photopea.
Is it possible to undo a resize in Photopea?
In Photopea, you can use Ctrl + Z or Command + Z to undo if you make a mistake. It works for resizing as long as you have not saved your changes.
To bring the discussion to an end, discovering how to resize an image in Photopea offers flexibility and robust editing capabilities.
However, AVAide Image Upscaler and AVAide Image Compressor provide efficient resizing solutions with user-friendly interfaces for those seeking alternative methods. Likewise, Picwand offers a simple yet effective way to resize images swiftly. Discover these alternatives to find the tool that best suits your resizing needs, whether for enhancing image quality or reducing file size.
ABOUT THE AUTHOR


Our AI technology will automatically enhance the quality of your images, remove noise and fix blurry images online.
PROCESS NOW