Accidentally downloading a photo with a logo or text overlay is frustrating, and this is where removing a watermark in Photoshop becomes a lifesaver. Whether you are preparing an image for a school project, client presentation, business poster, or personal design, watermarks can ruin an otherwise perfect picture. Some are bold and easy to spot, while others are transparent and repeated across the entire image, making them trickier to erase. This guide walks you through the most effective Photoshop methods and an easier AI option to help you clean your images professionally without damaging quality.
Part 1. Detailed Guide to Remove Watermark in Photoshop
Photoshop watermarks, as you can perform complex editing, and there are great tools available to perform complex editing workflows. With tools such as the Clone Stamp tool, the Healing Brush tool, as well the Content-Aware Fill tool, you can all but entirely erase standard watermarks, even on complex and textured backgrounds. These tools are the epitome of precision editing, and the end result is a seamless, professional, and clean image without a trace of editing.
Step 1Launch the one program and the image you want to edit. This way, all the images will be on your desktop and will be easy to access.
Step 2From the tools on the left-hand side, choose the Clone Stamp Tool. With this tool, you will be able to copy and move nearby pixels over the area of the watermark.
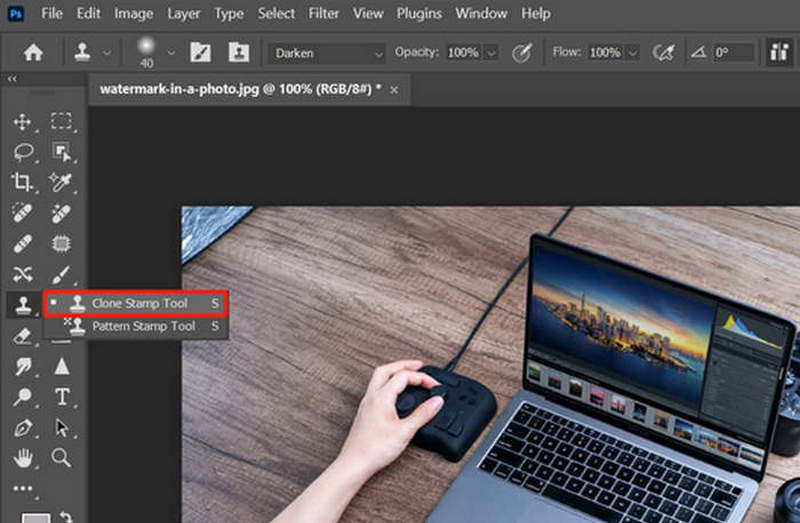
Step 3With the Alt button held down, click on the area that is near the watermark. This is called sampling, and you want to choose a clear area that will match the background perfectly.
Step 4With the color that you sampled, paint over the watermark. Make sure to change the size of your tool, and even the hardness and opacity, so that all edges look seamless.
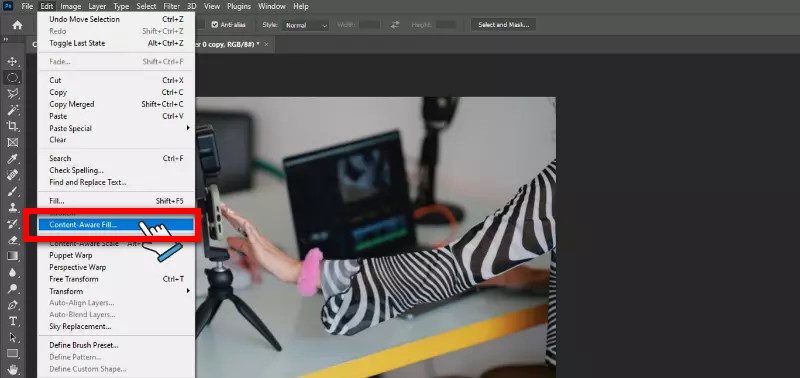
Step 5When the watermark is on a plain background, instead use Content-Aware. Use the Lasso Tool to highlight the watermark region, and then go to Edit > Content-Aware Fill, check the preview it generated, and hit OK to use the auto-fill and apply your desired adjustments.
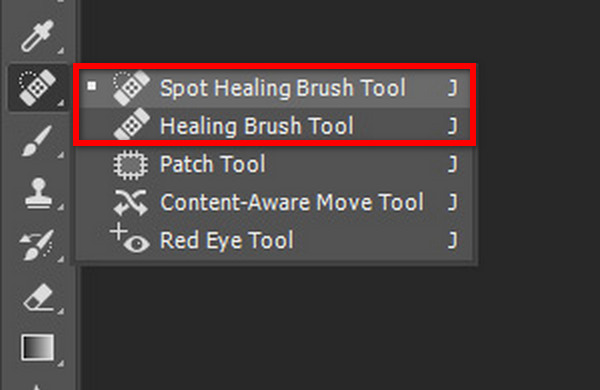
Step 6To get rid of any remaining edges and rough areas, use the Spot Healing Brush Tool and Healing Brush Tool. To give the affected areas a more natural appearance, use these tools to remove any remaining blemishes and smooth the adjustments.
Step 7To perform the needed adjustments, zoom in to examine the small details. Make sure the alterations made to the textures and lighting are sustained to keep the edit from appearing too artificial.
Step 8To keep the edited picture in the desired format, go to File > Save As. Save the picture without a watermark in any format that works for your application, such as JPG, PNG, etc.
Part 2. How to Remove a Transparent Watermark in Photoshop
Removing the repeating patterns of some transparent watermarks can be especially challenging using traditional offline editing processes. To overcome this challenge without altering the background or affecting other elements of the photo, and to preserve the image's original quality, quick Photoshop techniques, such as layer duplication, color inversion, blending modes, and using a reliable watermark remover, are applied to neutralize transparent watermarks effectively.
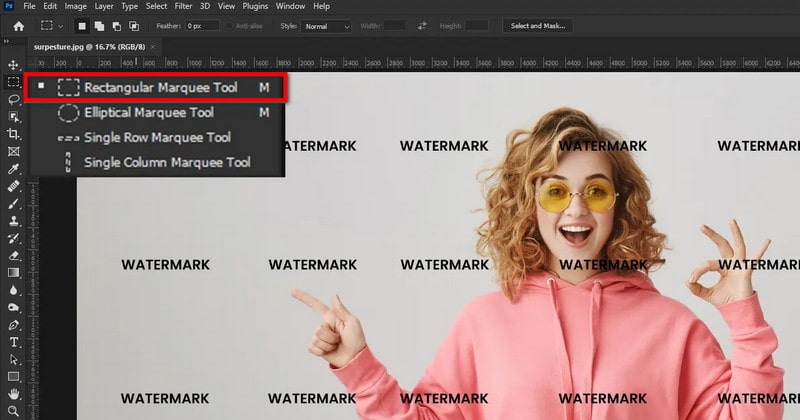
Step 1Choose the Rectangular Marquee Tool and draw a box around a watermark in the pattern.
Step 2Use the shortcut CTRL + J to duplicate the selected area to a new layer.
Step 3Use the shortcut CTRL + I to change the colors of the duplicated layer, and make it the opposite color.
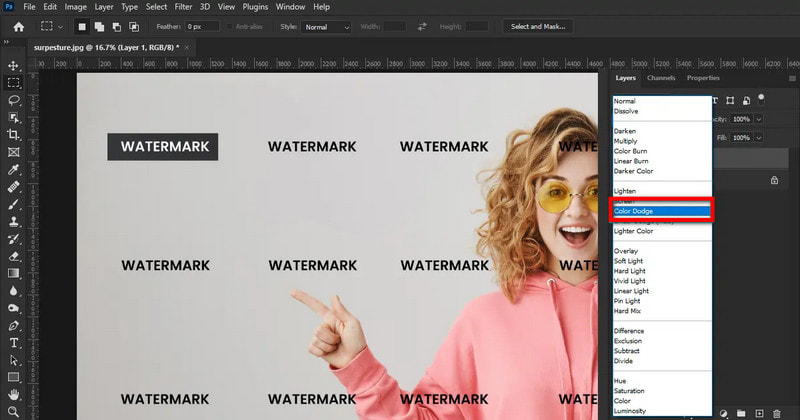
Step 4Bring the focus to the bottom of the Layers Panel and change the Blending Mode of the bottom layer to Color Dodge. This should neutralize that area of the watermark.
Step 5CTRL + J again to duplicate the color-adjusted layer. Hold CTRL and drag this over another watermark in the pattern so that it disappears.
Step 6Finishing the image.
Step 7When complete, merge the layers using CTRL + E to save the image.
Pro Tips:
- Make a duplicate layer to keep the original intact.
- Use the Healing Brush Tool for minor background edits.
- Make sure to use this method for repeated watermarks. Other scattered watermarks may need to be retouched manually, especially if you're also trying to remove TikTok watermarks or similar complex overlays.
Part 3. The Easiest Way to Remove a Watermark from an Image
AVAide Watermark Remover is an AI-powered online platform designed to remove image watermarks quickly and accurately without sacrificing quality. It works on any internet-connected device and requires no downloads. Using smart algorithms, it seamlessly erases logos, text, and sticker watermarks while preserving the original background. With broad format support, GPU acceleration for fast processing, and secure, encrypted uploads, it delivers polished, professional results in just a few clicks.
Step 1Upload Your Photo
Go to the official AVAide Watermark Remover website. Drag and drop your image into the upload area, or click Choose a Photo to select your device file. The site accepts JPG, PNG, GIF, BMP, and TIFF file formats.

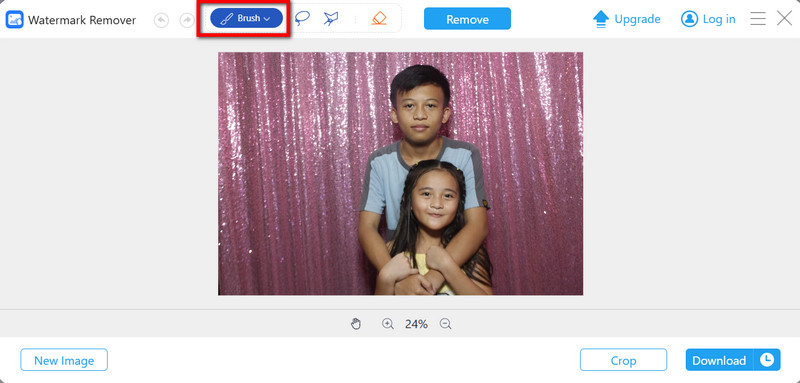
Step 2Mark the Watermark
Highlight the area around the watermark, logo, text, or object you want to delete with the Brush tool. Be sure to erase the entire watermark with the brush for the algorithm to render the best result.
Step 3Remove the Watermark
Click Remove, and the watermark will be erased, and the area will be programmatically blended to the style of the background.

Step 4Preview Your Result
Check the preview of your image to ensure the watermark has been completely removed. Confirm that the background looks smooth, natural, and seamless.
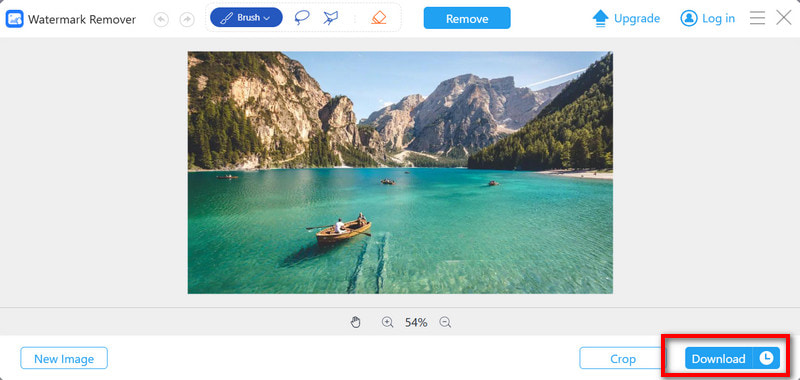
Step 5Download Your Image
If you are satisfied with the result, click Download to save your high-quality, watermark-free image directly to your device. Your photo is now ready for use.
Step 6Repeat for Multiple Images
For additional photos, simply repeat the same process. The AI ensures consistent, professional-quality results for all images, saving time and effort when editing multiple files.
Learning how to erase watermarks in Photoshop gives you full control over your images, whether you are fixing a simple logo or removing a complex transparent pattern. With tools like Clone Stamp, Healing Brush, Content-Aware Fill, and advanced blending techniques, Photoshop delivers precise and professional results. And if you prefer an easier, faster option, AI watermark removers offer a reliable alternative. With the right method, you can restore clean, high-quality photos suitable for any project or presentation.
ABOUT THE AUTHOR


Easily get rid of annoying watermarks and unwanted objects from your photos without quality loss.
PROCESS NOW