Hey there, Roblox gamers! Are you looking to capture and share your best gaming moments with friends? Well, you are in the right place! In this guide, we will walk you through simple steps on how to record on Roblox. You will soon be ready to showcase your skills and share your exciting adventures with the world! Let us get started and turn you into a pro recorder!
Part 1: How to Record on Roblox with the Best Video Quality
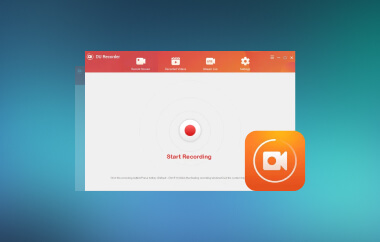
Many users enjoy recording their gameplay to share with followers on social media or create content for streaming platforms. To ensure your videos are clear, smooth, and enjoyable for your viewers, it is necessary to use a reliable screen recorder. Speaking of reliable screen recorders, AVAide Screen Recorder is the one you can trust.
AVAide Screen Recorder provides high-quality video recording. You can record in high-definition quality without lag. It ensures your viewers get the best possible experience. Besides that, it allows you to record the entire screen or just a specific area. Plus, it records the game's sound and your voice. So you can add your comments or reactions while playing. AVAide Screen Recorder also makes adding your webcam to the video easy. So your face can appear in a small window while you play. It makes the video more engaging.
Here is how to record on Roblox with the best video quality using AVAide Screen Recorder:
Step 1First, you must visit the AVAide Screen Recorder's official website to download and install it.

FREE DOWNLOAD For Windows 7 or later
 Secure Download
FREE DOWNLOAD For Mac OS X 10.13 or later
Secure DownloadStep 2Open AVAide Screen Recorder. In the main interface, you will see four sections:
Display: This option will record everything on your screen. Select Full to record the whole screen or Custom to select a specific area.
Webcam: Toggle this on if you want to show your face using your webcam while the recording process is ongoing.
System Sound: Turn this on to record the sound from the game. You can modify the volume level to your liking.
Microphone: To add your voice to the recording, enable the Microphone option.

Step 3Now, open Roblox and start playing. When you are ready, click the REC on the recorder.
During recording, you will see a toolbar with buttons for various actions:
Pause: Skip unwanted parts of the recording.
Camera: Take screenshots if needed.
Edit: In real-time, open the editing panel to incorporate text or drawings into the video.

Step 4Once you are finished recording, hit the Stop button. A preview window will open so you can watch your video. If there are unnecessary parts from the recording, you can use the Trim option to remove them.

Step 5If you are happy with it, click the Save button to save your recording on your local file. In case you will record more gameplay, just click the Record More button to start recording again.
Part 2: How to Record Roblox with the Built-in Recorder
Roblox knows players love sharing their gaming moments on social media platforms. Roblox contains a built-in screen recorder for everyone to use to make this easy. While it is simple to use, the recorder has limited features. It only captures the entire screen. There is no way to select a specific part. You may need to edit your recorded gameplay to get it right.
To learn how to record in Roblox with the built-in recorder, please rely on the steps provided:
Step 1First, open your Roblox game. Once it is running, head to the Menu in the upper-left corner of the screen.
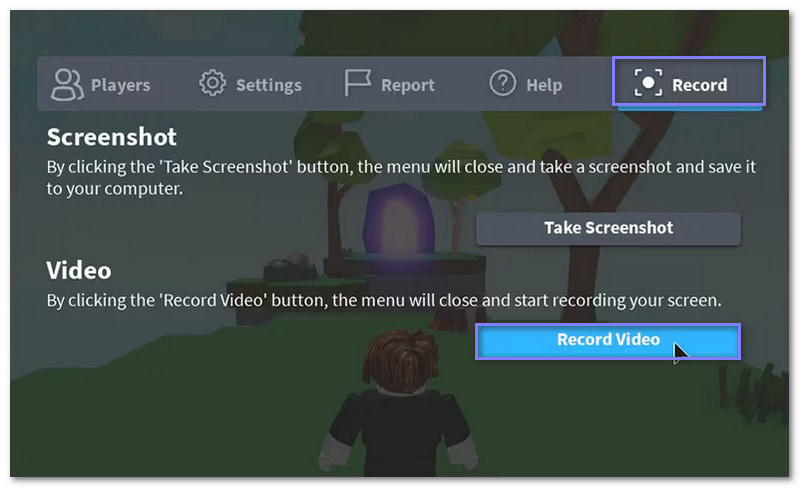
Step 2In the Menu, you will see several tabs. Click on the one labeled Record.
Step 3Hit the Record to start recording your gameplay. Your screen actions are being captured as a video.
Step 4Once done, return to the Record tab and click the Stop Recording button. The program will then end the recording session.
Step 5Roblox saves your recorded video automatically to your computer. You will see it in the My Videos folder in your local file folder.
Part 3: How to Record Roblox with OBS
OBS Studio is a free program that works on almost any computer. Many gamers choose it to stream their games live for others to watch. The impressive thing is that you can also use it to record your gameplay and save and share it later.
It permits you to capture your game screen, webcam, and microphone. It means you can incorporate your reactions or comments while recording. In addition, you can control what appears in your recording. It allows you to fine-tune the video to make it more entertaining for your audience.
Below are the steps on how to record Roblox with OBS:
Step 1Run OBS to get started with your recording.
Step 2Go to the Sources section. Click the small + button, then select Display Capture from the list. This option will capture everything on your screen.
Step 3OBS will ask you to name your recording. Type in a name like Roblox Recording, then click OK to save it.
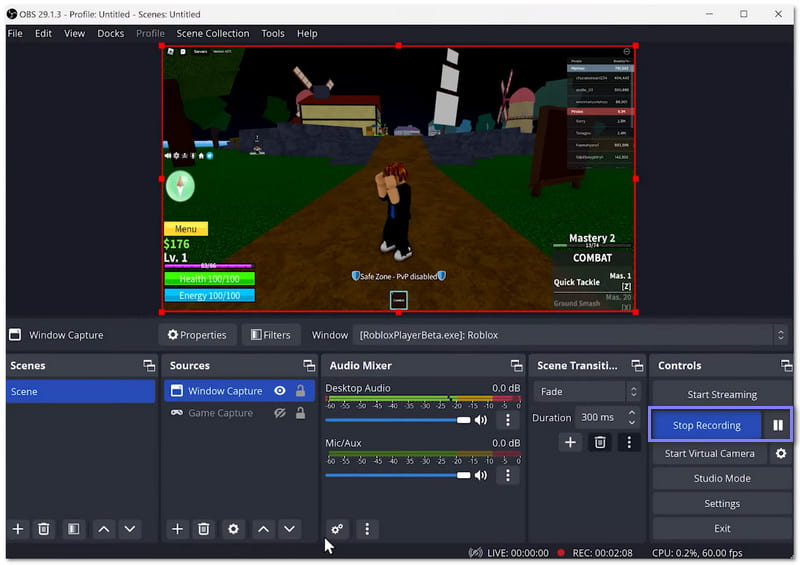
Step 4Head to the Controls section on the right corner of the interface and click Start Recording. Now, switch to your Roblox game and play; OBS will record everything in the background.
Step 5Once you are finished, return to OBS Studio. In the Controls section, click Stop Recording to end the recording process. After that, your video will be saved on your computer and ready to edit or share.
Part 4: Record Gameplay on Roblox with Bandicam
A well-known paid Roblox game recorder that enables you to record gameplay for long periods is Bandicam. It boasts a built-in game recorder, which well captures two-dimensional and three-dimensional games. In addition, it provides an option to incorporate a webcam overlay if you want to show your face while playing.
Do not worry about the recoding clarity; it supports ultra-high definition resolution. However, the free version has some limitations. It only permits you to record up to 10 minutes and incorporate a watermark into the output.
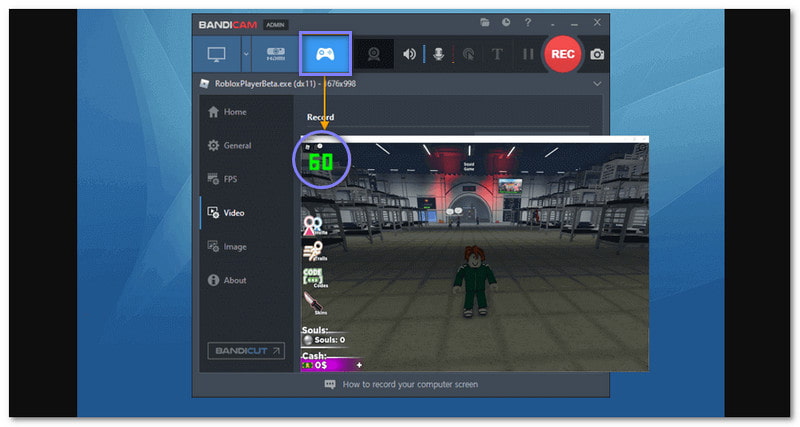
Step 1First, open Bandicam. Then, click the Gaming Console option to switch to the game recording mode.
Step 2Open Roblox and choose a game or experience you want to play and record.
Step 3Go back to Bandicam and click the REC button to start recording. Alternatively, press the F12 key on your keyboard to begin recording.
Step 4When you finish your gameplay, press F12 again to stop recording. Your video is saved in your computer's Home - Videos folder.
So, how do you record on Roblox? You now know the steps from the methods mentioned above! Whether you are using Roblox's built-in recorder, OBS Studio, or Bandicam, each has its way of capturing your gameplay. But if you want a more flexible, high-quality recording program, AVAide Screen Recorder is your best bet. It is not just great for Roblox; it works for various recordings, from gameplay to online meetings and even your favorite shows.
Record screen, audio, webcam, gameplay, online meetings, as well as iPhone/Android screen on your computer.