Sometimes, your screenshot shows more than what you need, like extra windows, toolbars, or messy backgrounds. That is when cropping helps. It keeps only the essential part of your image. In this post, you will learn how to crop a screenshot on a Mac, even after saving it. We will also show the easiest way to take a screenshot on a Mac. Let us start this journey together!
Part 1: What Does Crop Screenshot Mean
To crop a screenshot on a Mac means to remove the outer parts of the picture so you can focus on what is necessary. People do this to hide things like the taskbar, a big background, or extra windows. After cropping, only the main part you want to show stays in the picture.
Part 2: How to Crop a Screenshot on a Mac
You can crop a screenshot on your Mac in two easy ways. Either use keyboard shortcuts or open the Screenshot app. Both tools help you capture only the part of your screen you need. Follow these easy steps for each method below to learn how to crop a screenshot on a Mac.
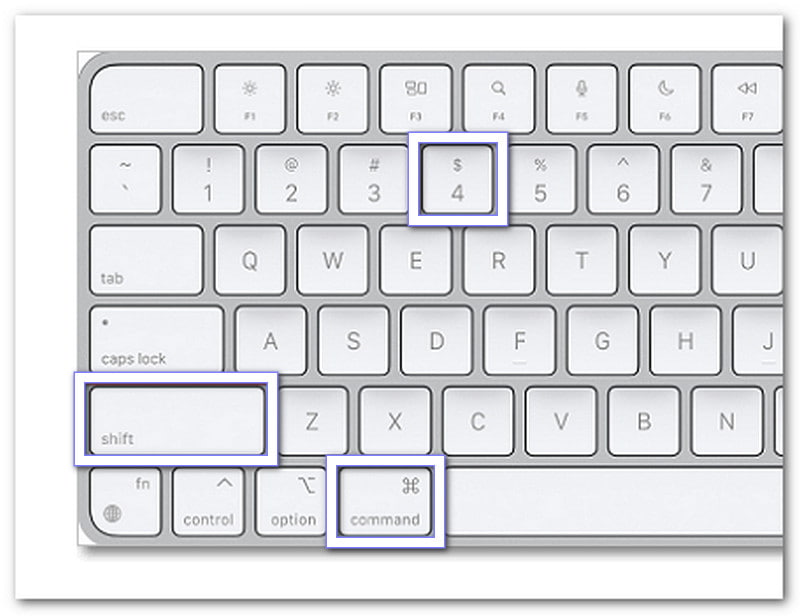
1. Using Shift + Command + 4
Step 1Press Shift + Command + 4 on your keyboard. It will turn your pointer into a crosshair.
Step 2Click and drag the crosshair to pick the part of the screen you want to capture. The screenshot will match the exact size of your selection.
Step 3Hold the Space bar while dragging to move the selected area around before taking the shot.
Step 4If you make a mistake or change your mind, press the Esc key to cancel and start again.
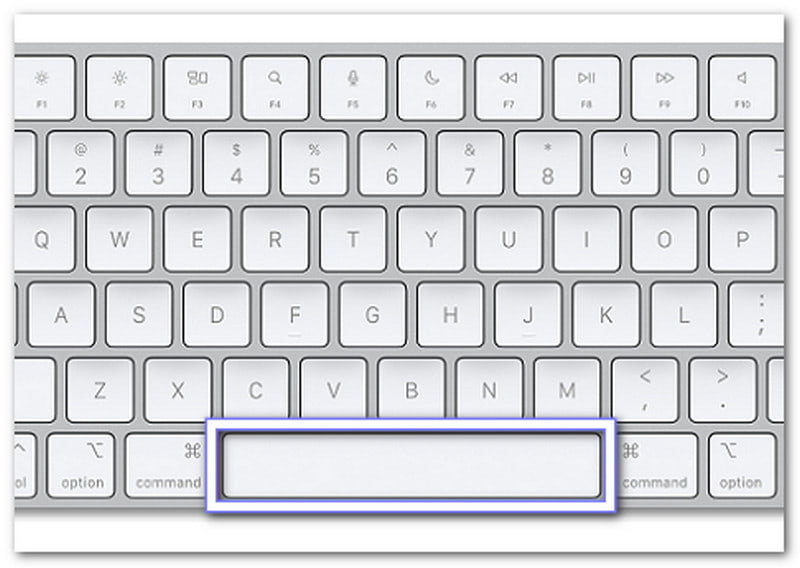
2. Using the Screenshot App (Shift + Command + 5)
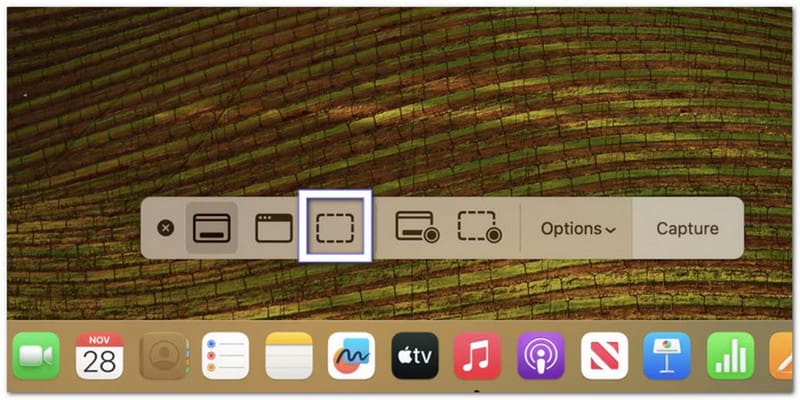
Step 1Press Shift + Command + 5 to open the Screenshot toolbar at the bottom of your screen.

Step 2Click on the Capture Selected Portion button to crop only part of the screen.
Step 3Drag the frame to fit the area you want to screenshot. You can adjust it until it looks right.
Step 4Once ready, click Capture to save your cropped screenshot on Mac directly to your desktop.
- If your Mac's screenshot feature is not working, try checking your keyboard shortcuts, updating your computer, or running a quick virus scan. These simple fixes can help get it working again.
Part 3: How to Crop a Screenshot on a Mac After Saving
Cropping a screenshot on a Mac after saving is simple, and there are three easy ways to do it. You can use Preview, the Photos app, or the Screenshot Markup Toolbar. Each tool lets you edit your screenshot and keep only the part you want to show. Below is how you can do it step by step for each method.
1. Use Preview App
Preview comes pre-installed as a built-in app that lets you crop screenshots on a Mac easily after saving them. You can open any saved image, select the part you want to keep, and remove the rest with just a few clicks. It uses a simple rectangle selection tool for cropping. Once done, it saves the cropped version right away without needing extra apps.
Step 1If you want new screenshots to open in Preview right away, press Shift + Command + 5, click Options, then choose Preview. It makes Preview the default tool for viewing screenshots.
Step 2If the screenshot is already saved, go to Finder, look for the file, and double-click it to open it in Preview.
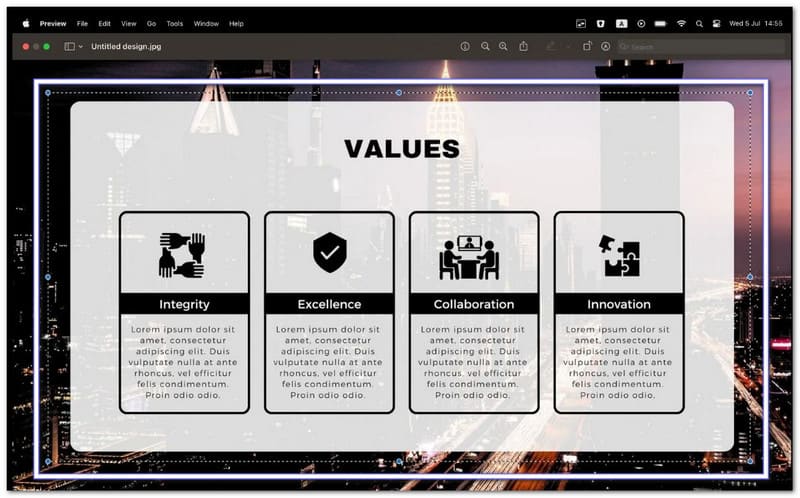
Step 3Once opened, click and drag across the image to select the part you want to keep. You can use the Rectangle selection tool or adjust the edges by dragging the small handles around the box.
Step 4Head to the top menu bar, click Tools, then choose Crop. You can also press Command + K as a shortcut.
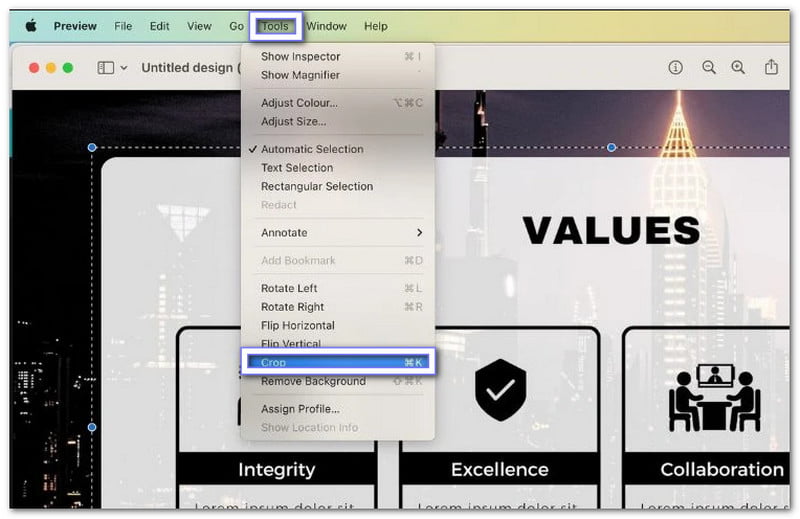
Step 5The image will instantly crop to your selected area. You can now save or export it with the new size and look.
2. Use Photos App
Editing screenshots in the Photos app feels quick and natural. It lets you open any saved image, use the crop tool, and fine-tune the frame until it looks right. The Photos app also allows light edits like rotation and filters. Once you finish cropping, it automatically saves the new version, so you do not have to export or rename the file.
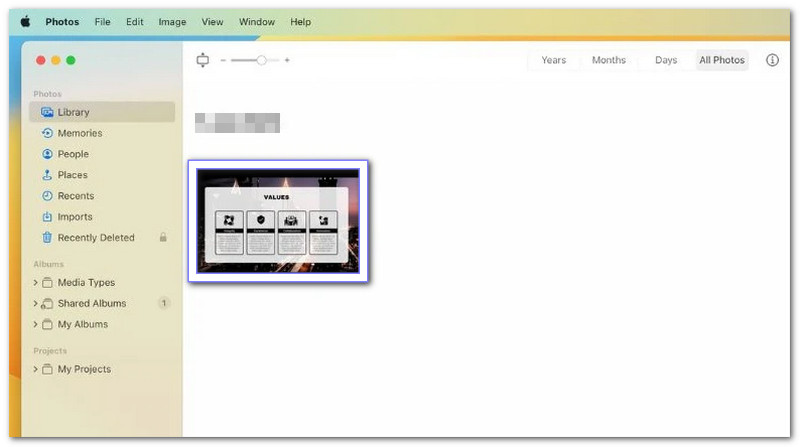
Step 1Find your saved screenshot in the Photos app or double-click the image to open it there.
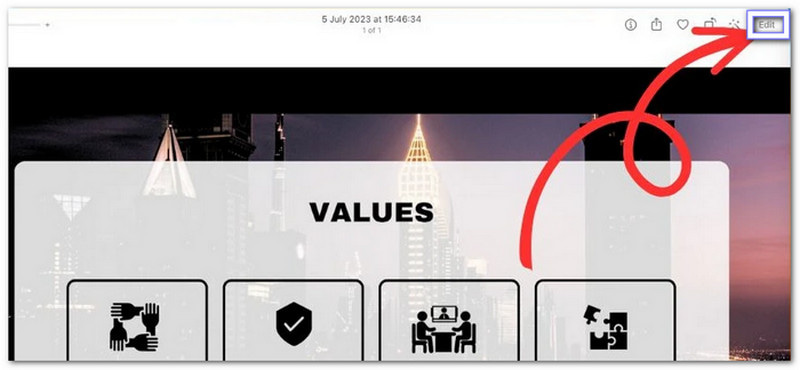
Step 2Click Edit in the top-right corner of the screen to open the editing tools.
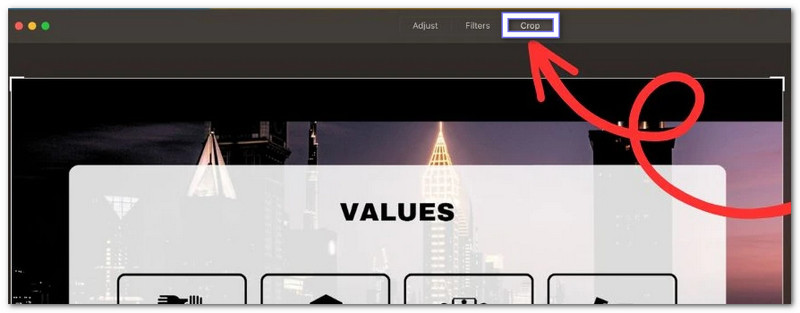
Step 3Select the Crop button from the toolbar. It shows a grid over your image with adjustable edges.
Step 4Click and pull the handles to adjust the crop area. You can also rotate the image if needed to straighten it before saving.
Step 5Once the image looks right, click Done in the top-right corner. The cropped screenshot on Mac will save automatically inside your Photos library.

3. Use Screenshot Markup Toolbar
After taking a screenshot, a small floating thumbnail appears on your Mac screen. Clicking it opens the Screenshot Markup Toolbar. This tool lets you crop right away without opening another app. You can drag handles to resize or move your crop box. The cropped screenshot on Mac saves instantly, replacing the old version with the edited one.
Step 1After you take a screenshot, a small Floating thumbnail will appear at the bottom-right corner of your screen. Please quickly click it before it disappears.
Step 2The screenshot will open in a Markup window, where you can make changes right away.
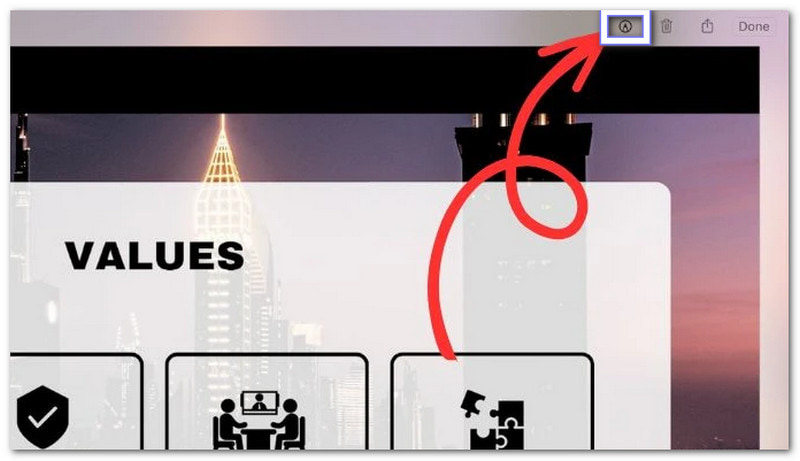
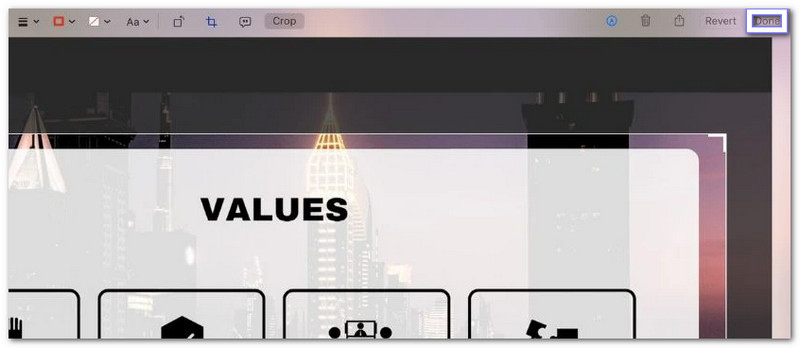
Step 3Click the Markup Toolbar button, which looks like a small pen tip inside a circle, to open the editing tools.
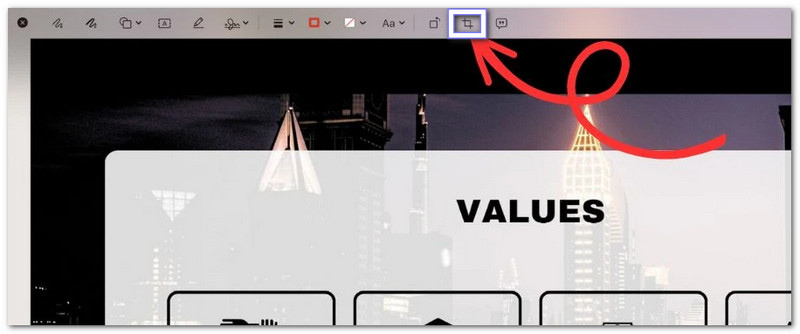
Step 4Pick the Crop tool and move the handles to adjust the size and area you want to keep. You can zoom in or move the image around if needed.
Step 5Once you are done, click Done in the top-right corner to save your changes. The cropped version will replace the original screenshot.
- Mac saves both cropped and regular screenshots in PNG format by default. So, if you need to convert your screenshot to JPG, that is possible, too. JPG files are smaller, easier to share, and load faster online. So, switching formats can help when you want lighter images without losing too much clarity.
Part 4: The Easiest Way to Take Any Screenshot on Mac
The easiest way to take any screenshot on your Mac is by using AVAide Screen Recorder. This program makes screen capturing simple and fast for everyone. You can crop a screenshot or take a full-screen shot in one click. It also provides a scrolling screenshot feature for long pages or documents. In addition, it exports screenshots with the best image clarity and supports formats like PNG, GIF, JPG, JPEG, BMP, and TIFF.
- Take long screenshots of web pages, chats, or documents in one shot.
- Edit screenshots instantly with shapes, colors, or text.
- Preview screenshots or recordings instantly.
- Capture screen video and audio smoothly with no lag or delay.

 Secure Download
Step 1The first thing you need to do is to download and install AVAide Screen Recorder on your Mac. It is compatible with Mac operating system 10.13 or later, and you can use it on MacBook, MacBook Air, MacBook Pro, or other Mac devices.
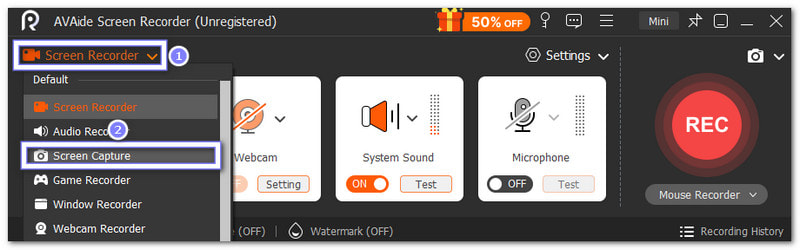
Step 2Once installed, proceed to open it, and on the main screen, click the Last Recorder option. From the drop-down list, switch to Screen Capture to start taking screenshots.
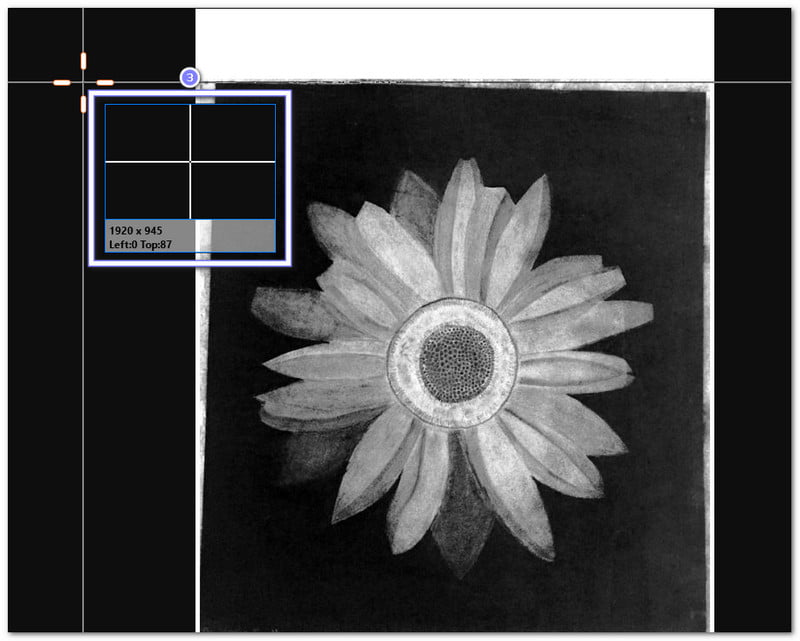
Step 3Once you enter the screenshot interface, your mouse will turn into a crosshair. You can drag your cursor to select the part of the screen you want to capture.
You can also choose the Full Screen button to take a snapshot of the whole screen or click the Scrolling Screenshot button to capture long pages or windows.
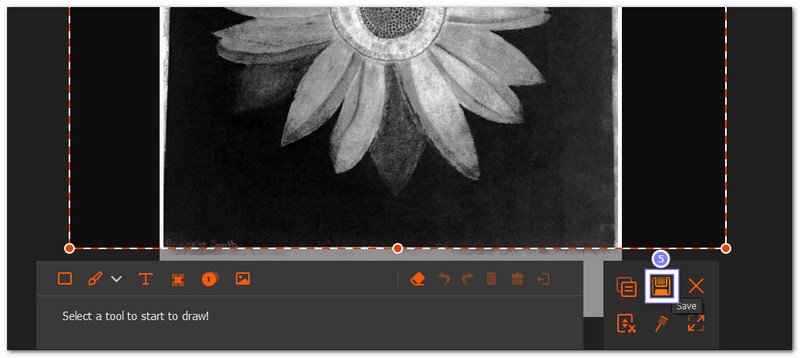
Step 4After capturing, several real-time editing tools will appear. You can add shapes, draw lines, or type text directly on the screenshot using the rectangle, brush, or text options. It helps you highlight important details right away.

Step 5Once done, click the Save button to keep your screenshot. It will be stored in your download folder by default, but you can also save it to your desktop for easier access later.
Unlike the built-in screenshot tools, AVAide Screen Recorder lets you choose how to save your image. You can export screenshots in JPG, PNG, BMP, GIF, or TIFF formats. It gives you full control over your captures, whether you want clear, high-quality images or smaller files that are easy to share.
With all the methods above, you are now aware of how to take a screenshot on a Mac and crop. If you need more tools like annotation options or a way to capture full or custom areas, use AVAide Screen Recorder. It all provides that, so you can take a screenshot in a way you want.
Record screen, audio, webcam, gameplay, online meetings, as well as iPhone/Android screen on your computer.