Taking screenshots on a Mac is easy, but making them look good needs a few simple edits. You can crop, draw, or hide parts you do not want to show. Learning how to edit a screenshot on a Mac helps you create clean and clear images fast. The built-in tools are quick to use and perfect for small fixes. This guide will show you the basic steps, share some hidden tricks, and give you tips to make your screenshots stand out. Let us start with the first part below.
Part 1. How to Edit a Screenshot on Mac
The Preview app is the easiest way to edit images without extra software. It comes with every Mac and gives you quick tools to crop, draw, and add text. You can even blur or highlight parts you want to change. If you want a simple way to edit screenshots on Mac, Preview makes it fast and clear. With a few clicks, you can turn plain screenshots into neat visuals. Follow the steps below to start using Preview for your edits.
Step 1Find your screenshot file on your desktop or in Finder. Right-click the image, choose Open With, then select Preview.
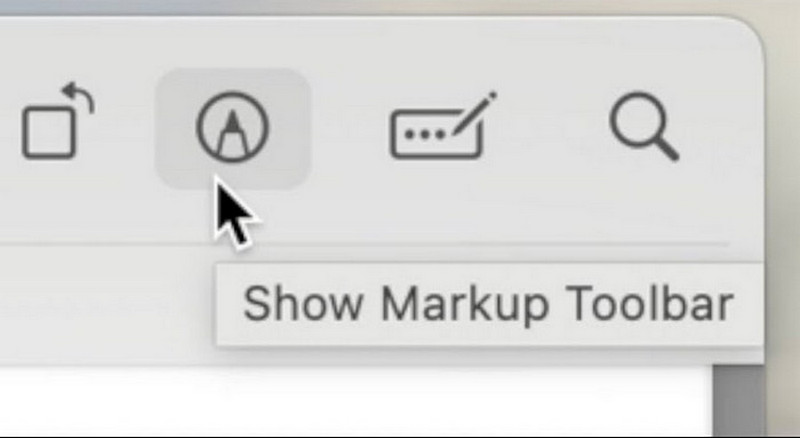
Step 2Click the Show Markup Toolbar button at the top of the Preview window. It gives you tools to crop, draw, and add shapes or text.
Step 3Click and drag the rectangular selection tool around the part of the image you want to keep. Then go to Tools > Crop or press Command + K.
Step 4Click the Text tool to type notes. You can also add arrows, lines, or boxes to mark areas. Adjust colors or line thickness using the Style menu.
Step 5Use shapes or the highlighter to focus on important parts. To hide something, draw a shape and fill it with a solid color. Go to File > Save or File > Export to save your edited image in your chosen format.
Part 2. Advanced Screenshot Editing Features on Mac
1. Best Screen Capturer and Editor on PC
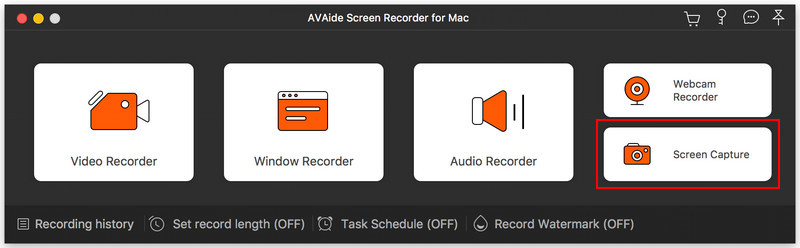
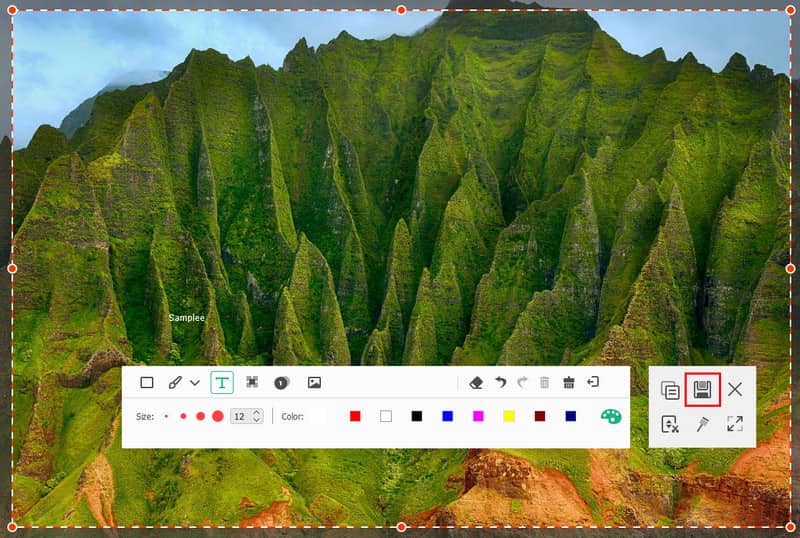
If you are wondering how do you edit a screenshot on a Mac, AVAide Screen Recorder offers a smooth and simple way to do it. This all-in-one app lets you capture your screen and edit it right away. You can crop, draw, and add notes without switching tools. It also includes annotation, callout, and image features to highlight or hide details.
Step 1Now downloading the newest version of the AVAide app to capture screen can be done by clicking the download button that we have here, following the installation, and launching.

FREE DOWNLOAD For Windows 7 or later
 Secure Download
FREE DOWNLOAD For Mac OS X 10.13 or later
Secure DownloadStep 2Click the Show Markup Toolbar button at the top of the Preview window. It gives you tools to crop, draw, and add shapes or text.
Step 3After taking a screenshot, you can start drawing and adding the call-to-action to the image you have captured.

Step 4Once you are done capturing and editing the image, click the Save button to export.
2. Snagit
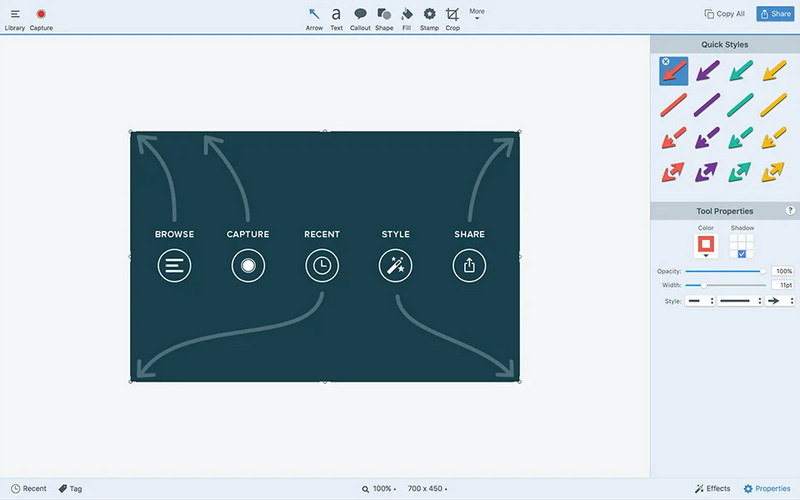
If you want to know how to edit screenshots on a MacBook Air with professional results, Snagit is one of the top choices. It lets you capture any part of your screen and edit it right away with arrows, shapes, and callouts. The software includes templates for creating tutorials or guides and supports panoramic scrolling capture. Its interface is easy to learn, and it offers cloud integration, making it perfect for work, teaching, and content creation.
3. CleanShot X
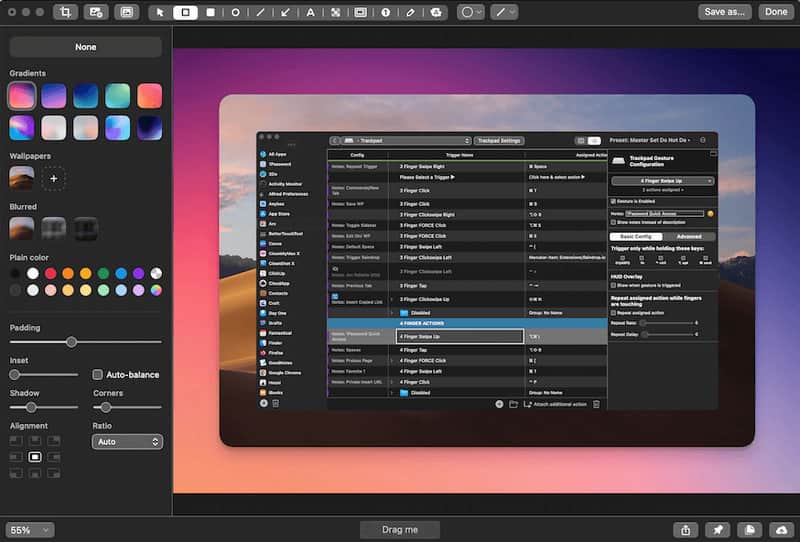
When you want to edit screenshot MacBook files quickly without losing quality, CleanShot X delivers speed and style. It has more than 50 editing and sharing options, such as annotations, blurs, and background removal. You are able to take a screen capture, scrollable text, or you can even record GIFs. The attractive design and streamline functionality make it suitable for creators who attach importance to looks and functionality.
4. Skitch
If you are figuring out how to edit a screenshot on Mac after saving, Skitch gives you a fast and friendly solution. Made by Evernote, it allows you to open existing screenshots, add arrows, text, and stamps, or crop with a single click. It is light, simple, and great for quick markup before sharing. You can drag your finished image right into emails, chats, or documents, saving time in everyday tasks.

5. Monosnap
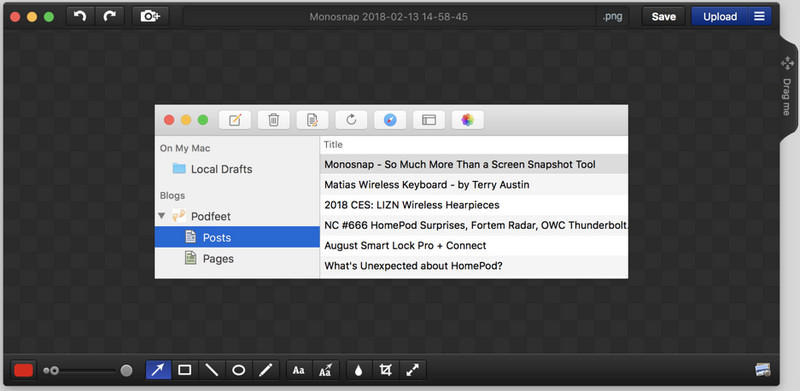
For those asking how to edit a screenshot on a MacBook Pro with advanced control, Monosnap is a strong option. It allows you to take screenshots, add notes to them and share them with accuracy. You are able to create shapes, obscure personal information, and get quicker work with hot keys. Professionals who are used to sharing screenshots frequently use them.
Part 3. Tips for a Better Screenshot Editing
Editing the screenshot involves not only cropping or adding some text, but also making your pictures clear and focused and easy to comprehend. There are tips, relevant to any kind of guide, report or presentation you are working on, that will help to create clean and useful visuals.
1. Use the Right Capture Mode
Choose the best capture type for your purpose. Full-screen capture can be used on wide layouts, window capture on previews of applications, and finally, selected area capture on specific sections. The choice of the appropriate mode to use for screenshots on Mac minimizes the waste and wastage in editing.
2. Keep Your Edits Simple
Never use excessive shapes, arrows or colors. A professional-looking looking neat screenshot with fewer highlights is more appealing and readable. Only the most important aspects that should be addressed should be looked into.
3. Maintain Image Quality
You should always make your screenshots in high resolution. They should not be over-compressed into export; in the event that you can, use PNG format with clear text and sharp lines. This keeps your screenshots sharp even after editing or resizing.
4. Use Consistent Colors and Fonts
When adding text or annotations, stick to one or two colors and a clean font. Consistency makes your screenshots look polished, especially if you are preparing a tutorial or a visual guide.
5. Learn Quick Shortcuts
Mac offers shortcuts like Shift + Command + 3 for full-screen and Shift + Command + 4 for the selected area. Knowing these makes your capture process faster, letting you focus on editing instead of searching menus.
6. Fix Common Screenshot Issues
If you ever face issues like screenshots not saving or shortcuts not responding, learning how to fix screenshots on Mac not working will help. Usually, you can solve this by checking your keyboard shortcuts under System Settings > Keyboard > Shortcuts, or by resetting the Screenshot folder location.
7. Use Dedicated Editing Software
While built-in tools are handy, third-party apps like AVAide Screen Recorder, Snagit, or CleanShot X offer more control. They allow you to add notes, blur sensitive information or edit screenshots in the case of capturing, which are ideal for use by professionals.
Does editing a screenshot on a Mac give you a hassle? With available tutorials, options, and tips in here can surely make your editing on screenshots better as you are now following the guidelines.
Record screen, audio, webcam, gameplay, online meetings, as well as iPhone/Android screen on your computer.