Thinking of removing the background from your GIF to make it cleaner or match a new design? That is possible! Right in this post, we will show you how to remove the background from a GIF. You can leave it transparent, change it to a solid color, or add a new background. 4 ways are waiting for you to check!
Part 1: Challenges of Removing Background from GIF
Removing a background from a GIF is not always quick because a GIF is made from many moving frames, not just one image. Before choosing a tool, it helps to know why some edits look rough or take more time than expected.
- 1.GIF files only support simple transparency, so each pixel is either fully visible or fully hidden. Because of this, edges may look rough or leave a light outline around the subject.
- 2.A GIF contains many frames that move in sequence. If the background changes across frames, the editor often needs to clean each frame one by one.
- 3.GIF files use a small color range compared with other image formats. Fine parts like hair or soft shadows may lose detail during background removal.
- 4.Busy backgrounds are harder to separate. If the background has colors close to the subject, automatic tools may remove the wrong parts or leave uneven edges.
- 5.After editing, the file must stay light enough for web use while keeping the motion smooth and the transparent areas clean.
Part 2: Remove Background from GIF Free Online
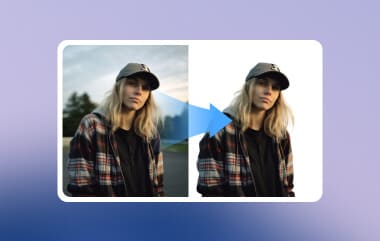
Working online makes GIF editing easier because you can start right away without installing software. As a reliable GIF background remover, AVAide Background Eraser quickly processes GIF photos and keeps the main subject clear.
Its AI removes the background in one click, which saves time during editing. You can also make the GIF background transparent or add a color for a fresh look. It also supports many image formats, so uploading files stays simple.
Step 1First, open your browser and go to the official AVAide Background Eraser page. Once the site loads, click the Choose a Photo button and upload your GIF file.
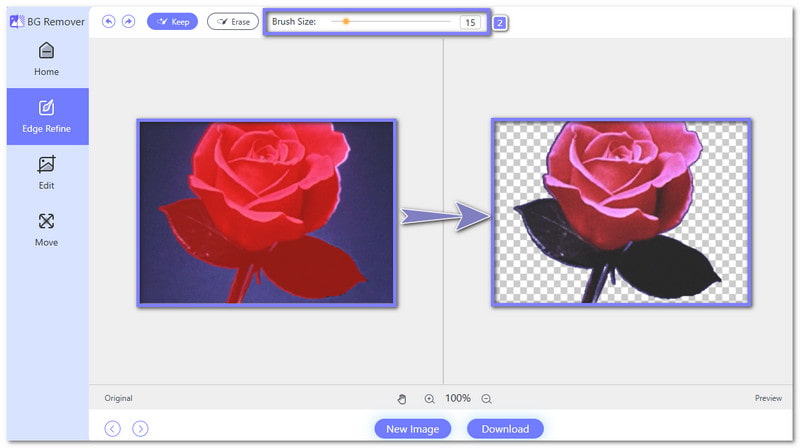
Step 2Once the upload is complete, the background will be removed automatically and changed into a transparent layer. If some parts still need cleaning, use the Erase feature. You can also change the brush size so it is easier to clean small areas.
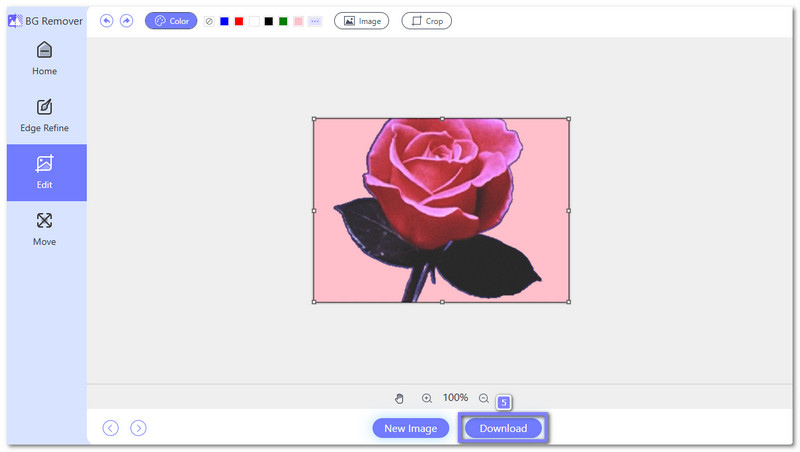
Step 3Next, click Edit on the left side to open more options. Here, you can add a plain color like white, black, or red. If you want a different style, you can also place another image as the new background.

Step 4Finally, check if everything looks right, then click Download. The edited GIF will save to your device and will be ready to use for posts, projects, or simple design work.
You can see why AVAide Background Eraser is considered a top online photo background remover. It makes editing animated images fast, easy, and professional without an extra program.
Part 3: Remove Background from GIF in Photoshop
When you need full control over a moving image, Photoshop lets you remove the GIF background with precision. You can clean each frame carefully, working layer by layer to remove small background parts. It works well when you want a cleaner result for detailed animation work.
Step 1Start by opening your GIF file in Photoshop. You can drag the file into the workspace or click File > Open and choose your GIF. Photoshop will load the animation as a video layer so you can edit it frame by frame.
Step 2Go to the Layers panel on the right side. Find Video Group, right-click it, then choose Ungroup Layers. It separates the GIF into editable frames. After that, right-click Layer 1, choose Convert to Smart Object, then right-click again and select Edit Contents.
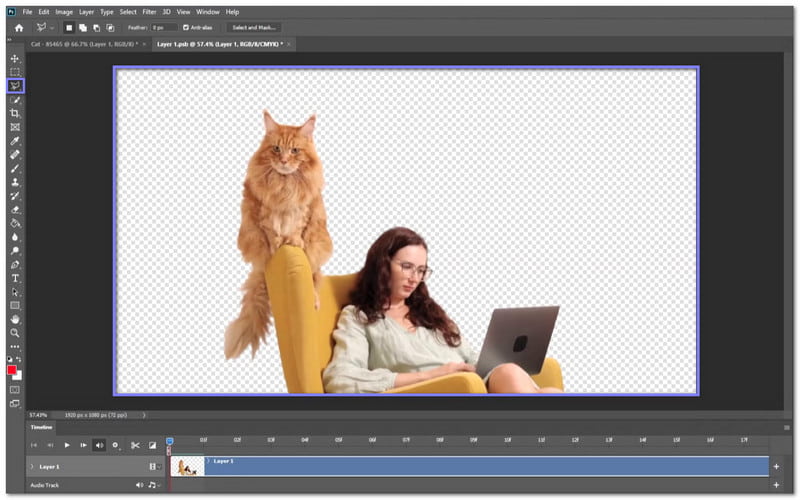
Step 3Open the Timeline at the bottom if it is not visible. Move through each frame by dragging the blue playhead. Select one frame at a time, then remove the background using tools like the Quick Selection Tool or Polygonal Lasso Tool. This part takes time because each frame needs the same cleanup.
Step 4Play the GIF inside the timeline to make sure the cutout looks clean. If some frames still show background parts, return to those frames and fix them before saving.
Step 5Once done, click File > Save As and choose GIF as the output format. Photoshop may take a few moments to process large files. Once the save window appears, confirm the settings and save your new transparent GIF.
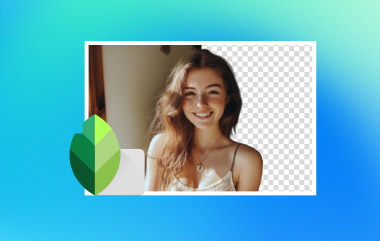
Part 4: Remove Background from GIF with Canva
Canva makes it easier to remove the background from GIF files online when you want a quick edit without complex tools. It can detect the subject in a moving file after converting it into video form. It is helpful for simple projects, social posts, and quick design work with a new background.
Step 1Go to Canva and create a video project. Head to Uploads, add your GIF file, then drag it to the timeline. Resize it so it fits your canvas.
Step 2Download the project as a video file. It helps Canva apply background tools better because the background remover works on video layers.
Step 3Add the downloaded video back into a new Canva project. Place it on the timeline and resize it again if needed.
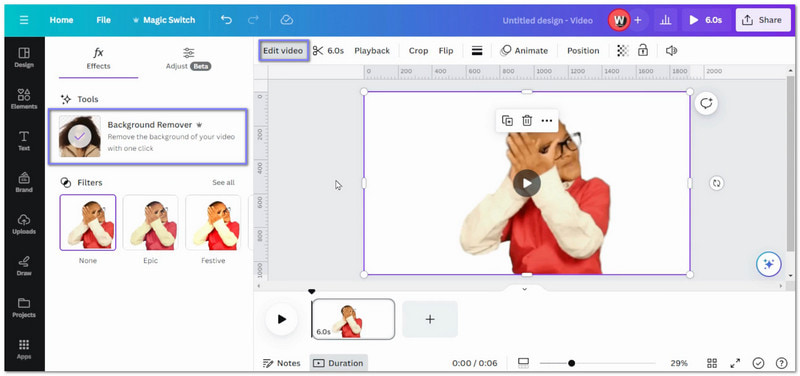
Step 4Click the video, choose Edit Video, then select Background Remover. Canva will process the clip and remove the background automatically.
Step 5You can place a color, image, or video behind your subject. When done, click Share > Download and save it again as a GIF.
Part 5: Remove Background from GIF on iPhone
On iPhone, CapCut offers an easy way to learn how to remove the background from a GIF by using its automatic background feature. After turning the GIF into a short video, the app scans the clip and removes the background fast. It is useful for quick mobile edits.
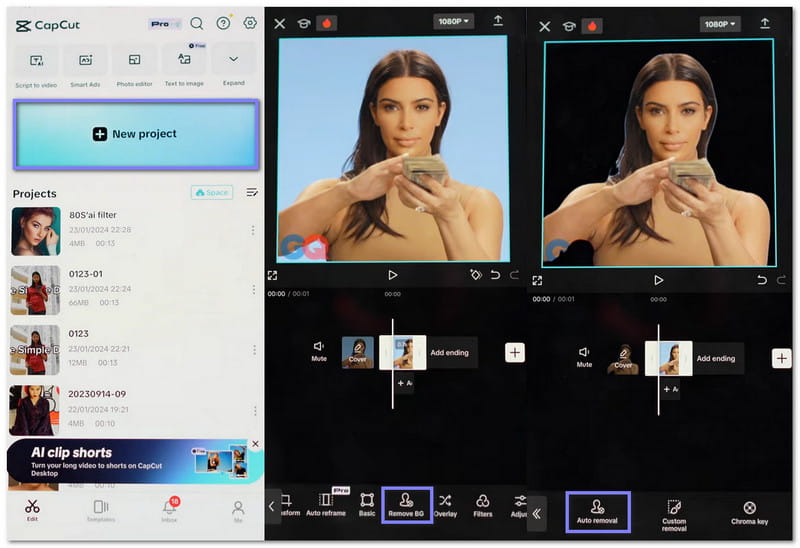
Step 1Launch CapCut and tap New Project. Then, select your GIF and add it to the timeline.
Step 2CapCut removes backgrounds from video clips, so first export the GIF as a short video. Save it to your iPhone.
Step 3Tap New Project again and import the video you just saved. You can trim extra parts if needed.
Step 4Tap the video clip, scroll to the editing tools. Choose Remove BG, then select Auto Removal. CapCut will scan the clip and remove the background automatically.
Step 5After the background is removed, you can apply another background or keep it clean. Export the project when finished.
Part 6: Compare the 4 GIF Background Remover Tools
Before choosing a tool, it helps to compare the top options for removing GIF backgrounds. See who is the best in the comparison table now!
- Factor
- Background removal method
- Precision level
- Background replacement
- Real-time preview
- Installation needed
- Price access
| AVAide Background Eraser | Adobe Photoshop | Canva | CapCut |
| AI removes the background automatically. | Manual frame-by-frame editing. | AI removal after converting GIF to video. | Auto removal after converting GIF to video. |
| Good for common subjects. | Very high for detailed edges. | Good for simple subjects. | Good for clear subjects. |
| Allows you to change the background color of a photo or add new images. | Add any custom layer or design. | Add color images or video backgrounds. | Add an image or video background after removal. |
| instantly. | available. | during editing. | timeline. |
| Works in a browser without install. | Needs software installation. | Works online in a browser or app. | Needs app installation on phone or desktop. |
| Free online use. | Paid subscription after trial. | Basic use is free, but some features need Pro. | Free basic use with optional premium tools. |
Removing the GIF background makes your animations look cleaner and more professional. But with the help of AVAide Background Eraser, you can keep your GIF transparent or change it to a solid color or a new picture from your files. It lets you have the GIF appear exactly the way you want for projects, posts, or presentations.
ABOUT THE AUTHOR


Uses AI and automated background removal technology to capture complex backgrounds from JPG, JPEG, PNG, and GIF.
PROCESS NOW