Instagram is among the well-known social media platforms today. It is where users can upload photos and videos as a story or post as much as they want. Yet, some complained that whenever they upload a picture, the quality significantly becomes worse. The image usually results in being too blurry. Now, the question is, does Instagram compress images? Is there a way to avoid having blurry pictures when uploading? Answer all your questions as you read this guide.
Part 1. Does Instagram Compress Photos
If you're one of those wondering if Instagram compresses pictures, the answer is yes. Instagram does compress your photos when you upload them. Another question that also makes people curious is whether Instagram reduces picture quality. Now, as Instagram compresses pictures, it also reduces the quality of pictures upon uploading.
There are reasons why Instagram compresses your pictures. The first reason is that Instagram manages a massive amount of data. So, compressing images helps this social media platform take up less space on its servers. Therefore, photos will load faster for you and other people to see, especially on mobile devices with limited bandwidth. Another reason is because of the site’s compression algorithms. It aims to provide a balance between reducing files while maintaining image quality.
However, some users still do not like the output when they upload to Instagram. The best way to fix this is to compress your photos yourself before posting them. That way, you'll have control over the quality of your pictures.
Part 2. Compress Image for Instagram Post/Story
1. AVAide Image Compressor
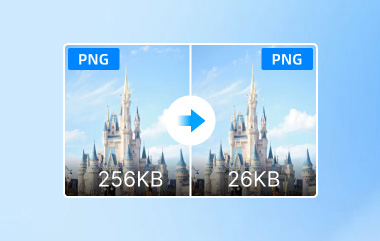
If you want to avoid having a blurred photo uploaded on Instagram, compress it yourself beforehand. One of the best tools to use is the AVAide Image Compressor. It compresses photos while maintaining the balance between image quality and file size. Also, it supports different types of formats, like JPG, JPEG, PNG, GIF, and more. Furthermore, it can shrink multiple photos at the same time. It indeed provides a straightforward and convenient method for compressing images individually or by batch. More importantly, you can use it 100% free. To compress photos for Instagram stories or posts, follow this guide.
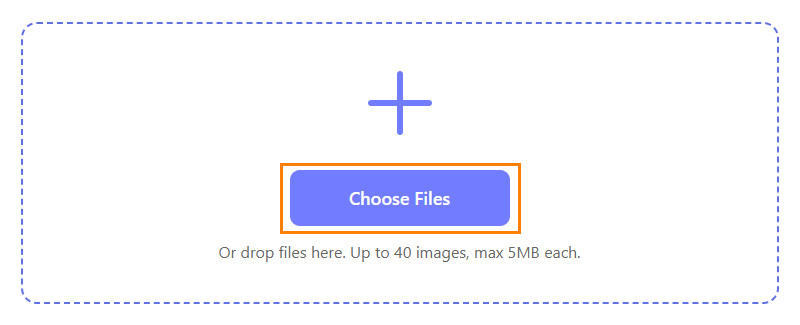
Step 1Navigate to the official page of AVAide Image Compressor and upload your desired image(s). Do it by clicking the Upload Image.
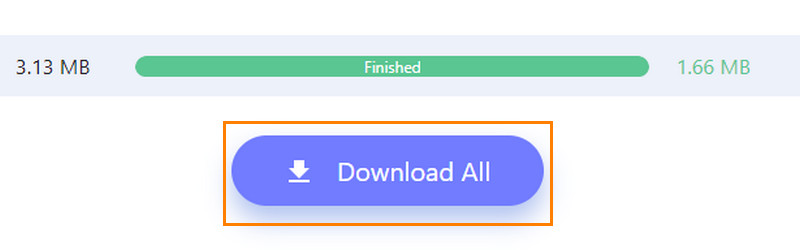
Step 2Once you've uploaded your photo, the tool will compress it immediately. When the compressed image is ready, you'll see the Download button on the right side.

Step 3If multiple photos were compressed, click the Download All button. Finally, you can upload it as a story or post it on Instagram.
2. Adobe Photoshop
Photoshop is another image compression tool you can use for your images. It lets you select the final quality and size you want for your image. The software also supports various formats like PNG, TIFF, PSD, and JPG pictures. It also has the option to share photos or albums from your mobile phone, tablet, or computer. However, note that this tool has a steeper learning curve. Therefore, it can be challenging for beginners to use it. Here's how to compress images for Instagram posts or stories:
Step 1Launch Photoshop on your computer, navigate to File, and click Open. Select the picture you want to compress.
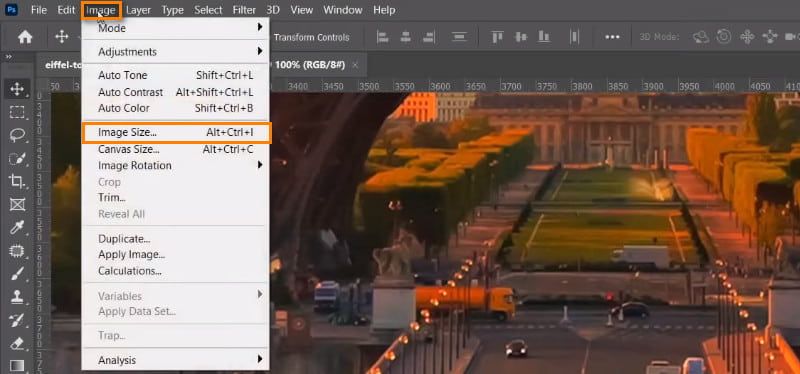
Step 2Optionally, go to Image > Image Size and ensure that your photo dimensions are adjusted according to Instagram guidelines.
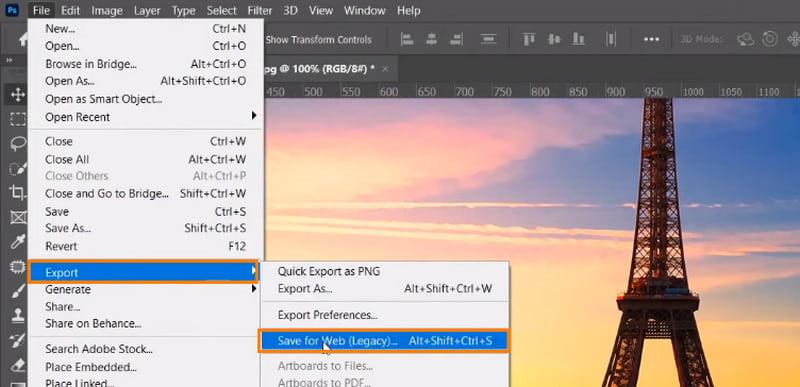
Step 3To proceed, go to File. Then, click the Export option and select Save for Web (Legacy) from the drop-down menu.
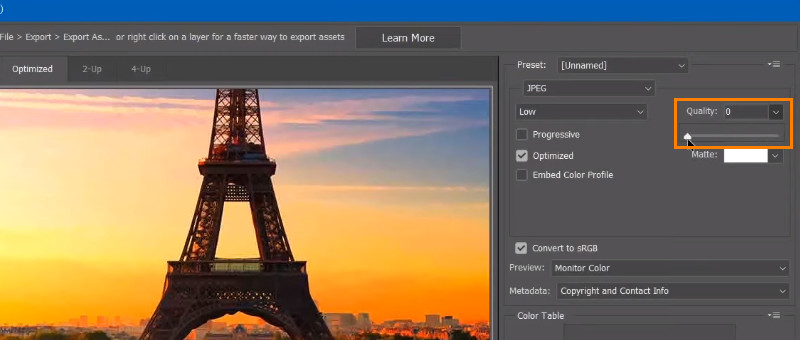
Step 4From the window that will appear, select your export format. Then, adjust the Quality to complete compression.
Part 3. Tips for Uploading Photos to Instagram
No one wants to have a blurry outcome after uploading them on a platform like Instagram. In this section, you will learn some helpful tips whenever you want to upload photos to Instagram.
Tip 1. Prepare and Capture High-Quality Photos
Begin with a high-resolution image captured. Ensure that you use a quality camera or mobile device. High-resolution images retain detail and clarity even after Instagram's compression. So, make sure you prepare and capture it the way you want but in a high-quality format.
Tip 2. Modify Photo Before Uploading
Another tip we have for you is to edit images first before you upload. Photo editing apps or Instagram's built-in editing tools to enhance your image. Adjust its brightness, contrast, saturation, and sharpness to make your photo stand out. Do these adjustments before you upload them for better results.
Tip 3. Optimize Composition and Lighting
Be mindful of composition techniques such as the rule of thirds, leading lines, and symmetry. At the same time, use natural lighting or adjust brightness and contrast. That way, you can enhance the visual appearance of your images.
Tip 4. Follow Instagram's Requirement Aspect Ratio
This tip is one of the most important parts of uploading photos on Instagram. Resize your image and crop it to fit the platform's aspect ratio requirements. For posts, aim for a square (1:1) or vertical (4:5) ratio. For stories, use a vertical (9:16) ratio.
Tip 5. Compress and Optimize for Web
Before uploading, compress your image to reduce file size while preserving quality. Use online tools like AVAide Image Compressor. You can also use photo editing software to optimize resolution, file format, and compression settings for web viewing.
Part 4. FAQs About Instagram Compressing Photos
How do you get the whole picture to fit on Instagram?
Instagram crops posts automatically to an aspect ratio of 1:1 for vertical photos and 1.91:1 for landscape. Now, there's a gray Expand button at the bottom-left corner of the photo preview window. Optionally, you can pinch your fingers together to zoom out to get the whole picture fit on Instagram.
What size should I compress for Instagram?
The recommended size, both for photos and video, is 1080×1080 pixels for square. As for the portrait, it should be 1080×1350 pixels. Finally, Instagram Stories is 1080×1920 pixels. Then, as you compress, try to keep the file size below 8 MB.
How do you post on Instagram without losing quality?
It is impossible to avoid Instagram's compression algorithm. Yet, there are ways to lessen the quality loss after posting them. First, you can resize the photo while following the platform's recommended dimensions. You can use an AVAide Image Compressor to resize your photo. Another thing is ensuring that you save your image in a compatible Instagram format, like JPEG or PNG.
How do you optimize photos for Instagram?
If you want to optimize your photos for Instagram, you need to take several steps. First, use high-quality images and edit for brightness and contrast. Then, make sure to maintain a consistent theme. Add engaging captions and interact with your audience. Follow Instagram's guidelines for resolution, aspect ratio, and file size. That way, you can ensure optimal performance.
There you have it! Knowing how to compress pictures for Instagram will make your work easier. Here, you were also able to know if this social media platform compresses your uploaded pictures. If you want a more convenient and efficient way to make your photos smaller, consider AVAide Image Compressor. It is simple to use and provides you with quick results.
ABOUT THE AUTHOR


Reduce the file size of an image online within seconds while preserving the quality. We support JPG, PNG, WEBP, GIF, and more.
PROCESS NOW