Struggling to share large images or upload them to your website without slowing it down? Learning how to compress PNG files can save storage space, speed up loading times, and make sharing smoother across emails or social media. Whether you are managing a blog, creating graphics for work, or organizing personal photos, using the right tools and techniques ensures your images stay high-quality while taking up less space.
Part 1. The Best Way to Compress PNG Free Online
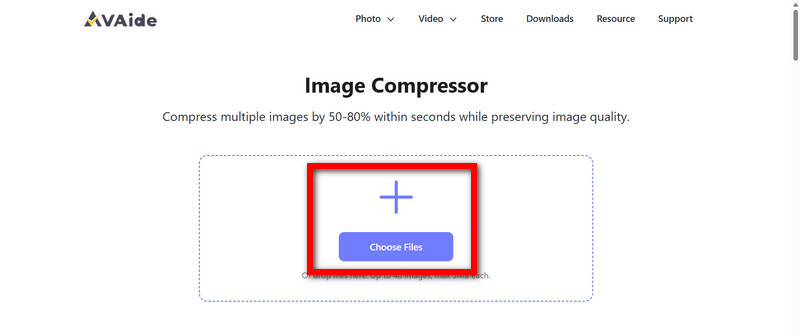
AVAide Image Compressor is an efficient online tool that reduces image file sizes within seconds without sacrificing quality. It is easy to use, lightweight, and fully browser-based, so no installation is required. The tool supports batch compression for up to 40 PNG images at once, making it ideal for website optimization, social media posting, emailing, and saving storage space. It uses smart compression to maintain image quality, is completely free with no watermarks or subscriptions, and ensures secure processing to protect your image privacy.
To start compressing your image, you need to perform the following steps:
Step 1Access the Image Compressor
The first step is to go to the AVAide Image Compressor tool. This can be done in any web browser, whether that be Google Chrome, Microsoft Edge, or even Mozilla Firefox.
Step 2Upload PNG Images
The required image files need to be uploaded. You can do this by clicking Choose Files and selecting the PNG files you wish to upload, or you can drag and drop the files to the upload area.
Step 3Start Automatic Compression
Now, you need to wait a bit for the files to upload. Once uploaded, the tool starts to compress files automatically.
Step 4Download the Compressed Images
Finally, once done compressing, you will get the Download All button and will be able to download your newly sized PNG files.

Part 2. How to Compress PNG with Photoshop
Photoshop allows the utmost in terms of technological compression of any PNG, allowing you to save the image, in case of transparency, to the lowest possible, while keeping immaculate resolution and quality in terms of depiction of the image. Photoshop has great tools for compression and digital image designs for placing the image within an array of designs, while either keeping or beautifully improving the quality of the image even more.
Step 1Make a copy of the PNG image in another folder. Then you can open the PNG image in Adobe Photoshop. If you want to make a duplicate of the PNG to preserve the image, you can do that too.
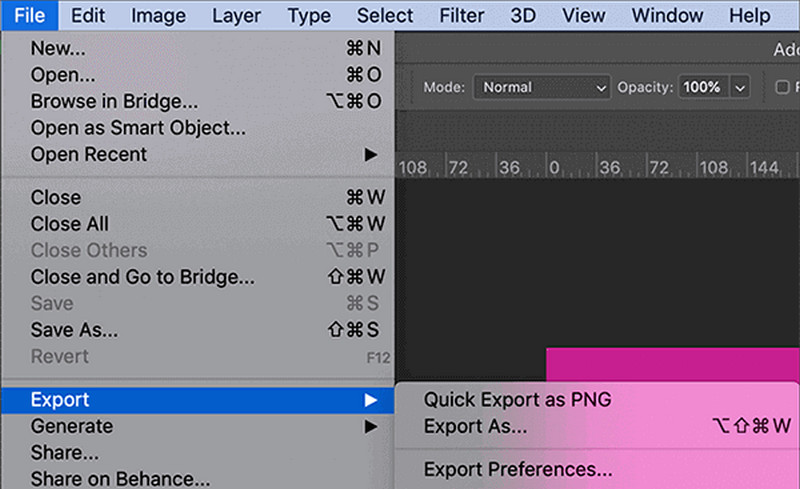
Step 2Go to File. Then go to Export. Then go to Export As. After this, hit the Export button and select the PNG format to Export.
Step 3Check the settings and adjust them if the dimensions of the image are not what you like, and if needed, enable Smaller File (8 bit) to reduce the size of the image. The image quality should stay the same.

Step 4Export the image and select the location to save the image. Once finished, you should have a PNG image that should be more compressed.
Alternative: Save for Web (Legacy)
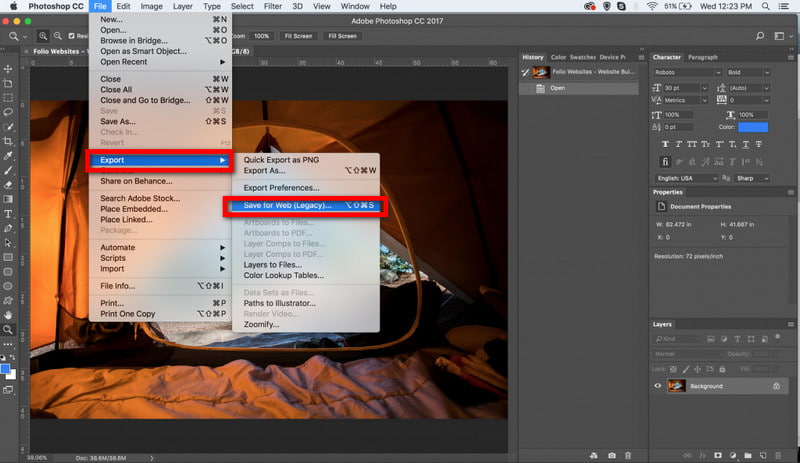
Step 1After opening the image and file, go to Export, then go to Save for Web (Legacy).
Step 2Look for the Format section and select PNG-8 for easier images like logos, and if there are gradients, rich images, select PNG-24.
Step 3 If the PNG you are trying to export has a transparent PNG background, be sure to check the Transparency option.
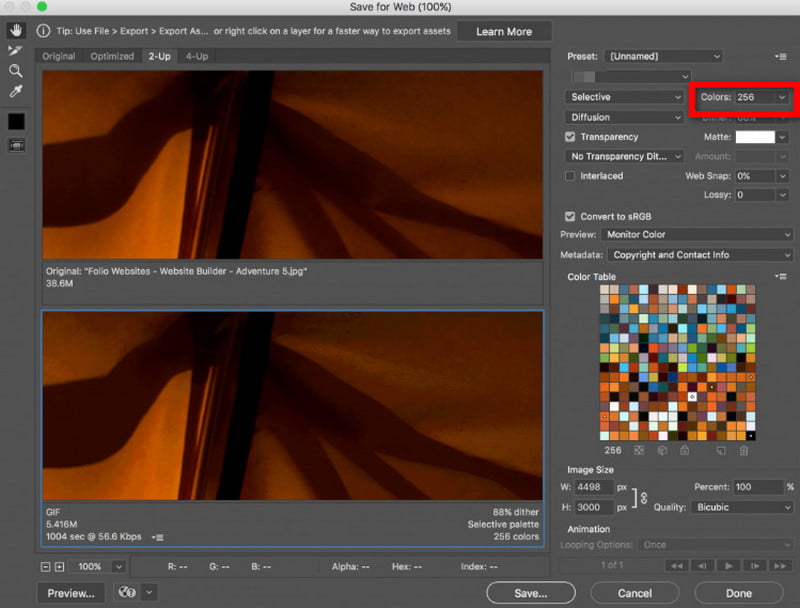
Step 4Adjust the Colors value. Suppose there are simple images, a lower value, like 256. If there are a lot of colors, detail images, a higher value should be used.
Step 5Check the size of the image to put up on a certain website, and check if you need to alter the size
Step 6Set Metadata to None. This will reduce the size of the PNG file.
Step 7Take a look at the result. When you are finished, click Save to export the PNG file you have compressed.
Part 3. How to Compress PNG with GIMP
GIMP is a free and open-source program that allows seamless compression of PNG files, while retaining both transparency and quality. Furthermore, it allows full control over differing compression rates and their metadata, and interlacing, enabling reduction of file sizes without compromising detail. Its flexibility and lack of cost make it a staggering alternative to paid editing software.
Step 1To begin, open GIMP, go to the top left corner of your screen, click the drop-down menu saying File, and select Open File. From there, you can select the PNG file you wish to compress.
Step 2Navigate to the top left corner of the screen, click the drop-down that says File, and select Export As. Choose the folder you want your new file to save to, and before you save it, make sure to give a new name to your file.
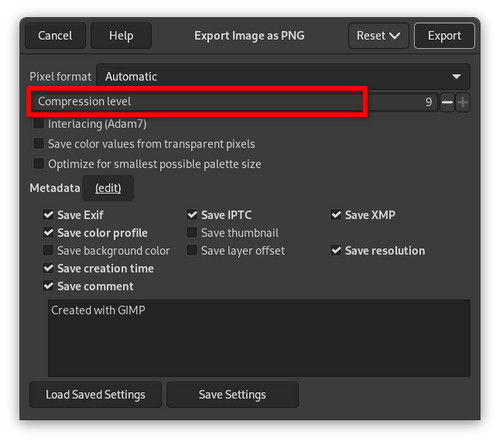
Step 3A new screen will open, which is the exporting screen. Set the Compression Level to balance file size and image quality. Setting the compression too low will make the image low quality, while a higher value will maintain quality.
Step 4In this screen, you should turn off the Save Background Color and the Save IPTC Data, which are just unnecessary metadata that will remove transparency, and of course, we want to maintain that.
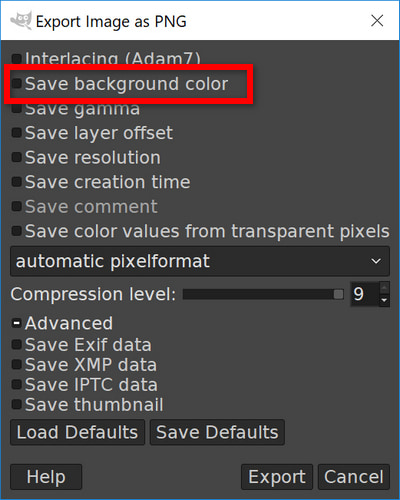
Step 5Using Interlacing is best if you want the image to be loaded in increments, as some do, but if that is not the case, you should turn that off to keep the file size as small as possible.
Step 6Hit Export when you are happy with your settings, and your PNG image will be optimized and saved to your device. Now, your file is smaller and usable for web pages and other digital endeavors.
Part 4. How to Compress PNG with TinyPNG
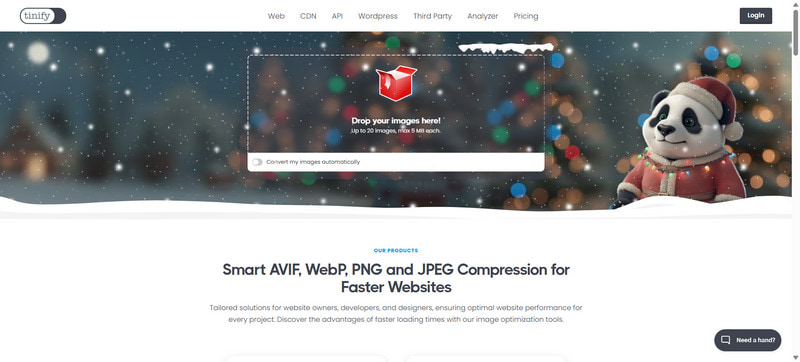
TinyPNG is an online tool that smartly compresses PNG files to maintain excellent visual quality for websites, social media, and digital projects, and the best part, no software download is required. It supports batch uploads, automatically reduces file sizes, preserves transparency, and allows quick downloads, making it ideal for designers, bloggers, and anyone needing to resize PNGs and optimize images without sacrificing clarity or workflow efficiency.
Step 1Head to the TinyPNG website.
Step 2Drop your PNG images into the upload section, or click the area to choose files to upload. This tool even allows for the upload of multiple files at once, so that compressing is done efficiently.
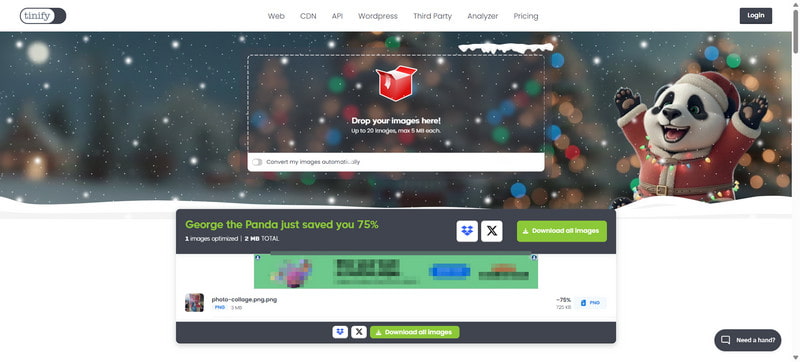
Step 3Wait a few seconds while TinyPNG compresses your images.
Step 4Download the files using the Download all images button to get your compressed PNG files.
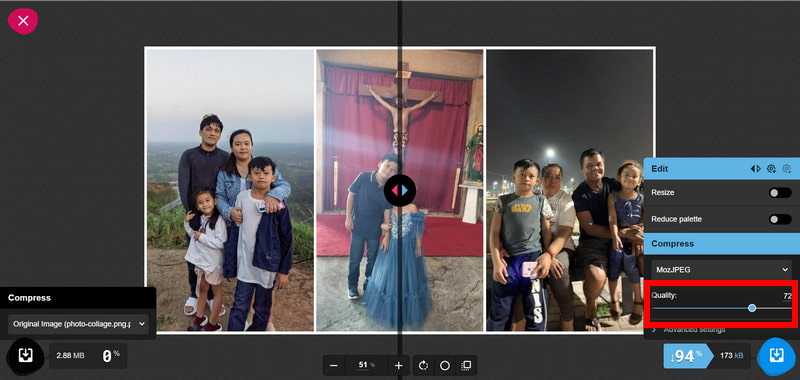
Part 5. How to Compress PNG with Squoosh
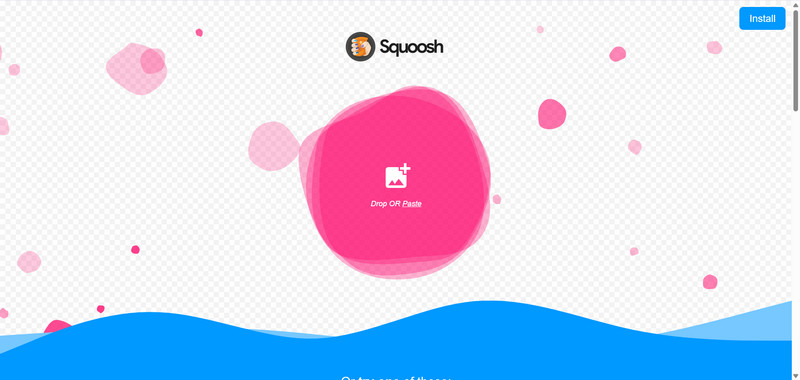
Squoosh is another tool developed by Google for the web browser that allows you to also compress images for free with live previews to allow you to see the quality before downloading. It supports multiple image formats, offers adjustable compression settings, allows resizing, and provides a real-time comparison between original and compressed files, making it easy to optimize images with this PNG maker for websites, social media, or email without losing visual clarity.
Step 1Open the Squoosh website in your browser.
Step 2Drop your PNG file into the upload area or click to select the one you want.
Step 3Select PNG as the output format and adjust compression settings such as quality, quantization, or resize options to balance size and visual fidelity.
Step 4Preview the compressed image in real-time to ensure quality is acceptable.
Step 5Click Download to save your optimized PNG file to your device.
Reducing large PNG files does not have to be complicated. Using a reliable PNG size reducer like AVAide Image Compressor or other trusted tools helps you save storage, speed up uploads, and maintain image quality. Whether you prefer online platforms or desktop software, these methods make optimizing images simple, efficient, and perfect for both personal and professional projects.

Reduce the file size of an image online within seconds while preserving the quality. We support JPG, PNG, WEBP, GIF, and more.
PROCESS NOW