Taking pictures has become part of our daily life. We take selfies, group photos, and travel shots all the time. But not every picture turns out great, and that can be annoying, right? Some photos look nice, but the quality is poor. But you do not need to delete them right away; there is still a way to fix the picture quality. That is just so easy and fast, and we are here to help you step-by-step.
Part 1: What Affects a Picture's Quality
Before you learn how to fix a low-quality picture, it is important to know what can make an image look bad. Understanding the causes helps you avoid problems in the future. Several reasons can reduce a picture's quality. Here are some common ones:
1. Making the Image Bigger or Smaller
One of the main reasons images lose clarity is resizing. If you make a small image bigger without the right method, it can become blurry and pixelated. Enlarging pictures too much can make details unclear and reduce overall sharpness.
2. Blurry Pictures
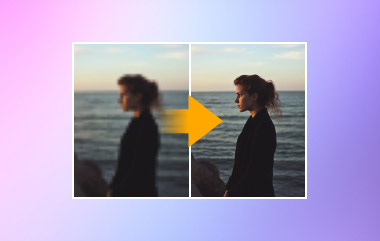
Sometimes, photos are blurry because the camera lens is not focused properly on the subject. When the focus is off, images can look soft, fuzzy, or pixelated. It lowers the clarity and makes the picture look low-quality.
3. Problems with the Camera
Damaged cameras or lenses can also affect image quality. If your device has problems, pictures may come out blurry, grainy, or distorted. Fixing the device or lens first can help prevent low-quality results.
4. File Problems
Some image files lose quality if the format is not fully supported by the app or program you are using to view them. It can lead to blurriness or pixelation. Always check if your file format works well with the one you are using.
5. Shaky Hands or Camera
Photos taken with an unsteady camera or a shaky hand may be pixelated or blurry. Clarity can be diminished by even tiny movements made during photo capture. Maintaining quality can be aided by using a tripod or keeping the device steady.
Part 2: How to Fix the Quality of a Picture
Fixing the quality of a picture has many benefits. A clear and sharp image looks better, shows more details, and is easier to share or print. It can also make old or blurry photos look like new. The tool that can help you fix picture quality to get all those benefits is AVAide Image Upscaler. You can use it online, so there is no need to download anything.
It uses AI prediction, which means it can guess the missing details and make your image look sharper. It also has a 4K choice, so your picture can be clear and high quality. Plus, it does not add a watermark, so your fixed picture is clean and ready to use anywhere. If you do not want to spend money, it is perfect for you because it offers a free plan.
Check the steps below to learn how to fix the quality of a picture using AVAide Image Upscaler:
Step 1Open your preferred browser and type AVAide Image Upscaler in the search bar. Next, select it to open the website.
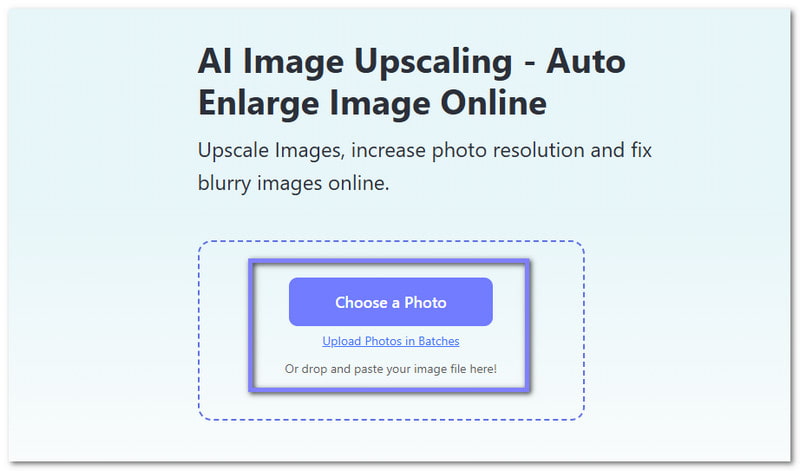
Step 2On the main page, look for the Choose a Photo button. Click it to add the image you want to fix the picture quality. Once uploaded, AVAide Image Upscaler will start creating a higher-quality version. Be patient for a few seconds. You will soon see a preview of your image with better clarity.
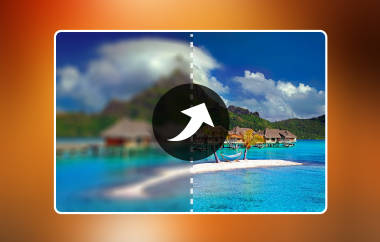
Step 3Your image is now upscaled 2×. Please move your cursor over your original image on the screen. In the output area, you will see the difference. The image looks sharper, clearer, and more detailed. The small details that were unclear before will now appear crisp and visible.
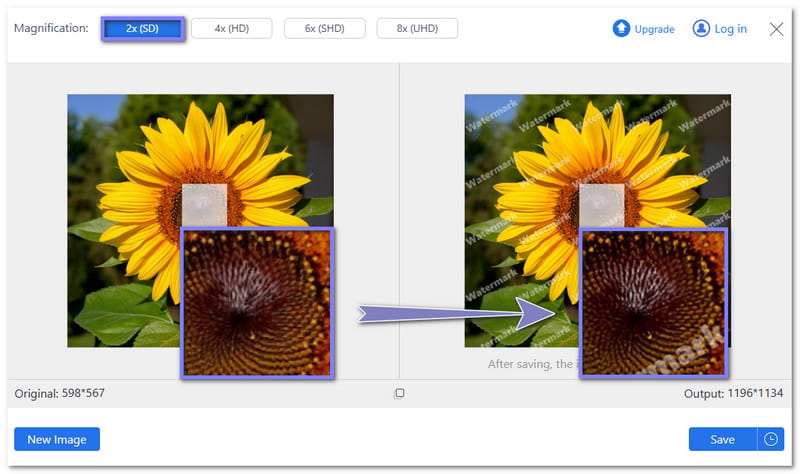
Step 4If you want even more improvement, choose 4×, 6×, or 8× from the Magnification option. The higher the level, the clearer and more detailed your image becomes. Note that 2× and 4× allow you to fix picture quality for free. To use 6× or 8×, you need to upgrade your plan.
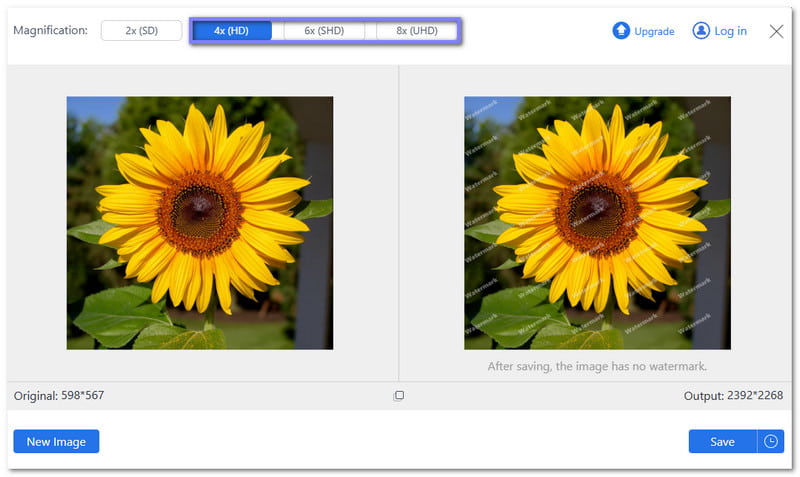
Step 5Once you are happy with the result, click the Save button. Do not worry about the watermark; it will be deleted automatically. The image will be saved to your local folder. If you have another picture to fix, press the New Image button and start over.

Now that you have your fixed picture quality, you can put it on social media channels, print it, use it in presentations, or simply keep it in your gallery. Whether your image is JPG, PNG, or BMP, it can improve details, make colors clearer, and make every photo look sharper and more professional.
Part 3: [Proven] How to Avoid Pictures with Low Quality
Taking clear and sharp pictures is not always easy, but there are simple ways to avoid low-quality images. Following the helpful details below will help you get better pictures every time. Ready?
1. Set Your ISO Low
ISO controls how your camera senses light. A high ISO can make your photos grainy or pixelated. Keep your ISO as low as possible. It keeps your images clean and detailed.
2. Use Good Lighting
Lighting is essential for clear pictures. Make sure your subject has enough light. Natural light works best, but you can also adjust lamps or other lights. Proper lighting makes your image sharper and more vivid.
3. Keep Your Camera Steady
Moving cameras make blurry photos and unfocused results. Use a tripod or monopod to hold your camera steady. Even holding it with both hands can help fix unfocused pictures. Stable shots make your pictures look sharp and professional.
4. Take Photos in RAW Format
RAW files save more details than regular formats like JPEG or 3GP. Shooting in RAW keeps your image safe from quality loss during editing. It is especially helpful if you plan to adjust colors, sharpness, or exposure later.
5. Edit Your Photos Carefully
After taking a picture, editing can improve sharpness, brightness, and colors. Adjusting these details brings out the best in your image. Even basic edits can make a huge difference and fix small issues.
By following these steps, you can fix blurry pictures, and even pixelated or low-quality pictures. Paying attention to ISO, lighting, stability, format, and editing ensures your photos look clear and professional every time.
You surely learned a lot from this post, from learning what affects a picture's quality, how to fix the quality of a picture, and proven ways to avoid low-quality images. To sum up, having a picture with good quality makes it clearer, sharper, and more enjoyable to share or keep.
To achieve this, feel free to fix picture quality online using AVAide Image Upscaler. You can use it on any operating system, whether on a computer or a mobile device. Start improving your pictures today and make every photo look its best!

Our AI technology will automatically enhance the quality of your images, remove noise and fix blurry images online.
PROCESS NOW