We have a compelling reason to record the screen with audio on Windows 10, and we hope to use this to create a video of our gameplay, complete with sound. But did you ever notice it? Windows 10 includes a screen recording utility that allows you to do so. This article will show you how to record your screen on Windows and use alternative software with step-by-step instructions.
Part 1. How to Screen Record on Windows with Audio
1. Use AVAide Screen Recorder
AVAide Screen Recorder is one of the most highly recommended screen recording tools for Windows because of its advanced features such as customizing the recording area, capturing system audio and microphone, and even adjusting the output video format. It records screen activities, video calls, TV shows, or gameplay on multiple platforms with no quality loss and clear audio.
The screen recorder can also be controlled using hotkeys. It also records high-quality video, which is ideal for output. Video can be recorded by both the system card and external devices.
- You can record microphones, internal audio, and cameras all simultaneously.
- The screen recorder is compatible with both Windows and macOS.
- It can record high-quality video at up to 4K resolution.
- Even if you aren't a professional, you should be able to record here.

 Secure Download
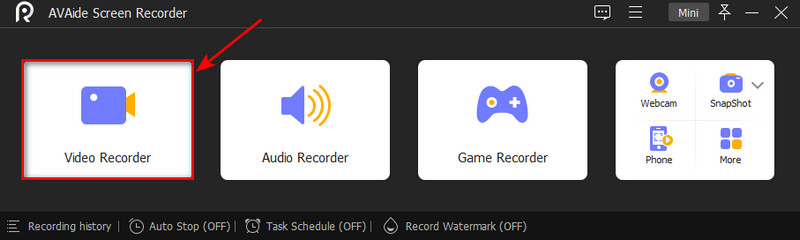
Step 1Download the Recording Software
To begin, download and install the tool by clicking the download button above. The software installation will take a few minutes. Click the Video Recorder icon to start recording.
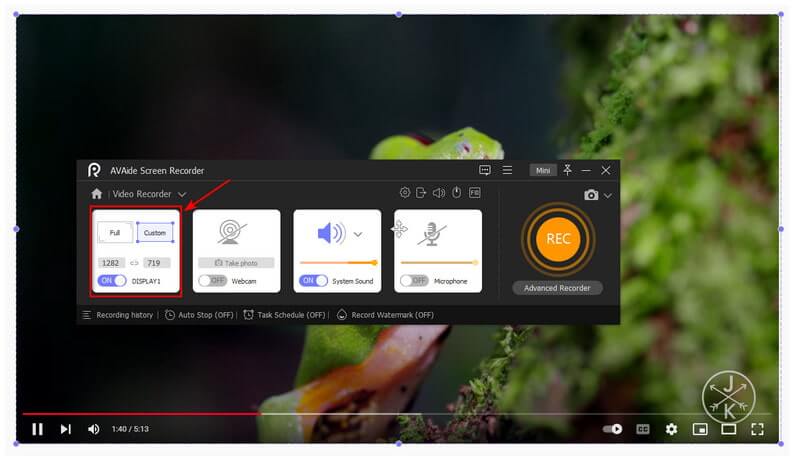
Step 2Adjust the Frame
Adjust the area you want to record around the window. Select Custom from the drop-down arrow on the first cropper and enter a recording location. Select Full Screen to capture the entire scene.
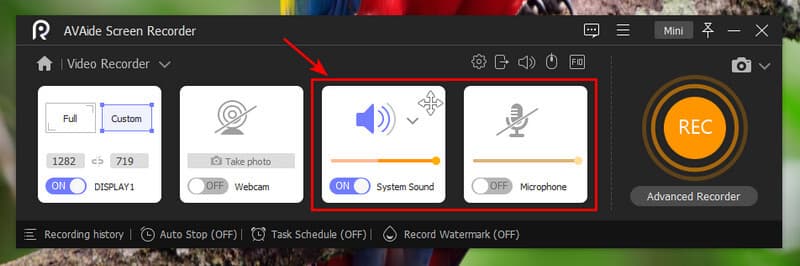
Step 3Add Audio and Sound Recording
You can record a video with audio using the system's built-in sound and microphone or an external microphone connected to it to record a desktop screen with voice narrations. Click the Microphone button to turn off voice narration while recording.
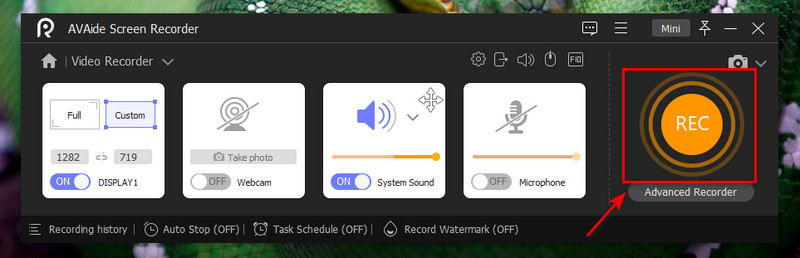
Step 4Start Recording
To start recording, press the REC button.
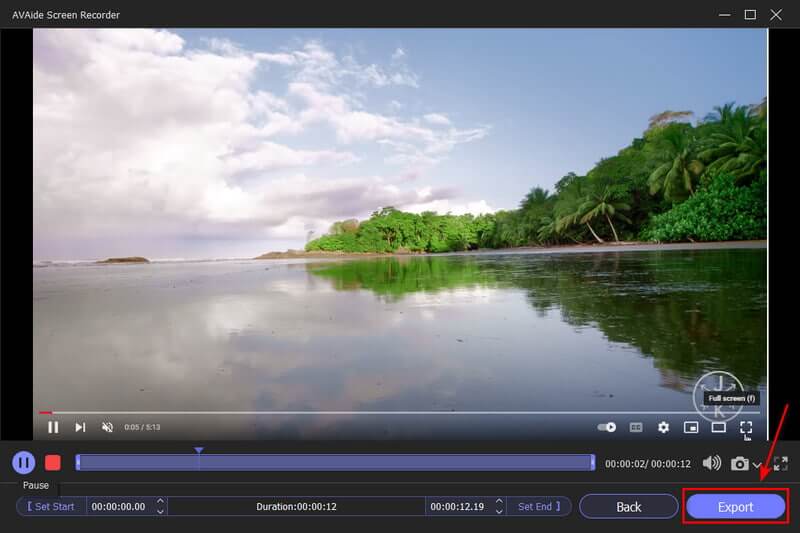
Step 5Stop and Export
After you've finished recording, press the Stop button to stop it, and then the Clip button to crop your recording clips before saving them. Then, to save your video, click the Export button.
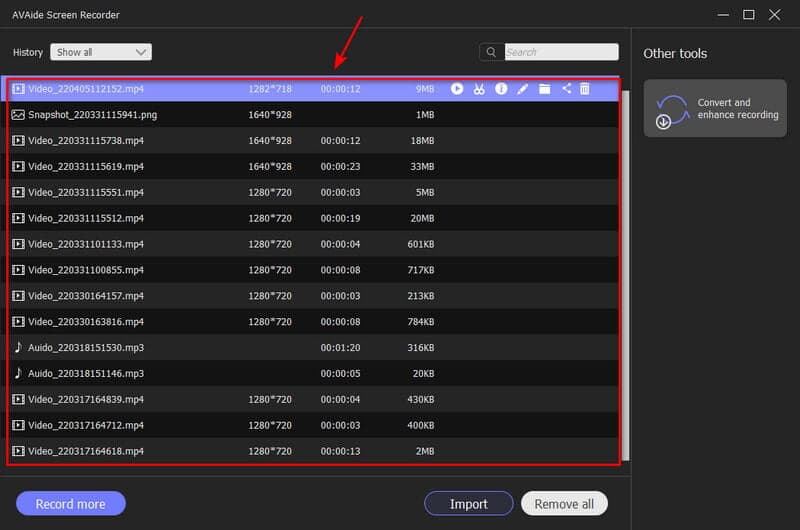
Step 6View the Video Recording
After saving the recording, you can now view the video record on the recording history. They are arranged chronologically, beginning with the most recent recording and progressing to the oldest.
2. Use Xbox Game Bar
This software is a gaming overlay built into Windows 10 and 11 that allows us to use various widgets while playing computer games. With a few clicks, you can access the devices in this tool, allowing you to capture game clips, take screenshots, find friends, and monitor and manage performance. So on, without leaving the game, you're currently playing. Furthermore, one of the most useful features of this Windows application is the ability to efficiently capture gameplay and capture screenshots of your game as you play it. Watch the video below to learn how to use this recording tool in the most basic way possible.
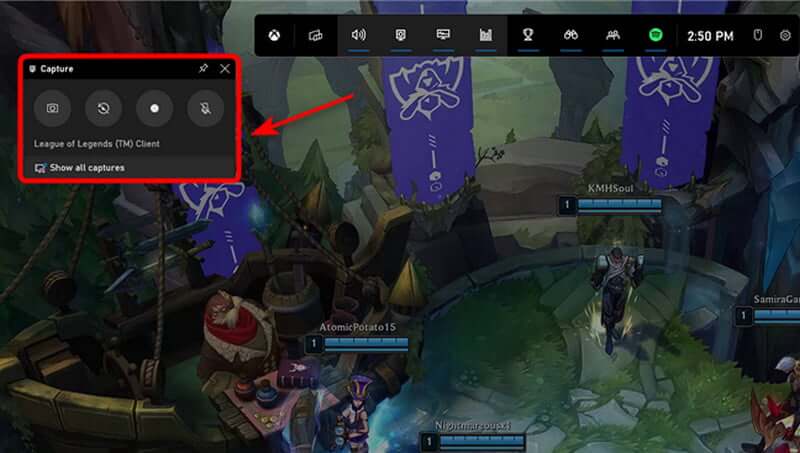
Step 1Open the Built-in Software
First and foremost, open the Xbox Game Bar and enable the capture widget. You can save all of your gameplay for posterity or save highlights, such as your most recent boss battles or Penta kills.
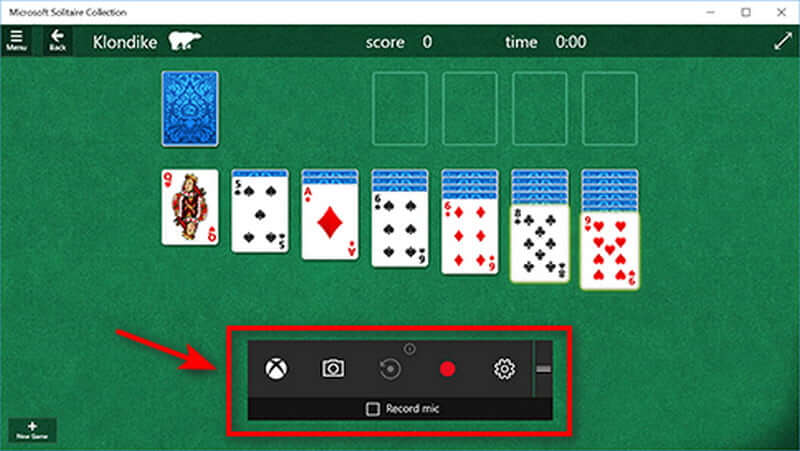
Step 2Start Recording
You can begin recording right away by selecting Record from now. If you want to take a screenshot, you can do so by clicking the camera icon and taking a picture of what's going on in the game.
Step 3Adjust the Sound Volume
Launching the tool displays all the audio channels that render sound on your Windows device. If you want to listen to music while playing games, you can adjust the volume of each audio track.

Note: You can also use the audio widget to adjust the volume of your microphone. Suppose you want to record your voice and gameplay. In that case, this can be useful because you can control how loudly or silently your voice is captured.
Step 4Stop Recording
Press the Windows logo key + Alt + G or click the square icon to stop recording in full-screen PC games. Open the Xbox app by pressing the Xbox button and selecting Captures to edit a clip.
Part 2. How to Edit Screen Recording on Windows
Most Windows users believe that installing a screen recording software on your computer or laptop is the only way to take a video screenshot, but this is not true. With the built-in Xbox Game Bar app, you can also begin editing your screen recordings. Furthermore, this tool is a component of the Xbox app, installed by default in Windows 10. It includes all of the functions required for quickly editing your screen recording.
Step 1Navigate to Settings
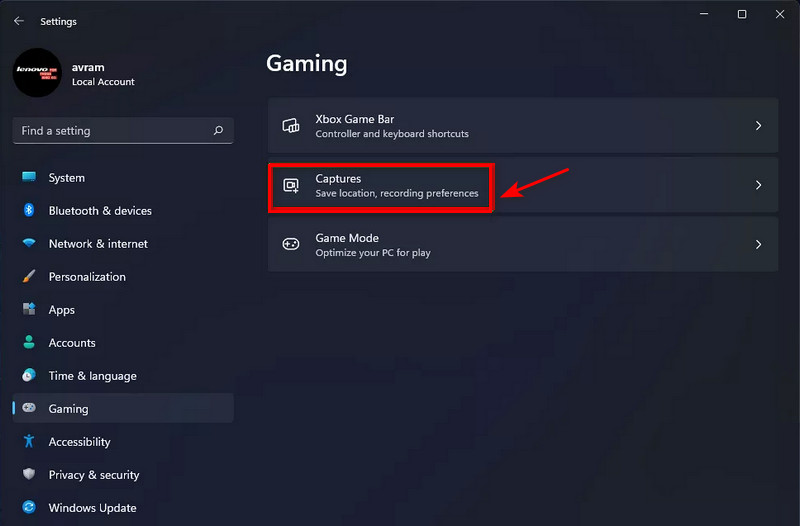
Step 2Adjust Background Recording
If the settings are changed, this creates a 30-second or longer buffer of automatically recorded content. So, if you're playing a game and just had an epic kill, you can use the game bar to save the last 30 seconds, even if you weren't actively screen recording it. Although the name of this setting differs between Windows 11 and 10, the functionality remains the same.
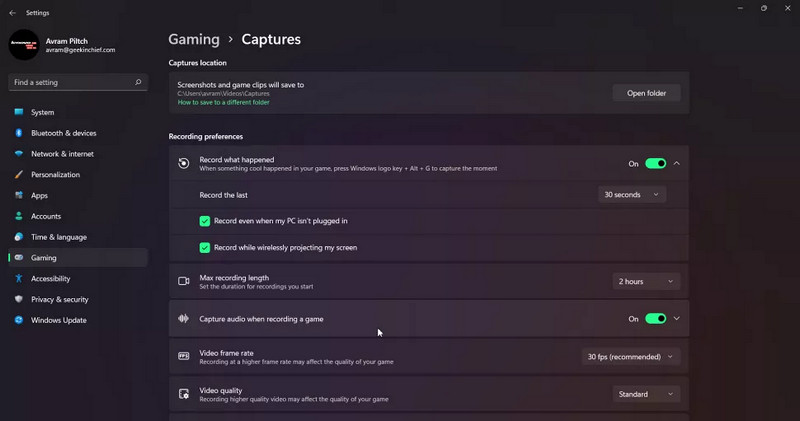
Step 3Capture Audio
By default, these only records sound from your microphone and the game, not from Windows or other apps. You can disable audio recording entirely, enable it to record system sounds, or adjust the balance.

Note: You can modify the video frame rate: it defaults to 30 frames per second, but you can change it to 60 frames per second. Also, choose between standard and high video quality. Finally, we recommend leaving Capture the mouse cursor when recording a game enabled, especially if recording a non-game app.
Part 3. How to Take Screenshots on Windows
FastStone Capture is at the top of the list if you're looking for a Windows snipping tool. This program is a simple screenshot and screen recording tool. It has a straightforward user interface based on a small toolbar that floats on your computer when you record a video. It supports basic image and video editing. There's also a portable app and a setup installer. You'll notice a small toolbar and an icon in your system tray when you run it. This method can capture the entire screen, a window or control, a selected region, a free-hand selection, or even a scrolling window. Examine the steps below to learn how to take screenshots on Windows.
Step 1launch the tool, select various screen capture options from the toolbar or right-click on the system tray icon.
Step 2Use the keyboard shortcut or click on the object icon. A red border will surround the active window.
Step 3Select the object you want to capture by clicking on it. A red border will highlight your selection.
Step 4After highlighting the desired object, you can click on the window or object icon again or use the keyboard shortcut. This will start the screen capture and open the FastStone Editor with the selected object displayed.
Step 5AClick 'Save as' to give your file a name and save it in PNG format.
Part 4. FAQs about Screen Records on Windows
Is it possible to trace screenshots?
A website can tell if you take a screenshot or use the browser to do it. A website can also know if you take a screenshot by pressing the print screen button on your keyboard. However, if you use a program like the Snipping Tool, the website will not know you took a screenshot.
How long will the screen capture last?
You can screen Record indefinitely with the right screen recording software. You can continue to capture the action as long as it is visible on your screen. This does not always imply that you will be able to capture hours and hours of footage.
Will others notice if I record my screen?
All screen capture programs interact with the graphics engine to capture the screen's image at a specific time, but that is all there is to it; there is no event trigger when a screen capture is completed, and thus no way to detect it when a capture occurs.
What effect does screen recording have?
Screen capture is proper when you need to show someone something that you see on your computer monitor. Sometimes, still-image screen capture is ideal, also known as a screenshot. On the other hand, a screencast may be a better option if your screen capture requires many explanations.
You now understand how to record a screen on Windows using the best software listed above. Choosing the best screen recording software can be difficult because many options exist. We strongly recommend selecting and trying AVAide Screen Recorder to lighten your load. It can also be used to record screen on Mac. You can install and test it, and it will undoubtedly help you illuminate your demands!
Capture screen activities with audio, online meetings, gameplay videos, music, webcam, etc.
Record Screen & Video
- Screen Record on Mac
- Screen Record on Windows
- Screen Record on iPhone
- Record Audio on iPhone
- Record TV Shows without DVR
- Screen Record Snapchat on iPhone and Android
- Record a FaceTime Call
- How to Use the VLC to Record Screen
- Fix Amazon Error Code 1060
- Fix OBS Window Capture Black
- How to Make a PowerPoint Into a Video [Complete Tutorial]
- How to Make Tutorial Videos: Preparations and Guidelines
- How to Screen Record with Sound on iOS 15 and Later
- How to Screen Record on TikTok: Desktop and Mobile Solutions
- How to Screen Record on Samsung in 2 Proven Ways [Solved]
- How to Record Gameplay on PS4 without a Capture Card
- How to Record Gameplay on Xbox One [Full Tutorial]