Wondering how to take screenshots in VLC when you watch videos? If so, here's a complete step-by-step guide for you to achieve this with the built-in features in VLC, which means you don't have to install any other programs. You can capture screenshots on various PC systems and Android mobile phones, as well as customize screenshot settings, with only a few simple clicks.
Part 1. How to Take a VLC Screenshot on PC
I have tested 3 effective ways to take screenshots in VLC 3.0.23.
1. Using VLC Screenshot Shortcuts
You can take screenshots in VLC by simply pressing the shortcut keys.
Default VLC screenshot shortcuts vary by operating system. It won’t work if you use hotkeys that are not for your system. Check the list below to see which hotkey to use.
| מַעֲרֶכֶת הַפעָלָה | VLC Screenshot Hotkeys |
| חלונות | Shift + S |
| macOS | Command + Option + S |
| לינוקס | Shift + S |
After the screenshots are taken, you can edit screenshots on Windows, Mac, and Linux if you need to.
2. Using the Video Menu
שלב 1הקלק על ה וִידֵאוֹ option in the upper part of the VLC window.
שלב 2In the menu that pops up, find צלם תמונה וללחוץ עליו.
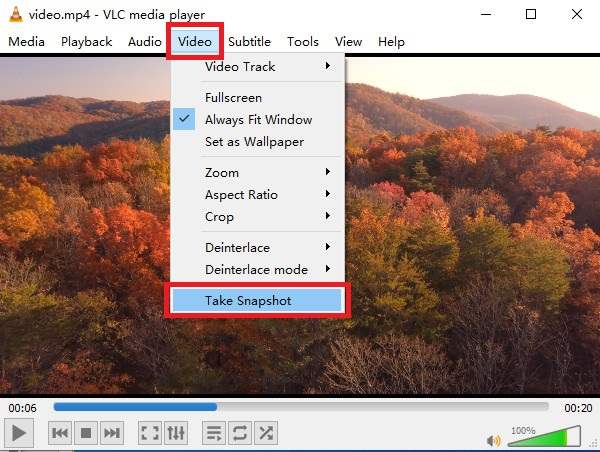
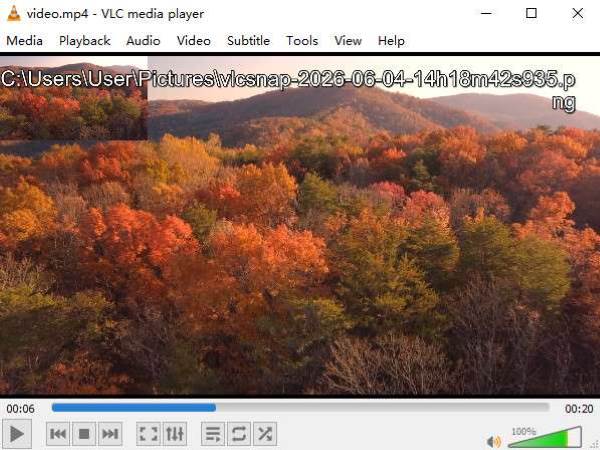
With a click, a screenshot of the current screen is immediately taken and automatically saved. You will see a thumbnail and the save location at the top left, so you know where to find it later.
3. Using Advanced Controls
It has been difficult for me to remember hotkeys, and clicking on the Video menu every time is too much for me, so I use Advanced Controls to simplify the process once and for all.
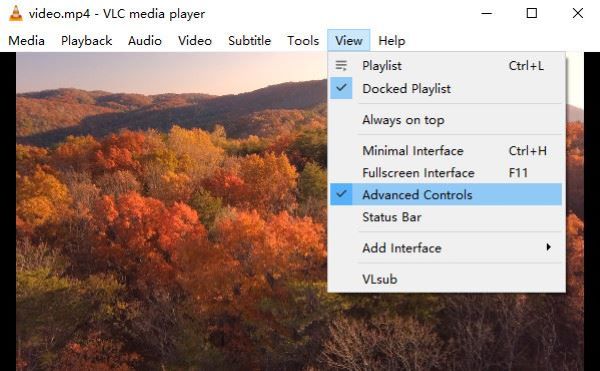
שלב 1הקלק על ה נוף option in the upper part of the VLC window.
שלב 2In the menu that pops up, find בקרות מתקדמות and click on it to turn it on. A check mark before it means it has already been switched on.
שלב 3הקלק על ה מַצלֵמָה button at the bottom left.
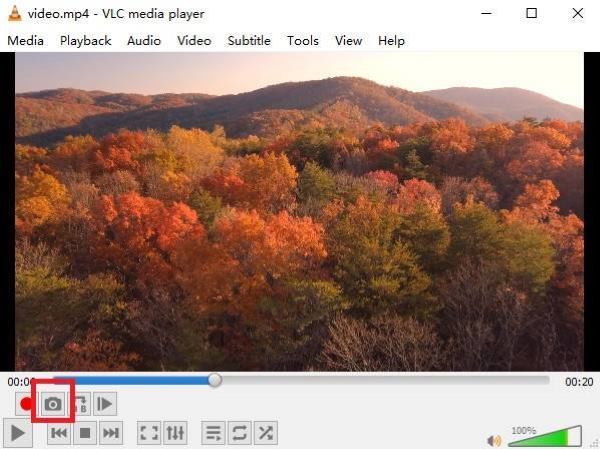
As long as Advanced Controls is on, we can always take screenshots with a single click on the camera icon.
Part 2. Customizing VLC Screenshot Settings
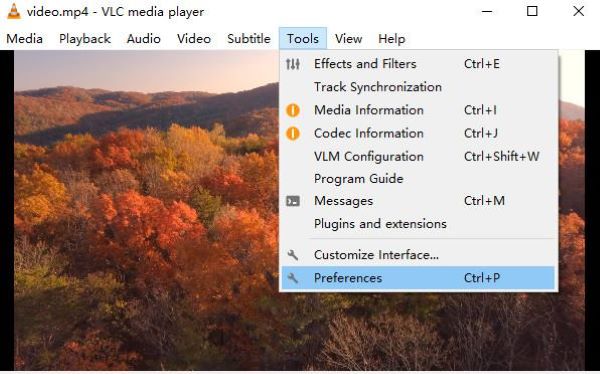
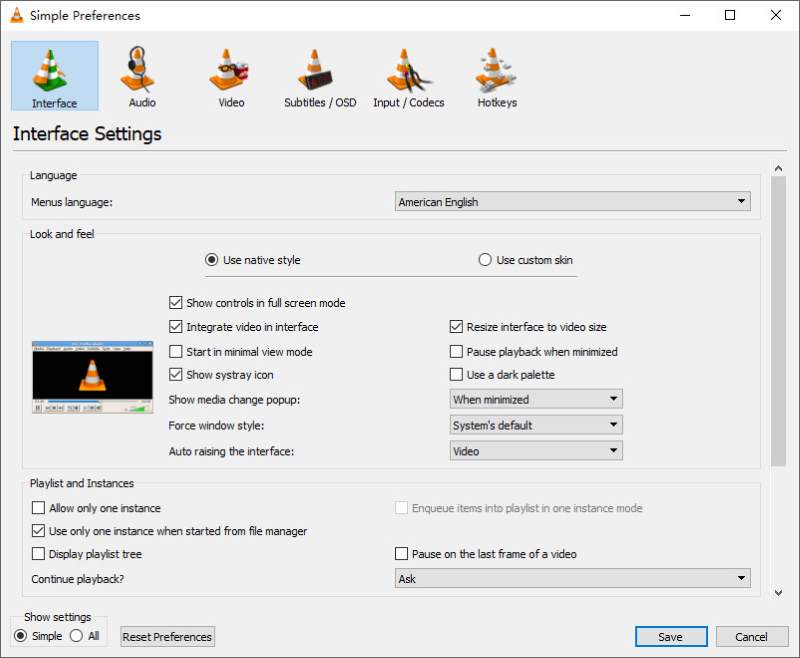
To change the screenshot settings on נגן מדיה VLC, the first step is to open העדפות. הקלק על ה כלים option in the upper part, and then select the last option on the menu. You can also press Ctrl + פ to do the same thing.
What you'll see is as follows:
1. Changing the Snapshot Save Location
The default save locations of VLC screenshots are like this:
| חלונות | C:\Users\username\Pictures |
| מק | Desktop/ |
| לינוקס | ~/Pictures |
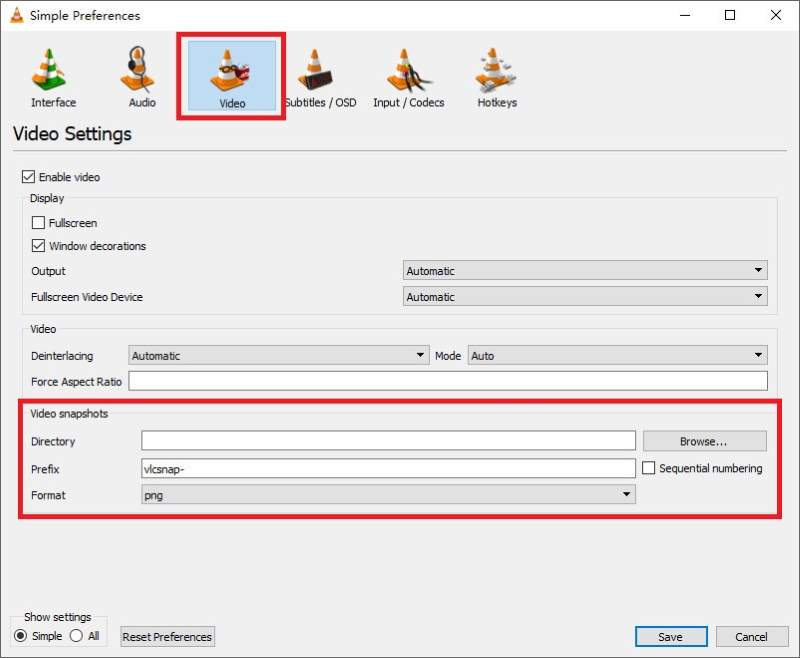
If you want to change the location, select the Video option, and at the bottom, you'll find a group of input boxes titled Video snapshots. That's where we do the tricks.
Two ways to change the save location:
1. Type the new location in the Directory input box.
2. לחץ על לְדַפדֵף button, and find your new location in the folder. Don't forget to click להציל when you're done.
2. Changing Snapshot Format
At the bottom of העדפות, there's a select box labeled פוּרמָט. Click on the box and choose your preferred format from PNG, JPG, and TIFF.

3. Changing the Snapshot Filename Prefix
A filename prefix is automatically added at the beginning of a screenshot's filename. For example, with the default prefix being vlcsnap_, your screenshots' filenames will look like this: vlcsnap_00001.png.
ה Prefix setting is located right between Directory and Format. If you don't like the default prefix, just delete it from the input box, enter a new one, and click להציל.
4. Customizing the Screenshot Hotkey
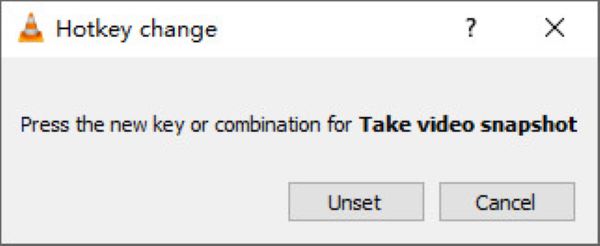
שלב 1Select the Hotkeys option and scroll to Take video snapshot.

- Since there are a whole lot of actions, to save time, you can also enter the single word "take" in the search box. Then the Take video snapshot action will show itself.

שלב 2Double-click the current VLC screenshot hotkey, and press the new keys you want.
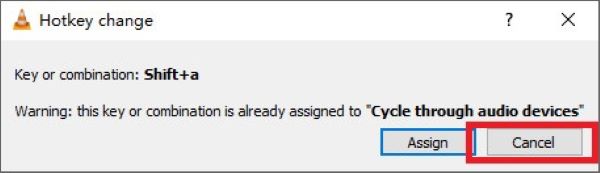
VLC pops up an alert? Don’t fret, click Cancel, change a new hotkey, and everything’s okay.
שלב 3נְקִישָׁה להציל.
Part 3. How to Take a Screenshot in VLC for Android
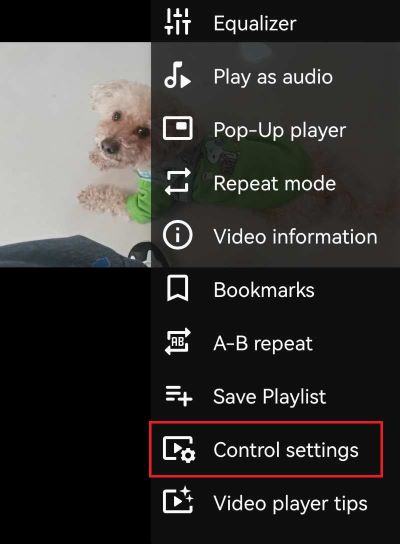
שלב 1Pause the video and tap the שלוש נקודות בפינה הימנית התחתונה.

שלב 2פתח את ה Control Settings.
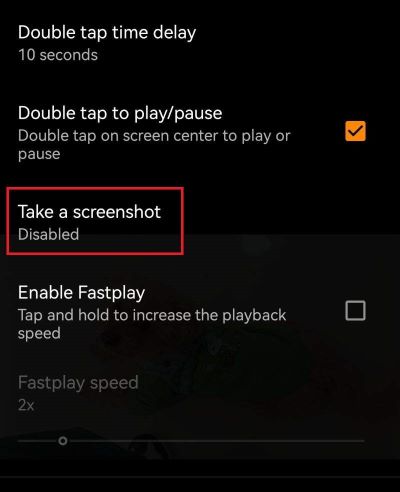
שלב 3Scroll to Take a screenshot and open it.
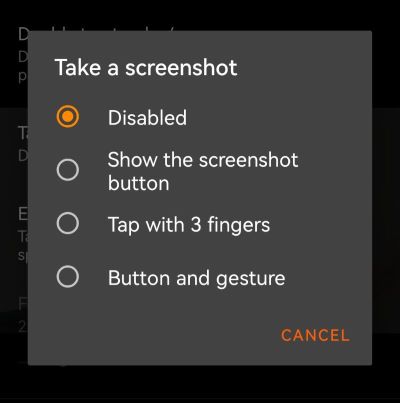
שלב 4Choose a way to take screenshots as you like.
שלב 5Go back to the video. If you've chosen Show the screen button, tap the button at the top left.
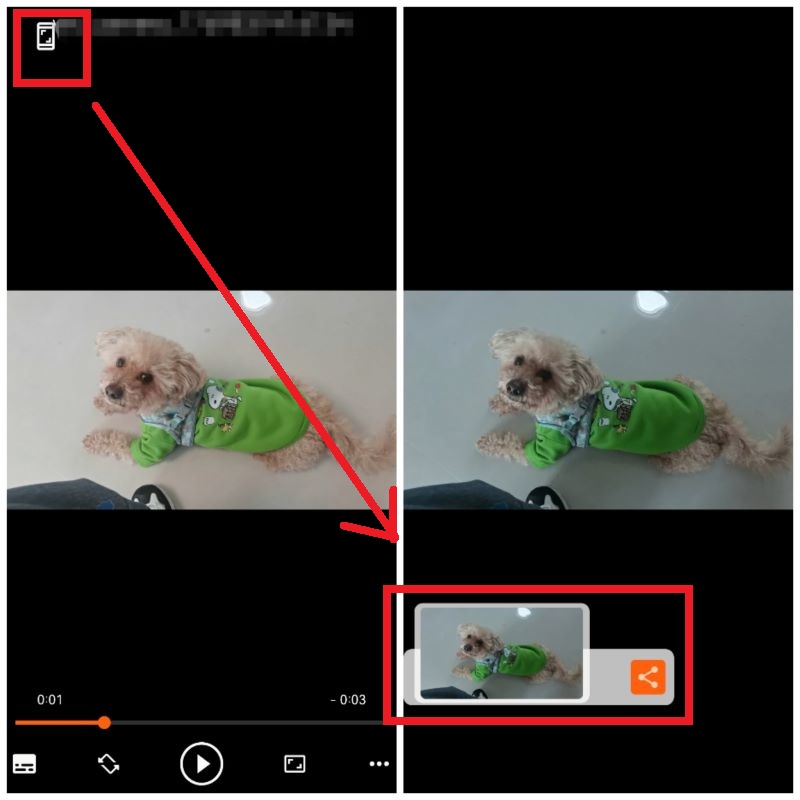
- Default save location: Internal storage > Pictures > Screenshots
Part 4. VLC Snapshot Not Working
Fix 1: Disable Hardware Acceleration
Sometimes, hardware acceleration can conflict with certain graphics drivers, causing VLC to fail when capturing snapshots.
To solve this, open העדפות, then click the Input / Codecs tab. Find פענוח מואץ חומרה and set it to Disable.
Fix 2: Change Snapshot Format
It's also possible that the current image format may not be saving correctly. Open the Video tab and choose another פוּרמָט.
Fix 3: Verify Snapshot Destination is Valid
VLC cannot save screenshots if the destination folder is missing, read-only, or lacks the necessary permissions. So, check the Directory. If it points to an invalid location, select another folder instead.
Fix 4: Restart VLC After Settings Changes
Some changes don't take effect immediately. After changing settings, close VLC completely and restart it, to make sure the new configuration is loaded successfully.
Fix 5: Use a VLC Alternative
When none of the above solutions work, you can still take screenshots with an alternative program like Snipping Tool, ShareX, OBS Studio, and AVAide Screen Recorder.
Take מקליט מסך AVAide as an example, whose screenshot feature is powerful and easy to use.

 הורדה מאובטחת
שלב 1Download the app and install it with the wizard.
שלב 2Launch the app.
שלב 3לחץ על מַצלֵמָה button in the upper right corner, or press Alt + ג, to capture anything on your screen.
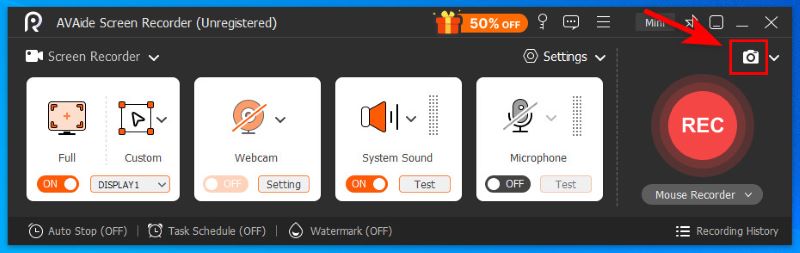
If you need to take a scrolling screenshot or capture a pop-up menu, click the downward arrow beside the camera button.
Now you are an expert on VLC media player screenshots. You can take snapshots on different operating systems with shortcuts, the Video menu or Advanced Controls on your PC, and with the button or the gesture on Android. You've also mastered how to customize your VLC screenshot settings and what to do when the VLC snapshot is not working: check the settings, or try third-party חלופות VLC, like AVAide Screen Recorder. Bookmark this article in case you have problems and need to reread it in the future.
אודות המחבר

הקלט מסך, אודיו, מצלמת אינטרנט, משחקיות, פגישות מקוונות, כמו גם מסך אייפון/אנדרואיד במחשב שלך.