You received a WebP file to PNG for a presentation or social media post, but your software would not open it. Converting WebP to PNG ensures full compatibility, preserves image quality, supports transparency, and makes your visuals ready for editing, sharing, or professional use without any hassle.
Part 1. WebP vs. PNG: Why You Still Need to Convert
Consideration when choosing between the two formats should not be based on quality alone. The choice should be based on the intended use of the image. Although both formats are good and powerful, they serve different purposes. This is why conversion is still necessary in a lot of cases.
Key Differences Explained
- 1.File Size & Compression: WebP has a reduction in size due to advanced compression techniques. The quality remains good as well. In contrast, PNG is lossless, meaning the overall quality remains the same, but the file size increases.
- 2.Image Quality: Consistent high-quality images are the strength of PNG. This is why it is the preferred choice for logos and designs. WebP can match the quality as well, but with more loss of detail when the image is highly compressed.
- 3.Compatibility: Unlike WebP, PNG has universal compatibility across apps and devices. WebP, on the other hand, only works with modern browsers. Some older tools are still not compatible with WebP, necessitating the conversion to PNG.
- 4.Transparency & Use Cases: Transparent images are supported by both formats. However, PNG is more preferred in instances of design work that carry greater significance to the precision of the edges and consistency of the rendering.
- 5.Animation Support: WebP is a more versatile option, especially for visuals on the web, since it is the only format that supports animation.
Why You Still Need to Convert WebP to PNG
WebP can be more efficient. However, PNG remains a necessity in everyday workflows.
- Editing Compatibility: Many design tools and older software work better with PNG.
- Quality: PNG files are not subject to compression problems.
- Compatibility: PNG files have no compatibility problems and can be opened anywhere.
- Transparency: PNG files are ideal for logos, icons, and other graphics.
Example Scenario:
Let us say you save an image from the internet as a WebP file. If you try to edit that image using most editing tools, you may run into some issues, as a WebP image is not usually a supported file type. You would need to convert it to a format that is editable, like a PNG. Converting it to a PNG will also not degrade the image quality, so editing will be much easier.
Part 2. 10 Best Ways to Convert WebP to PNG
1. AVAide Image Converter (Best for Batch Conversion)
The majority of tools will simply transform the format of an image. AVAide Image Converter, however, transcends the conversion itself by maintaining the quality of images in the conversion process. It guarantees that your WebP images will be converted to PNG without the needless compression or loss of quality.
This comes in handy, particularly in daily life. An image in WebP is sometimes compressed when you download it from a site. With AVAide Image Converter, you can convert it to PNG format, where it would retain clarity and detail, so it is more editable, shareable, or even professional.
It can be of particular use to:
- Social network images.
- Product images in online stores.
- Profile and portrait images.
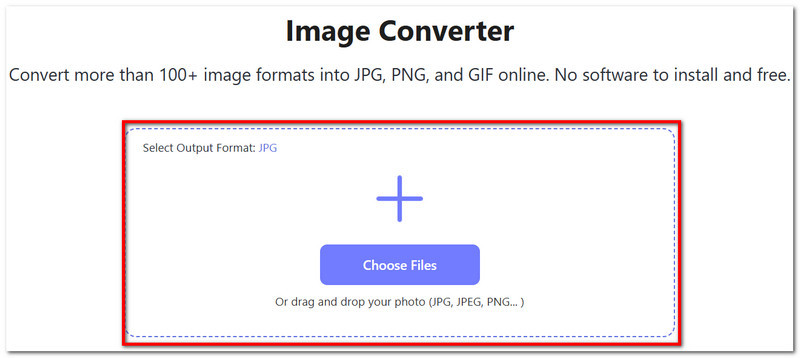
Step 1Go to the Official Website
Firstly, open any available browser and visit the AVAide Image Converter site. When the page is loaded, you will be greeted with the main interface where you can begin the conversion process.
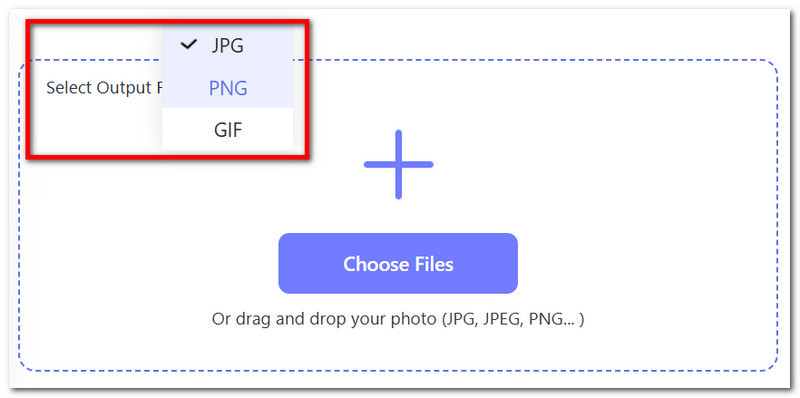
Step 2Select Output Format
Then, find the Select Output Format section on the interface. Among the possible variants, select PNG as the format you want to be converted to so that your WebP image can be translated properly.
Step 3Drag and Drop the WebP Image
Next, press the Choose Files button to post your WebP image to your computer. Alternatively, you may just drag and drop the file into the upload section to have a faster and more convenient procedure. After adding to the tool, the file will start to be prepared to be converted.
Step 4Get the Converted Image
Lastly, once the conversion is finished automatically, simply press the Download button and save the newly converted PNG image to your device.

Why We Selected It
AVAide Image Converter was our choice due to its ability to convert WebP to PNG without quality loss in a simple and reliable manner. Its one-click operation, ability to convert various formats, and totally free usage make it a viable option to users who require quick and secure conversion of images.
2. Snagit
Snagit is also not a converter. It is a productivity tool built for pros who deal with images, make teaching documents, and do a lot of visual work.
It has been built with workflow efficiency in mind. Once again, Snagit lets you do more than capture and annotate images. You will be able to convert images as you are capturing and annotating. Also, instead of having to deal with online editing, you will have a fully built editor to do business or instructional work.
Step 1Launch Snagit on your computer, then click File > Open to browse and import your WebP image. Once selected, the file will open in the Snagit Editor, where you can preview or make quick edits if needed.
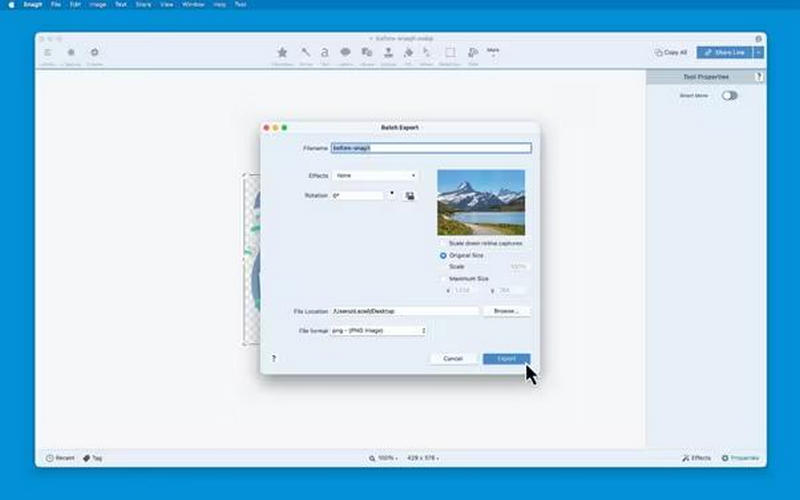
Step 2Go to the top menu, click File, and then choose Export. This will open the export settings window, where you can configure how the image will be saved.
Step 3In the File format dropdown menu, select PNG. After that, choose your preferred save location, adjust the file name if necessary, and click Export to convert and save your image as a PNG file.
3. Preview (Mac)
Preview comes as a surprise at just how powerful it is. Along with being extremely reliable when it comes to conversions, Preview is also quite fast, and as this is a Mac tool, there is literally no extra software needed.
In comparison to other methods, Preview's speed and ease of use are hard to come by. Preview is an instant open program, and when it comes to conversions, it is able to do so with ease. Limiting factors exist as power users may want to control compression (which Preview does not offer as a setting) and batch processing, but with Preview, those features do not exist.
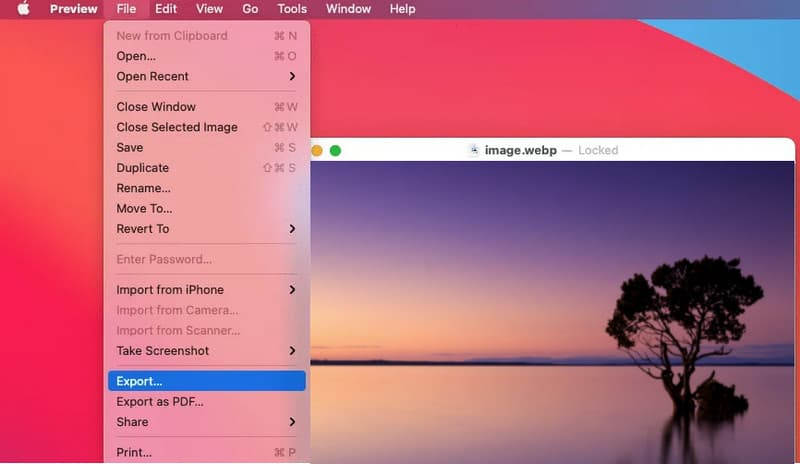
Step 1To open your WebP file using Preview, you can either double-click on it or right-click on it, navigate to Open With, and select Preview.
Step 2Click on Export from the dropdown menu under the File option.
Step 3Choose PNG from the format list and location. You can also rename it, and then select Save to perform the conversion.
4. Paint (Windows)
One of the quickest ways to do a conversion on Windows is by using Microsoft Paint.
It is primitive and lacking many features, and is not ideal for frequent conversion, but it is very easy to get started using it, as it is on every Windows installation by default.
It is not intended for professional usage and is best as a temporary, quick, and easy solution.
Step 1To open Microsoft Paint, right-click the WebP file and select Open with > Paint.
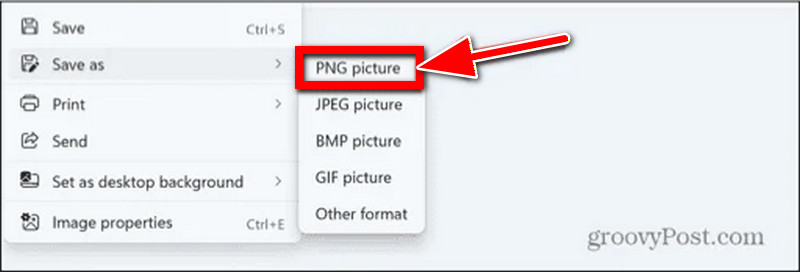
Step 2Go to the File option and select Save as, then choose the option for PNG Picture.
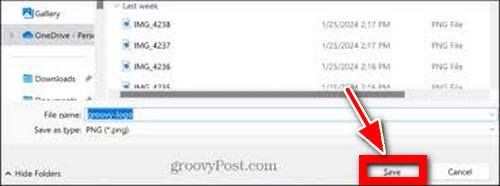
Step 3Select the location you want to save the file as and rename it if you want, then click Save to complete the conversion.
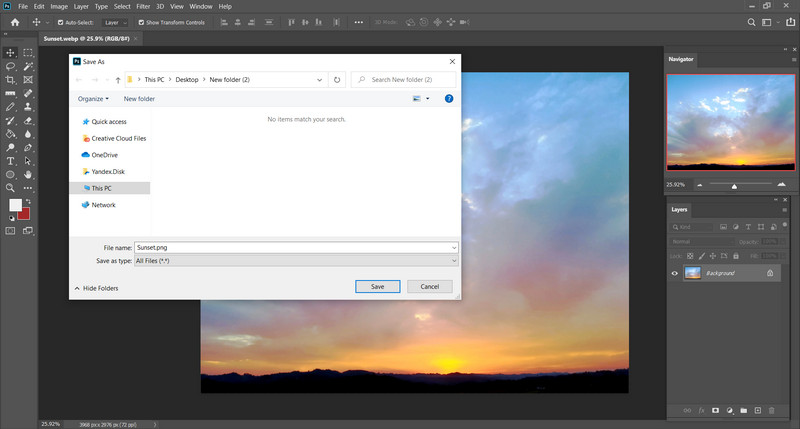
5. Adobe Photoshop
For professional photographers and designers, having optimal control over the image output is crucial when using Adobe Photoshop.
Photoshop is superior to the other tools in the following aspects:
- Color profiles can be adjusted to improve accuracy and consistency, and you can also unblur an image in Photoshop using sharpening and enhancement tools.
- You can control the save features to handle transparency.
- You can control the optimal compression and format settings of the image and other export settings.
The only disadvantage is that for a simple conversion, it is excessive, and it is subscription-based.
However, for high-quality conversions, it cannot be matched.
Step 1To open your WebP file in Adobe Photoshop, click on File > Open and choose the image.
Step 2Click on File, then Export for the export options.

Step 3Select PNG, choose the destination, rename if you want, and click Save to do the conversion.
6. CloudConvert
While most other file conversion platforms specifically deal with images, CloudConvert deals with hundreds of file types, including images, documents, spreadsheets, etc. It is also more powerful than simpler tools because of the great customization available. You can, for example, set the resolution, file compression, and even edit the metadata record of the file, among many other options.
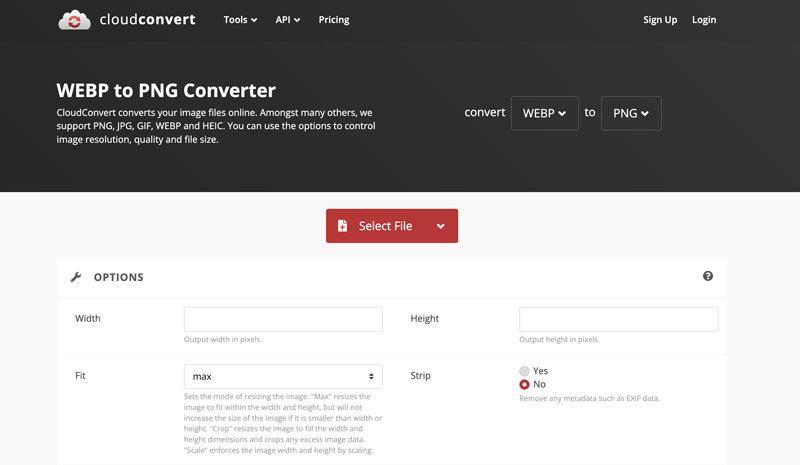
Step 1Access the CloudConvert site and upload the WebP file you wish to convert. You can do this via drag and drop, direct upload from your Cloud Storage, or select the file from your local machine.
Step 2Choose PNG from the dropdown screen for output format, as this is what your file is to be converted to.
Step 3Click on Convert to have your WebP file converted to PNG.
7. Convertio
With Convertio, the focus is on the user and the user experience, as it is quick and easy, making it great for those who may be newer to file conversion and need something uncomplicated. From direct uploading the file to the site and selecting a file from Cloud Storage, the process is very quick. For those who will require some more advanced options, Convertio may not be the site for you.
Great for those who do not want to be caught up for long with file conversion.
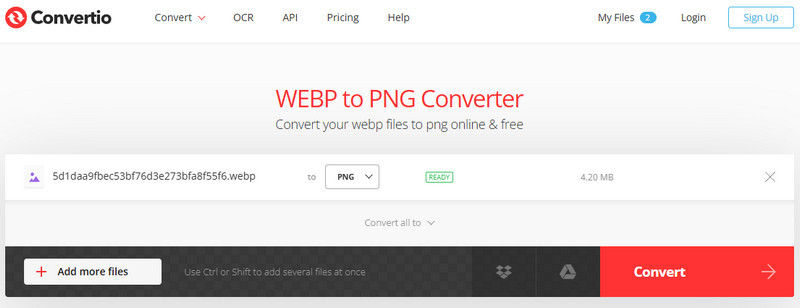
Step 1Access the Convertio site and upload the WebP file you wish to convert.
Step 2Choose PNG from the dropdown screen for output format, as this is what your file is to be converted to.
Step 3Click on Convert to have your WebP file converted to PNG. The site will notify you, and you may then download the file.
8. GIMP
GIMP photo editor is a free and open-source software and editing platform that is incredibly versatile and powerful - pretty much on the same level as Photoshop.
It provides features such as advanced editing, layering, and the possibility of using plugins, so it is best suited for people who want to have the full experience without having to spend any money.
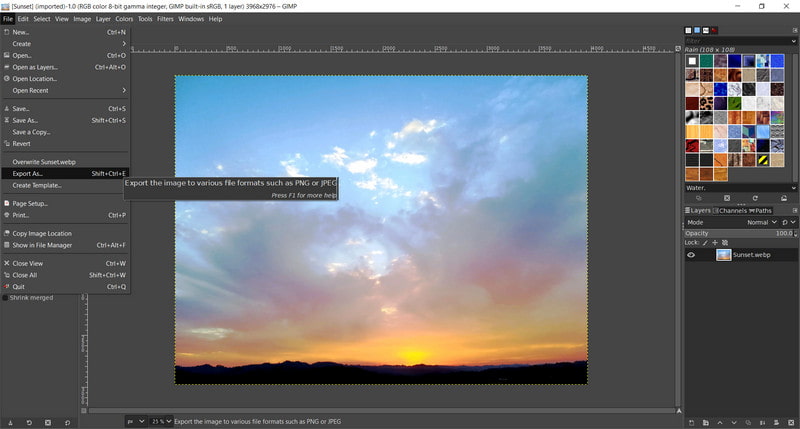
Step 1Open your WebP file in XnConvert by pressing Add Files and selecting the file from your device.
Step 2Choose PNG as the output format in the export settings.
Step 3Click Export to save the image.
9. XnConvert
XnConvert specializes in bulk image editing. If you want a mass conversion of WebP files in the range of dozens to hundreds, this tool is optimized for the task. It additionally includes support for automation, creation of conversion presets, and various configurations for multiple output files.
In spite of the dated UI, their user experience and productivity make up for this.
Step 1Start XnConvert and add the WebP files either through the Add Files button or by drag and drop.
Step 2Choose a directory to save the files and the output format as PNG.
Step 3To save all the files and start the conversion, click on Convert.
10. IrfanView
IrfanView has a reputation for being extremely fast and light on system resources, and even with the limited physical resources on the system, the software can use plugins as well as perform a batch convert, which augments the capability. Even so, the UI is considered by many to be out of date and unfriendly to beginners.
This is ideal for a user who requires output with few additional features and a fast result.
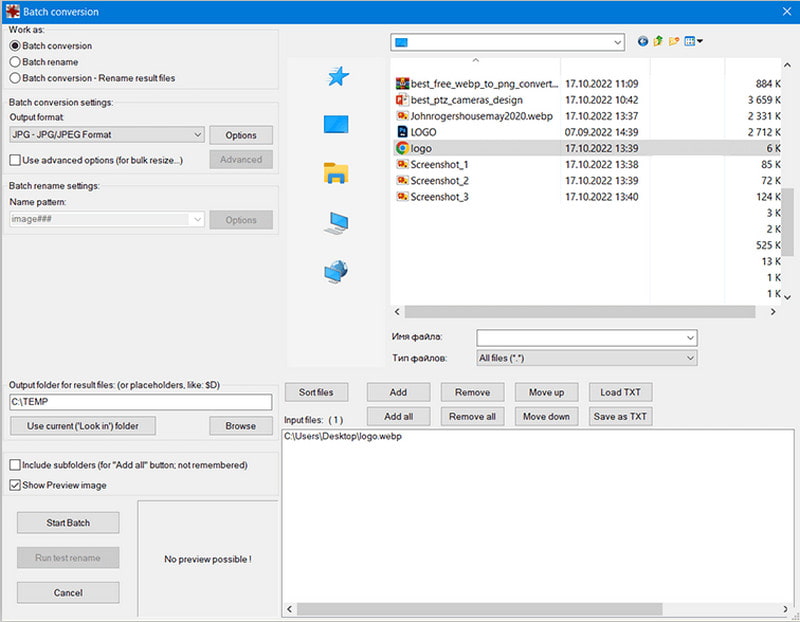
Step 1To open the WebP file you want to convert in IrfanView, click on File > Open and locate the image.
Step 2Open the save menu by clicking on File > Save As.
Step 3Select PNG as the format, then select a directory to save the file, and if necessary, rename the file, then click Save to convert.
Part 3. Comparison of the 10 WebP to PNG Converters
- Converter
- AVAide Image Converter
- Snagit
- Preview (Mac)
- Paint (Windows)
- Adobe Photoshop
- CloudConvert
- Convertio
- GIMP
- XnConvert
- IrfanView
| Easy to Use | Free to Use | Supports Multiple Files | High Quality | No Installation |
| ✔ | ✔ | ✔ | ✔ | ✔ |
| ✔ | ❌ | ❌ | ❌ | ❌ |
| ✔ | ✔ | ❌ | ❌ | ✔ |
| ✔ | ✔ | ❌ | ❌ | ✔ |
| ✔ | ❌ | ❌ | ✔ | ❌ |
| ✔ | ✔ | ❌ | ❌ | ✔ |
| ✔ | ✔ | ❌ | ❌ | ✔ |
| ✔ | ✔ | ❌ | ✔ | ✔ |
| ✔ | ✔ | ✔ | ❌ | ✔ |
| ✔ | ✔ | ❌ | ❌ | ✔ |
Part 4. FAQs of WebP to PNG
Why do PNG files save as WebP?
Certain software or platforms may automatically transform PNG images into WebP due to the ability to compress the file size even more than simple PNG compression, which makes WebP images load and display even faster, all while maintaining decent quality.
What is the main disadvantage of WebP?
Unfortunately, WebP files use a form of compression that makes them lose a large amount of quality and is not universally compatible, requiring the use of JPEGs or PNGs that do not use WebP compression. While some software and Web-based browsers do not support the compression of WebP, they are quite modern and large in number.
When not to use WebP?
Avoid using WebP when working with older software, offline applications, or clients requiring universal compatibility. Also, choose PNG if you need lossless quality, transparency support, or precise color and design fidelity in graphics, especially when converting formats like PNG to GIF for different use cases.
A reliable WebP to PNG converter makes handling images effortless, ensuring compatibility, preserving quality, and supporting various use cases. Choosing the right tool saves time while producing professional, high-quality visuals every time.
ABOUT THE AUTHOR


You can easily convert your photo from any image format to a popular JPG, PNG, or GIF with no quality loss.
PROCESS NOW