Your ICO file cannot be opened on other platforms, and now you need to convert it while keeping its transparent background intact for use as a logo. That is a common scenario, especially when working across different tools that do not fully support the ICO format. PNG, known for its transparency support and web compatibility, offers a simple fix. Learning how to change .ico to PNG not only makes your images easier to work with but also keeps the quality and style of your design.
Part 1: ICO vs PNG - Why Convert ICO to PNG
Your ICO file works well for icons, but problems show up when you try to use it outside its usual place, like on websites or design apps. That is where PNG comes in. It supports transparency, looks sharp, and is widely accepted across platforms. Unlike ICO, which is mainly for Windows icons, PNG is built for flexibility without sacrificing image quality. If you need your icon to be more than just a desktop shortcut, it makes sense to change ICO to PNG. This switch gives your image better reach and usability, especially when working with different devices, browsers, or editing tools.
Part 2: The Easiest Way to Convert ICO to PNG Free Online
Want to use your ICO as a logo on your website or drop it into a project without worrying about format issues? Then, turn your ICO file into PNG using the quickest method available, an online converter. AVAide Image Converter makes this job simple. It supports batch conversion, keeps your icons' sharp edges and transparent background, and delivers results fast, all for free, with no need to install anything or tweak complicated settings. Whether you are fixing one icon or a whole folder of them, this tool gets it done smoothly. Below are the easy steps to convert your files in seconds.
Step 1Before you can use it, you need to launch your web browser, open a new tab, and search for its official page. In the result, click the link that is associated with the AVAide. To make sure that you are on the right website, check out the images we have next.
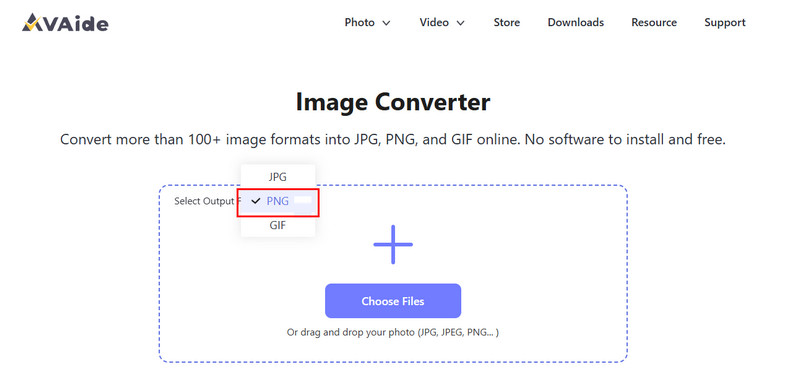
Step 2Here, the output format is set to JPG, and to change it, you need to click that format and choose PNG. Once there is a check, it means all the images that you are going to import, like ICO, will be converted to PNG format.
Step 3Just like we said, click the Choose File to upload the ICO you want to convert, and once uploaded, the conversion will start. Once done, click the Download button that appears on the result to have the final product.
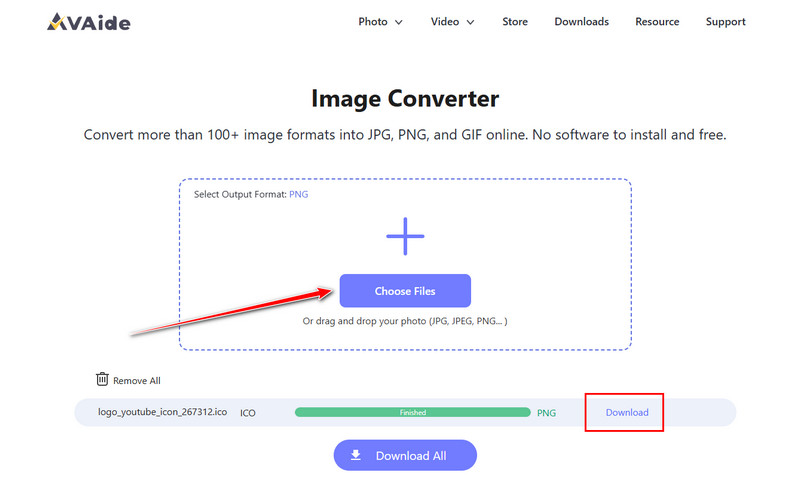
Take a quick preview of the output with your image viewer, and you will see that it is clean, high-quality, and no watermark is added to it. If you enjoy the result of this app and you have a WebP, then try to import it to convert WebP to PNG using this tool.
Part 3: How to Alter ICO to PNG with Zamzar
Zamzar is an online file converter that does not have to be installed. It operates in your browser, covers a broad variety of files, and makes the procedure painless for all the people who have to convert ICO to PNG without interfering with complicated options. This is as simple as uploading your file, selecting the format, and letting Zamzar do the work. Although it can require a couple of seconds, according to your connection, the results are always consistent and accurate.
Step 1Go to Zamzar's website.
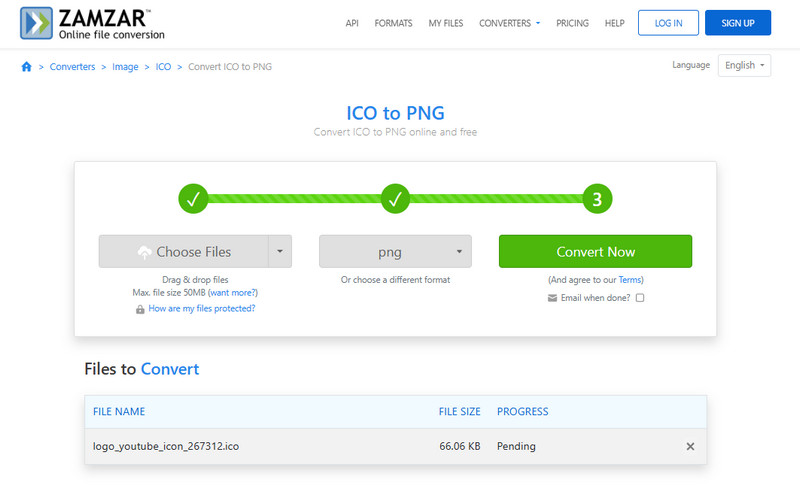
Step 2Upload your ICO file by clicking Choose Files.
Step 3Specify the output format to PNG, then tick Convert Now to download your image.
As easy as that, you can also import ARW in here to convert them into a PNG easily. It works the same process but with a different imported format. If you want to convert ARW to PNG, you can use this as an option.
Part 4: How to Change ICO to PNG with GIMP
GIMP is an image editor which is free and powerful and is sometimes compared to Photoshop. It is ideal for people who desire total control of how their image appears after conversion. Other than merely altering the formats, GIMP enables you to adjust the size, colors and layers of the image before changing .ico to PNG. It is a perfect tool for people who desire to perfect their icon prior to saving it in a new format.
Step 1Open your ICO file in GIMP.
Step 2Make any adjustments if needed.
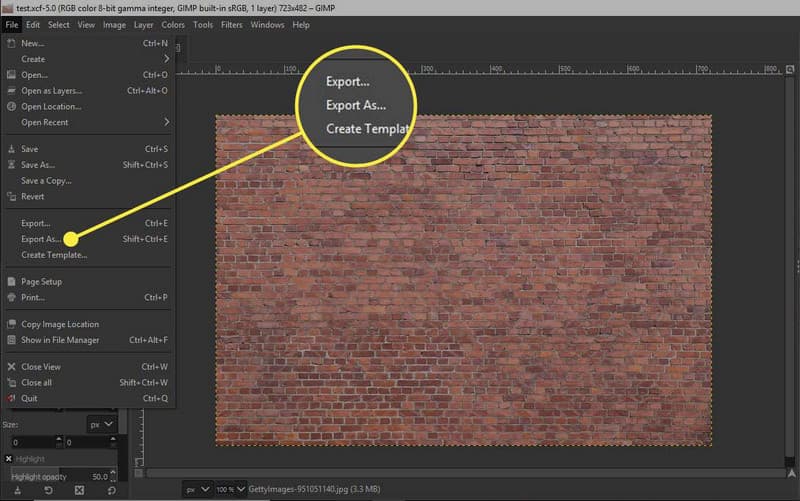
Step 3Go to File > Export As, select PNG as the format, then click Export.
Before you export the ICO file, you can also perform editing on it to make it polished and well-done. However, using it as a converter might be overboard because it is meant for editing. Following the steps available give us an idea that even editor like GIMP can alter the format of image into a PNG.
Part 5: How to Convert ICO to PNG with FFmpeg
FFmpeg is a command-line program aimed at users who prefer to work fast and not manually. It is very popular for media conversion, and almost every format you can think of is supported. When you need to convert an ICO file to PNG in batch or with specific options, FFmpeg is very efficient. It lacks a graphical interface, but it is powerful in terms of flexibility and speed, particularly for developers or sophisticated users.

Step 1Open your terminal or command prompt.
Step 2Go to the folder with your ICO file and copy its path.
Step 3Type: ffmpeg -i input.ico output.png and change the information of input.ico with the ICO file path and the output.png with the name you want to use before you press Enter.
Compared to the other options available here, this one is the most difficult to use because you are using the prompt to convert. No buttons are presented. However, if you master using it, converting multiple multimedia files, including the ICO, will become easier and convenient as well.
Remember, before you convert from ICO to PNG, you need to first understand what tool to use. The method of converting is similar to all tools available, aside from FFmpeg, because it is a command-line program. So, if you prefer to use a straightforward tool to convert your ICO without any hassle, with no limitations and logging in, then AVAide is the one.

You can easily convert your photo from any image format to a popular JPG, PNG, or GIF with no quality loss.
PROCESS NOW