Countless objects besides the subject can be captured while taking a video. Some are unnecessary to be visible for the mentioned media type. Nice enough; you can blur the part of the video you do not prefer to add to the content. How to blur a part of a video?
Most devices do not contain a native blurring tool from their Photos application. Only simple editing tools are supported. Third-party editing tools and applications can be used as an alternative. Good news! This post has compiled five easy-to-use methods for blurring a part of your videos. Their full details are provided below.
Part 1: When You Need to Blur a Video
Videos are still images that are used to create movies, demonstrations, TV shows, music videos, and other visual content. Blurring a part of the video is necessary for privacy protection. For instance, a professional will release an interview video on the internet, and the faces of random people are included. These individuals have given no consent. Blurring their faces is important to avoid legal consequences in the future.
Furthermore, blurring a part of the video is also common when hiding sensitive information from the video. It could be a logo, brand, notifications, documents, or other important information about people. Individuals who want a visual focus from the videos may also be a factor in their desire to learn how to blur part of a video.
Part 2: How to Blur a Video [Editor's Choice]
Editing a video is way more convenient on a computer. You can multitask more easily on a larger screen compared to a smartphone. AVAide Video Converter is the most comprehensive software that enables you to blur your videos with just a few clicks. It supports a variety of known video formats, including VOB, WMV, MPG, RM, MKV, FLV, MP4, and AVI.
This software supports various pre-made themes that can add an effect to your video. Some of them contain music that enhances the vibe of your video. This tool can also trim, rotate, crop, and remove the watermark from your videos. Learn how to blur the background in a video using the software with the steps provided below.
Step 1Download the AVAide Video Converter on a computer.

FREE DOWNLOAD For Windows 7 or later
 Secure Download
FREE DOWNLOAD For Mac OS X 10.13 or later
Secure DownloadStep 2Set up and launch it to continue. Click More Tools at the top, and some editing tools will appear. Select the Search Tool at the top right. Please search for Video Watermark Remover and access it.

Step 3Select Plus at the center. Choose the video you prefer to blur. Then, click the Add Watermark Removing Area button at the bottom center. The highlight box will appear on the video afterward. Please blur the part of the video you prefer.

Step 4The video file preview will appear at the top of the screen. You can add other edits using the tool editing features. Once you are satisfied with the video edit, click Export. This action will save the video to your computer.

Part 3: How to Blur a Video on CapCut
The blurring way for your videos can also be done on your iPhone and Android phone. CapCut is a well-known video editing application that can be used. Another interesting feature is that it also comes with an online tool version.
The application version has various editing tools that you will love using. It can add video transitions, effects, animations, and more. Furthermore, CapCut enables you to create their templates. Other users can use these templates for their videos and photos. However, some users find this app difficult to operate. It might be due to the complex editing features it supports. Learn how to blur a video on CapCut using the steps provided below.
Step 1Open CapCut and import the video you need to blur to see it with the tool. Click Effects from the sidebar. Choose Blur at the top left and select a blur effect.
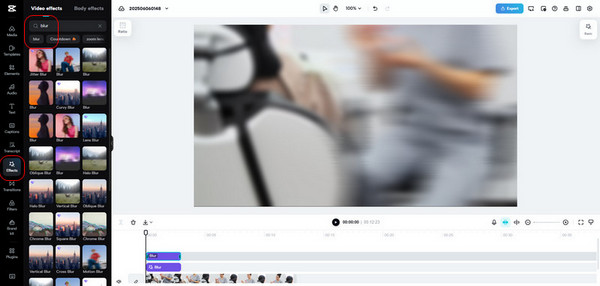
Step 2The blur effect will be applied immediately. Please click Export in the top corner. This action will prompt you to select where you want to share the video. Choose a destination path as the final step. As you can see, a Capcut watermark may appear on the exported video. If you want to use it professionally, you should remove it using a watermark remover.
Part 4: How to Blur a Video in Canva
Suppose you are not a fan of downloading apps and programs on your devices. Online tools, like Canva, maybe a substitute for blurring your videos. This online tool requires you to create an account before accessing its editing features. You may use your Google or Facebook account. It allows users to share a project using a single account through links.
Frankly, Canva is not intended for beginners in video editing. It features sophisticated editing tools that you will become proficient in over time. Due to the numerous editing tools available, a stable or reliable internet connection is necessary during the editing process. Learn the steps below on how to blur a video in Canva.
Step 1Search for the Canva website and sign up or sign in with your account. Click Create at the top left. Select the video you want to blur before uploading it to the online tool.
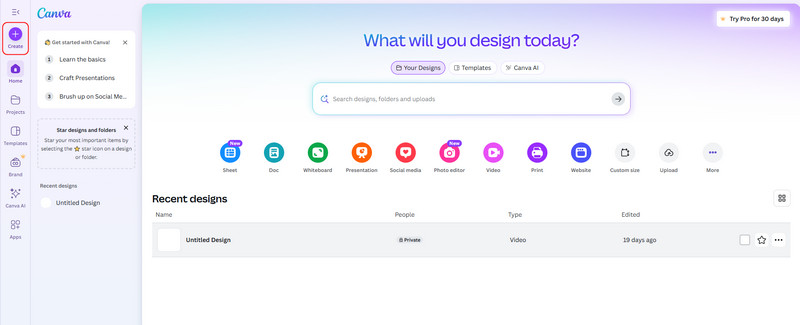
Step 2The editing tools will be visible. Click Elements from the sidebar and search for Blur. The available effects will be prompted on the screen. Choose the blur effect to blur the video. Then, click Share at the top right to save the video.
Part 5: How to Blur a Video on iMovie
Are you an Apple user who loves editing videos? You probably heard about iMovie. It is an app that is pre-installed on your iPhone, iPad, and Mac. It offers multiple editing features and tools to help beginners create professional-looking edited videos. The good thing is that blurring your videos with iMovie is straightforward. Thus, iMovie is limited to Apple OS, which is why many are looking for an iMovie alternative on Windows.
However, this app occasionally experiences performance issues. Building a video project with this tool might be time-consuming during this phase. Additionally, this app is experiencing difficulties editing videos with large file sizes. The steps below will guide you on how to blur a video in iMovie.
Step 1Open iMovie on your device. Click Import Media on the left side and choose the video. Drag the cursor to select the part of the video you prefer to blur. The built-in screenshot tool will appear. Edit the sharpness of the image, then save. Drag the image to the view again.
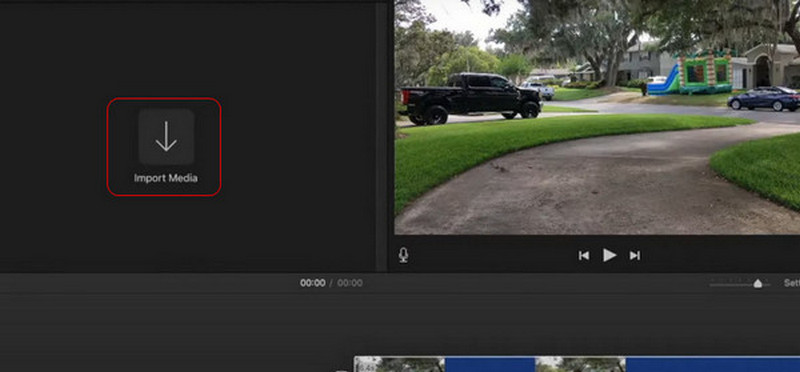
Step 2Select Picture in Picture from the top left. Then, drag the picture frame (frame by frame). Later, click Share at the top right. This action will save the video to your device.
Part 6: How to Blur a Video in DaVinci Resolve
DaVinci Resolve is a versatile editing tool that offers both free and professional versions. This software lacks editing tools suitable for video editing. It may add video visual effects, color correction, audio, and other effects. The only drawback we found for this software is its interface.
It is not intuitive for all users. Moderates and professionals will enjoy this tool. Learn how to blur a video in DaVinci Resolve with the instructions below.
Step 1Open DaVinci Resolve. Import the video file by dragging and dropping it into the designated area. Click Color at the bottom and then select Power Windows. Choose a shape that suits the video part to blur.
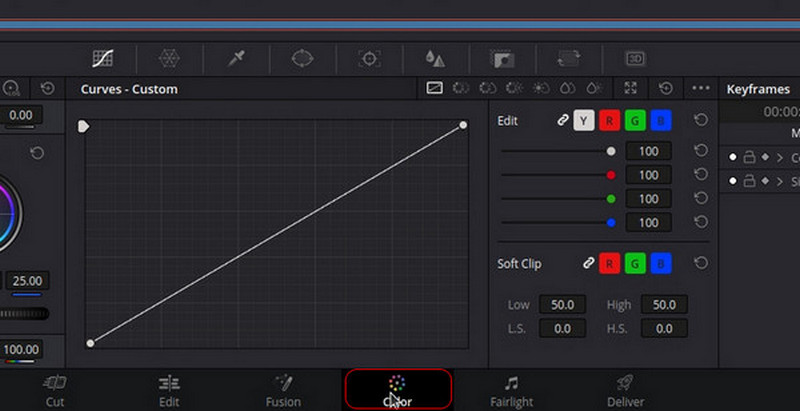
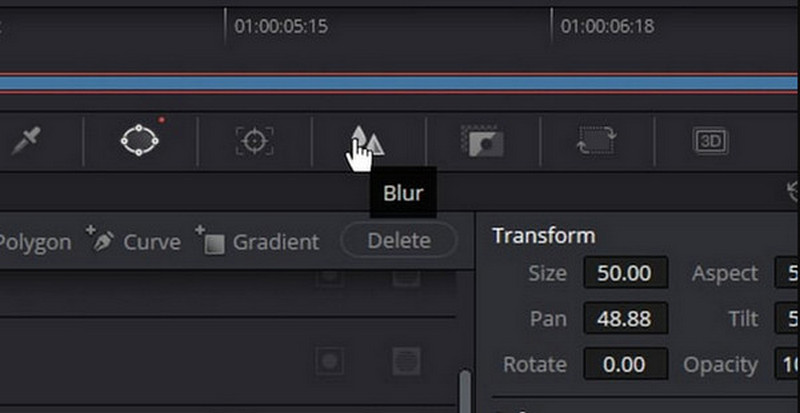
Step 2Click Blur at the top afterward. Repeat the blurring process for every part of the video that requires blurring. Save and export the video afterward.
All in all, this article lets you know how to blur something in a video in five different yet easy ways. Which one do you prefer the most? We hope it is the AVAide Video Converter. It is the most user-friendly tool to blur your videos.
Your complete video toolbox that supports 350+ formats for conversion in lossless quality.