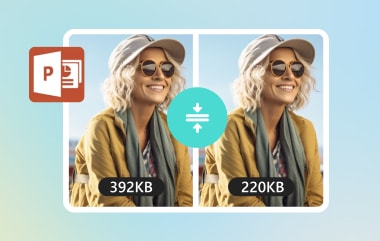
What if you want to reduce the image quality of the image due to its extra-large file size? This often happens when a photo loads slowly or fails to upload. The image looks fine, but the file is too heavy. Learning how to reduce image quality gives you better control over size and speed. It helps images load faster and share more easily. The article then walks through online tools, mobile methods, and desktop options.
Part 1: Why You Need to Lower Image Quality
Sometimes, high-resolution images look great but cause more problems than benefits. Large file sizes can slow down websites, take up too much storage, and make sharing difficult. Learning how to reduce the quality of picture files is essential for anyone who works with digital images regularly. With some proper image quality manipulations, you can maintain images in good shape and maximize performance, reduce space, as well as make images more manageable across devices and platforms.
1. Faster Website Loading Times
Big picture image files add bulk to a page, and the speed of loading is slowed. Page slowing down will infuriate users and lead to increased bouncing. Search ranking also depends on the speed of the page. To reduce the size of files, it will be wise to opt for a lower image quality without making the image so small that it cannot be viewed on a normal screen.
2. Better Performance on Mobile Devices
Mobile phones are based on low data and unreliable network connections. Big pictures are slow to load and use more bandwidth. This can interrupt scrolling and postpone the display of content. By lowering the quality of pictures, you will find pictures loading much faster, and the pages will be smoother on phones and tablets.
3. Easier File Sharing
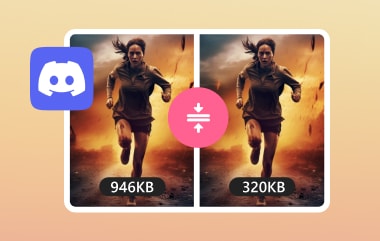
Most email platforms and instant messaging applications have file size restrictions. The high-resolution images do not upload or take much time to send. This renders sharing hectic. When you reduce picture quality, image files get small and can be sent through various platforms with ease.
4. Storage Optimization
Images are quickly taking up phone, computer, and cloud storage space. The storage is filled quicker than anticipated by high-resolution photos. This results in frequent cleanup and storage warnings. By providing a lower quality of image, one can save on space and yet retain files that can be used on a daily basis.
5. Better SEO Rankings
Search engines prefer fast-loading and well-optimized pages. Images have a direct impact on page speed and user experience. Optimized images support better crawling and ranking signals. Knowing how to lower the quality of an image helps balance performance and visual clarity for long-term SEO results.
Part 2: How to Lower Image Quality Free Online
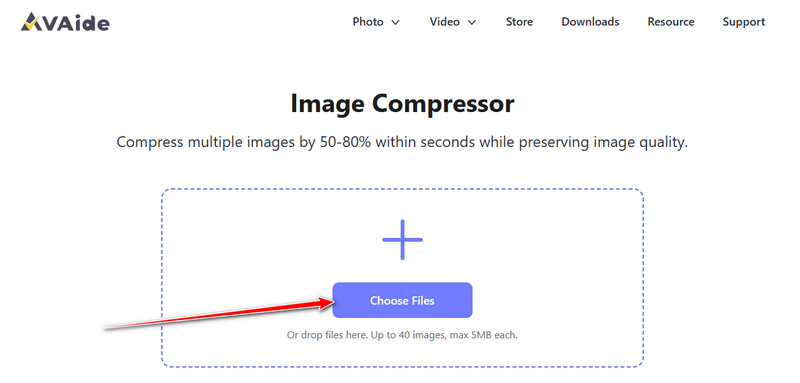
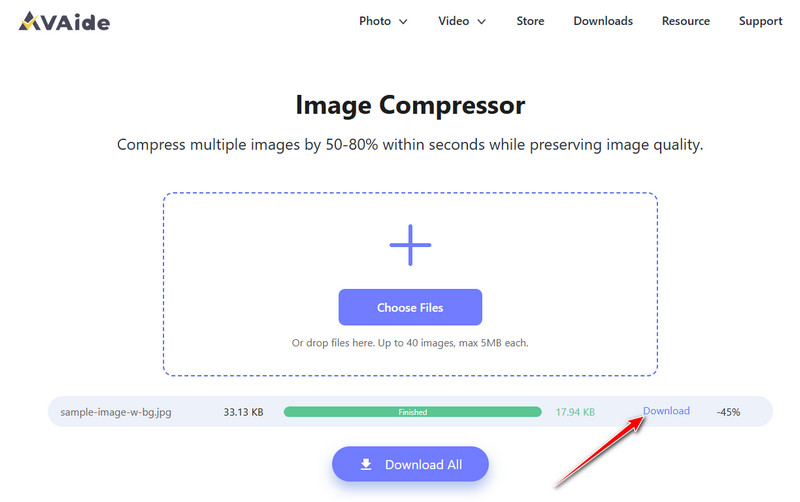
AVAide Image Compressor is a reliable online tool to lower image quality. It reduces file size without making images look bad, which is useful for websites, sharing, or saving storage. The tool can compress many images at once, saving time when you have a lot of photos. It works with popular formats like JPG, PNG, and JPEG, so it handles most image types easily. If you want to know how to make an image lower quality, AVAide offers a simple and easy-to-use solution that works entirely in your browser.
Step 1Open a new tab and search for the official page of the AVAide Image Compressor, then click the Choose File to upload the image you want to lower the image quality. Here, you can upload multiple images to lower their quality if you want to.
Step 2Once compressing is done, you will see that the process bar says Finished! And now click the Download button to save it.
Part 3: How to Lower Image Quality on iOS and Android
1. Shrink.Media on Android
Shrink.media is a highly reliable mobile application for lowering image quality on both iOS and Android devices. Developed by the well-known team Pixelbin, the PNG compressor uses modern AI technology to compress images smartly while keeping the original quality intact. Users can reduce picture size by up to 75% or more without any visible loss in clarity. Learn how to reduce image quality on your Android with the help of this tool.
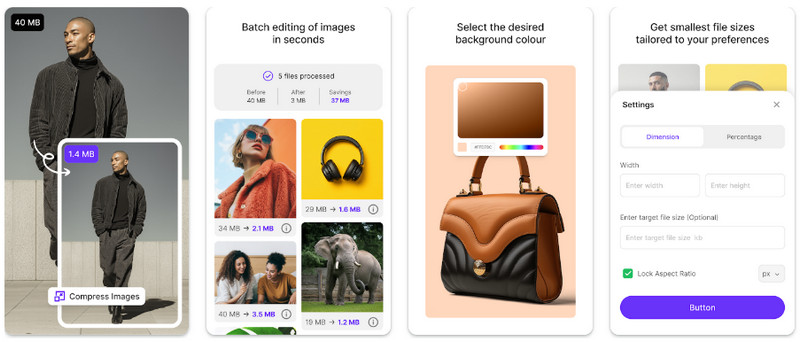
Step 1Open Shrink.media in your browser or download the app from the Google Play Store.
Step 2Click on Upload Image to select your file, or paste the image URL you want to compress.
Step 3Wait for two to three seconds while the AI processes your image automatically, keeping the original quality intact. If you are not satisfied with the results, you can adjust the settings and press the Compress button again.
2. Photo Compress - Shrink Pics on iOS
Photo Compress - Shrink Pics is one of the best iOS applications for lowering image quality while keeping the original clarity intact. The app supports all major image formats and offers fast, lossless compression. It also allows batch compression of multiple photos, making it ideal for managing iPhone images. Learn how to lower picture quality on your iOS device using this tool.
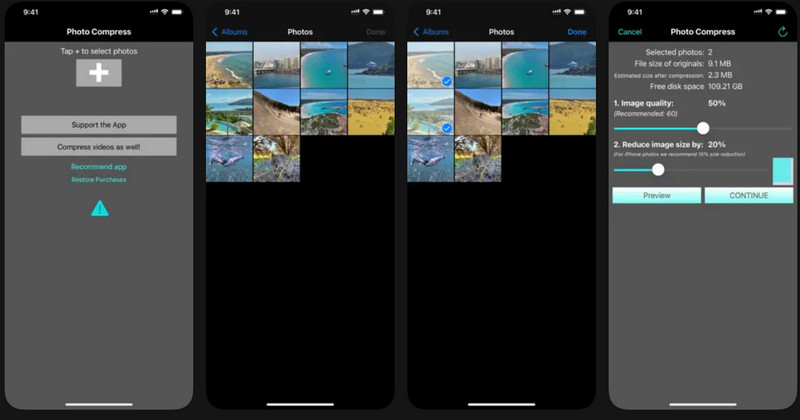
Step 1Download Photo Compress from the App Store and launch it. Tap the + button and select all the images you want to compress. Once done, click Done.
Step 2Select the Compression option, adjust the settings according to your preference, and tap Continue.
Step 3Optionally, delete the original images to save storage space after compression.
Part 4: How to Lower Image Quality on Desktop
For desktop users who want a reliable tool to compress images quickly on both Windows and Mac, Caesium Image Compressor is an excellent choice. The software backs popular formats such as JPEG, PNG, and WebP, and even allows batch processing, making it easy to compress multiple WebP images at once. If you are looking for a way to make an image lower quality on your computer, Caesium provides a simple and effective solution.
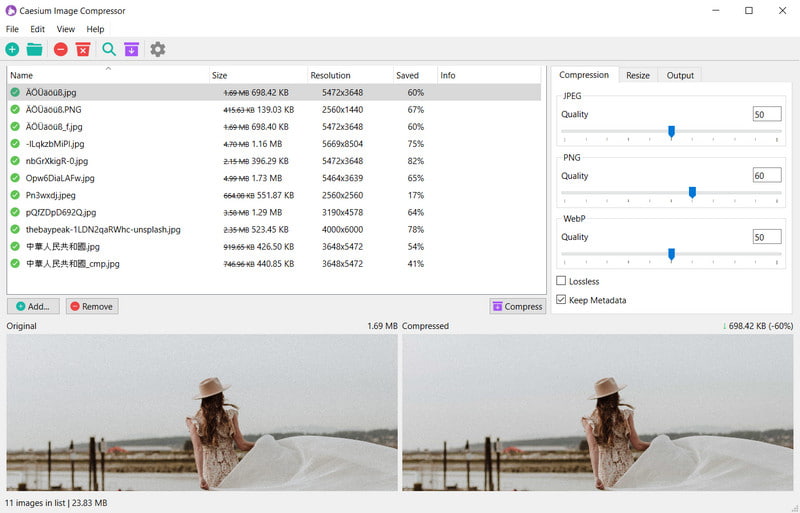
Step 1Download and open the program, then click Add Images to select the photos you want to compress. You can choose multiple files for batch processing.
Step 2Select the output folder where the compressed images will be saved. Adjust the compression level slider to your preference. Higher compression reduces file size more but slightly lowers image quality.
Step 3Click Compress to start. The program will process the images and save the smaller files in your selected folder.
Making images lower in quality helps you to save storage, speed up loading times, and make sharing smoother. Tools like AVAide online, Shrink.media on Android, Photo Compress on iOS, or Caesium on desktop let you do this quickly and easily. Using the right tool lets you reduce file size while keeping images clear, giving you full control over your photos.

Reduce the file size of an image online within seconds while preserving the quality. We support JPG, PNG, WEBP, GIF, and more.
PROCESS NOW