Mac 用户可以轻松捕捉屏幕上的任何内容。无论是工作、学习还是个人用途,都有简单的方法可以做到这一点。
本指南将介绍…… 如何在Mac上截屏您将学习到所有必要的技巧,从基本的屏幕截图快捷键到滚动截图和全页截图。您还将学习如何打印、保存和管理屏幕截图。甚至还有在需要时编辑和删除屏幕截图的方法。
所以,如果你想掌握 Mac 上的屏幕截图技巧,你可以在这里找到所有必要的步骤。
第一部分:Mac 上的基本屏幕截图快捷键
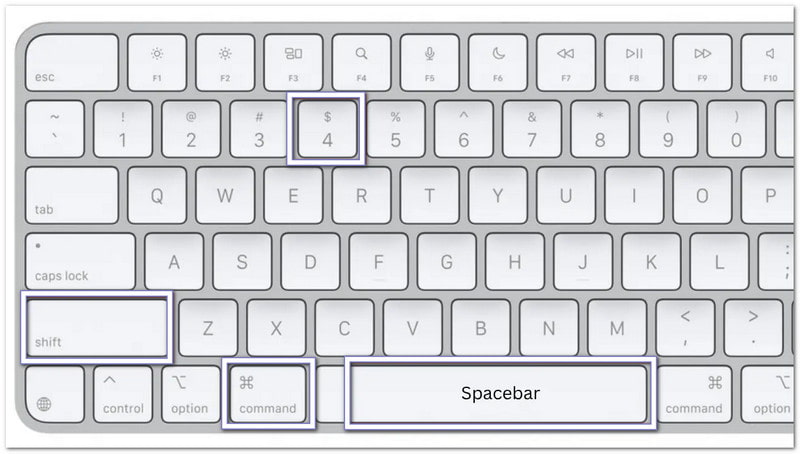
Mac 内置了屏幕截图快捷工具。您可以使用简单的键盘快捷键来截取整个屏幕、选定区域、显示屏,甚至是触控栏。大多数屏幕截图会自动保存到桌面,因此您可以立即找到它们。
方法一:截取整个屏幕
此方法可让您通过一次快速操作,截取 Mac 屏幕上所有可见内容的完整屏幕截图。
第1步打开您想要截取的屏幕。
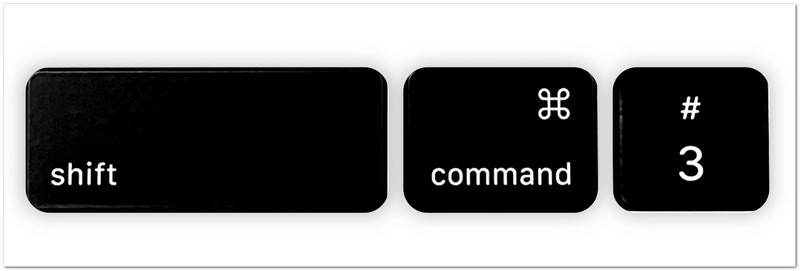
第2步按 转移 + 命令 + 3 同时在键盘上输入。
第 3 步您的Mac会立即截取屏幕上显示的所有内容。
第四步屏幕角落可能会出现一个小缩略图。点击它即可进行快速编辑。
第 5 步如果您不点击缩略图,屏幕截图将自动以图像文件的形式保存到您的桌面。
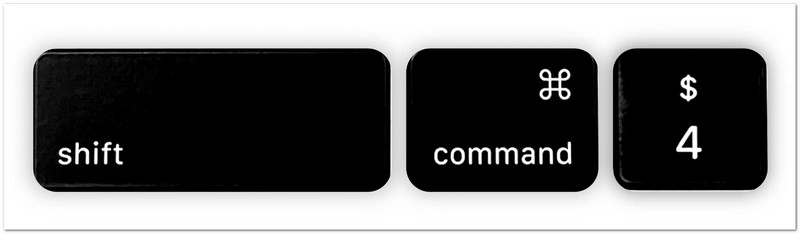
方法二:截取选定部分(局部屏幕截图)
此选项允许您使用 Mac 局部屏幕截图功能,通过拖动光标来选择并仅捕获屏幕的特定部分。
第1步前往您想要截取的页面、应用或内容。
第2步按 转移 + 命令 + 4 一起。
第 3 步鼠标指针会变成十字准星形状。点击并拖动它,选中你想截图的区域。
第四步调整选择范围,直到选中您需要的确切部分。
第 5 步取消点击 老鼠 按钮或 触控板 截取屏幕截图。图像将自动保存。
额外提示: 按住 空格键 拖动时如果需要移动选定区域,请按此键。 退出 如果您想取消并重新开始。
方法三:捕获特定窗口
这种方法专注于一个打开的窗口,并且只清晰地捕获该应用程序或窗口,而不会捕获屏幕的其他部分。
第1步打开您想要截取的屏幕。
第2步按 转移 + 命令 + 4 在你的键盘上。
第 3 步按 空格键你的光标会变成相机图标。
第四步将相机图标移动到要拍摄的显示屏、菜单或 Dock 栏上。准备就绪后,图标会高亮显示。
第 5 步单击一次即可截屏。截取的窗口将保存为图像文件。
额外提示: 握住 选项 单击时按下某个键,即可移除窗口周围出现的阴影。
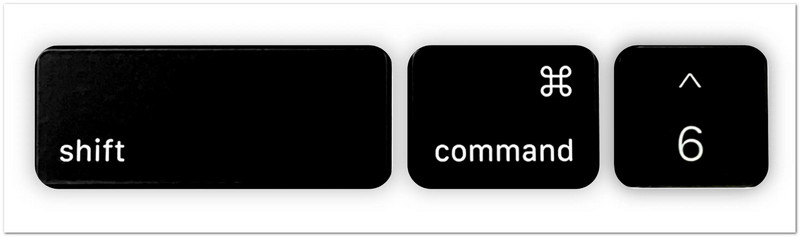
方法四:截取触控栏(如果你的 Mac 有触控栏)
此功能可捕获 MacBook 触控栏上显示的内容,以便保存或共享其当前显示内容。
第1步请确保您的 MacBook Pro 配备触控栏。
第2步在触控栏上显示您想要捕获的按钮、控件或内容。
第 3 步按 转移 + 命令 + 6 同时。
第四步您的 Mac 将立即截取触控栏上当前显示的所有内容的屏幕截图。
第 5 步屏幕截图将自动保存到您的桌面,以便您稍后查看或分享。
这些键盘快捷键是Mac上截屏最快的方法。它们无需安装任何额外的程序,就能帮助你在短短几秒钟内准确截取所需内容。
第二部分:Mac 上的屏幕截图保存在哪里?
在 Mac 上截屏后,您可能会想知道截图保存在哪里。Mac 会自动保存截图,同时也提供了多种方法让您更快地找到它们或更改它们的存储位置。按照以下方法即可轻松管理您的截图!
1. 默认保存位置
每次截屏后,屏幕截图都会自动保存到 Mac 上的默认位置,以便快速访问。
第1步使用 Mac 上的任何屏幕截图快捷键进行屏幕截图。
第2步请前往桌面,查找刚刚创建的新图像文件。
第 3 步找到一个名为的文件 “[日期] [时间] 的屏幕截图”Mac 默认将屏幕截图保存为 PNG 文件。
第四步双击文件即可打开、查看、编辑或分享屏幕截图。
第 5 步每当您需要查找保存在默认位置的屏幕截图时,请重复此过程。

2. 如何在 Mac 上更改屏幕截图的保存位置
您可以调整设置来更改屏幕截图在 Mac 上的保存位置,并选择一个新文件夹,所有屏幕截图将自动存储在该文件夹中。
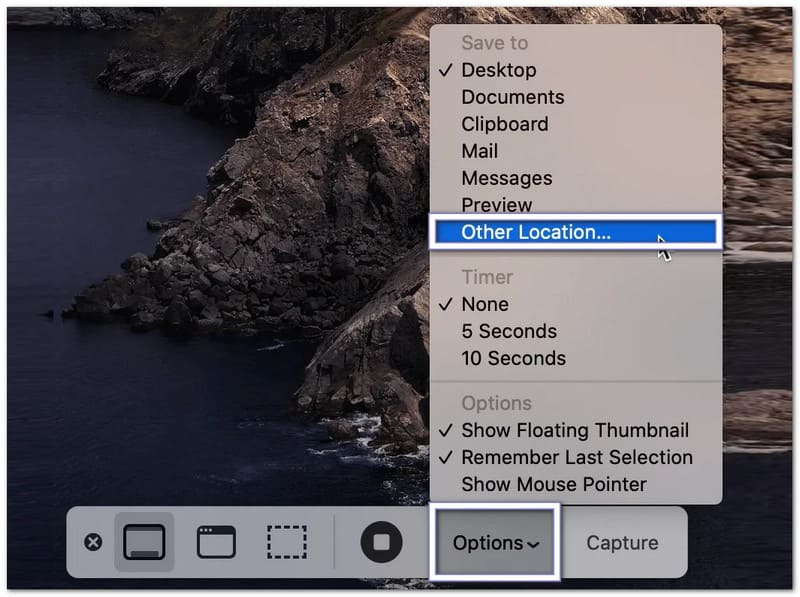
第1步按 命令 + 转移 + 5 在键盘上按下快捷键打开屏幕截图工具栏。
第2步点击 选项 在工具栏底部打开屏幕截图设置。
第 3 步选择 其他地点 从菜单中选择文件夹,例如“文档”或“下载”。您也可以创建一个新文件夹来存放屏幕截图。
第四步确认所选文件夹,然后返回屏幕截图工具栏。
第 5 步对窗口或选定区域进行新的屏幕截图。您的 Mac 现在会将以后的屏幕截图保存到您选择的文件夹中。
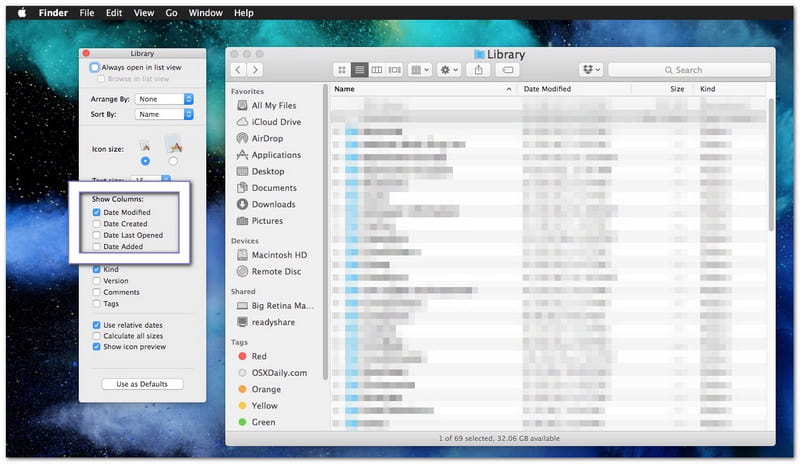
3. 如何快速查找最近的屏幕截图
它有助于学习如何在 Mac 上查找屏幕截图,因为它会指导您使用 Finder 工具或最近文件排序选项快速找到最新的屏幕截图。
第1步打开 发现者 从您的 Dock 中。
第2步点击 近期 在左侧边栏查看您的最新文件。
第 3 步按以下方式对文件进行排序 创建日期 如果需要,它可以将您最新的屏幕截图显示在顶部附近。
第四步浏览列表,找到你想打开的屏幕截图。
第 5 步双击文件即可查看,或将其移动到另一个文件夹以便更好地整理。
第三部分:如何在 Mac 上截取滚动和全页屏幕截图
普通屏幕截图只能截取屏幕上显示的内容。如果您想保存整个网页、长篇文章、聊天记录或文档,则需要在 Mac 上进行滚动截图或全页截图。Mac 的网页浏览器内置了截图功能,您也可以使用第三方工具来截取其他应用程序的屏幕截图。
方法一:在 Safari 浏览器中截取整个网页的屏幕截图。
Safari 浏览器内置了一项功能,可以让你保存整个网页而无需截取多个屏幕截图。
第1步运行 Safari 浏览器并访问您想要截屏的网站。
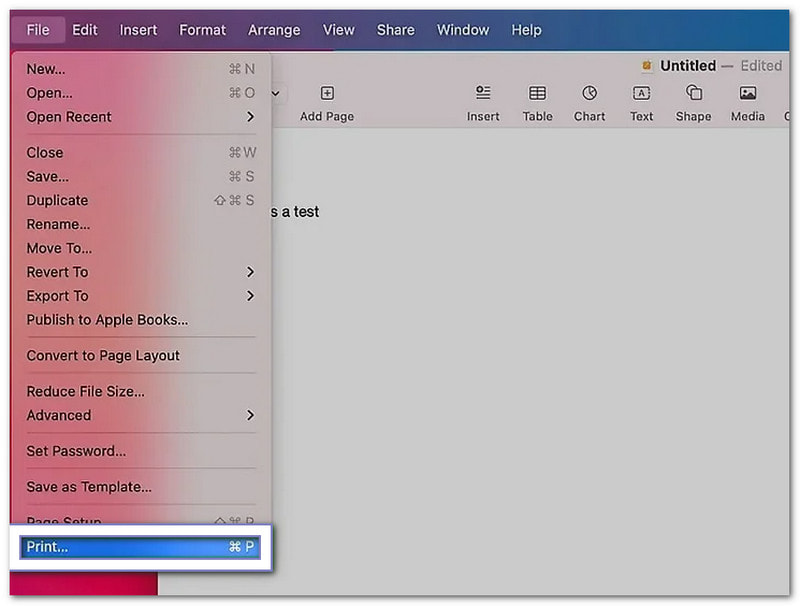
第2步打 文件 从屏幕顶部的菜单栏中选择。
第 3 步选择 导出为 PDF 从下拉菜单中。
第四步选择文件保存位置,并根据需要为其命名。
第 5 步打 保存Safari 会创建一个包含整个网页(从上到下)的 PDF 文件。

方法二:在 Chrome/Firefox 浏览器中截取整个网页的屏幕截图
1. 在谷歌浏览器中截取整个网页的屏幕截图
Google Chrome 浏览器在 Mac 上有一个隐藏功能,可以截取整个网页的屏幕截图,并将整个网页捕获在一张图片中。
第1步在Chrome浏览器中打开您想要截取的网页。
第2步按 命令 + 选项 + 我打开开发者工具。
第 3 步按 命令 + 转移 + P 打开命令菜单。
第四步在出现的搜索框中输入“屏幕截图”。
第 5 步选择 截取全尺寸屏幕截图Chrome浏览器会自动创建并下载网页的全屏图像。

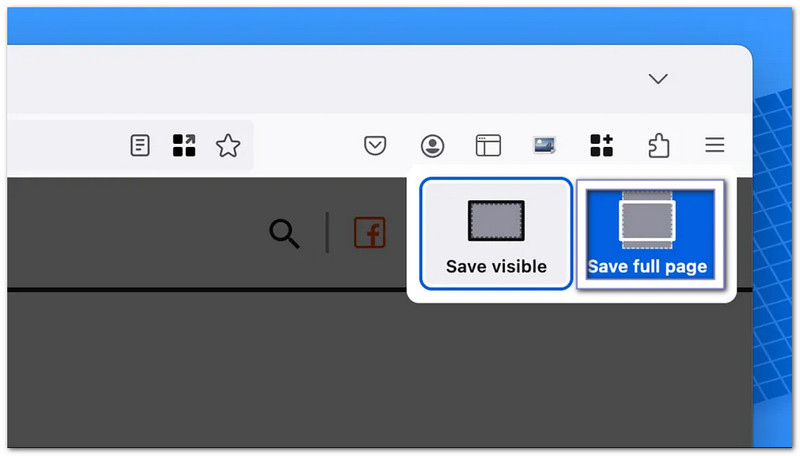
2. 在 Firefox 中截取整个网页的屏幕截图
Firefox 浏览器菜单中内置了全页截图功能,因此可以轻松截取全页屏幕截图。
第1步打开你想截图的网页。
第2步在页面空白处单击鼠标右键。如果您使用触控板,也可以按住 Control 键并单击。
第 3 步选择 截屏 从菜单中。
第四步点击 保存完整页面 捕获网页上的所有内容。
第 5 步下载图片并将其保存到您的Mac电脑。
方法三:在任何应用中进行滚动截图
和 AVAide 屏幕录像您不仅限于在 Mac 浏览器中滚动截屏。您可以在 Mac 上的任何应用程序中使用它。它适用于聊天、电子邮件、文档、备忘录和较长的应用程序页面。
它内置屏幕截图模式,支持滚动截屏,并能以清晰的图像形式呈现。截屏后,您可以复制图片,快速粘贴到 Word 或记事本等应用程序中。您也可以直接将其保存到本地文件夹,以便日后轻松访问。
第1步在您的Mac电脑上下载并安装AVAide屏幕录像机。安装完成后打开程序,即可使用。

 安全下载
安全下载
第2步打开您想要截取的应用程序、网页、聊天记录或文档。请确保所有内容都已加载到屏幕上后再开始。
第 3 步从主界面选择 屏幕截图。然后选择 滚动截图 作为捕获模式。
第四步选择要录制的窗口。使用鼠标滚轮、空格键或鼠标滚轮在页面上移动。AVAide 屏幕录像机将跟随滚动并录制所有内容。按下 退出 如果你想停止
第 5 步捕获完成后,点击 保存 按下按钮。选择文件夹位置,然后将最终的滚动屏幕截图保存到您的 Mac 上。
第四部分:如何编辑、裁剪和注释屏幕截图
学习如何在 Mac 桌面上截屏只是第一步。但如果您需要裁剪掉不需要的部分、添加注释、绘制箭头或突出显示重要细节该怎么办?
好消息是,Mac 电脑内置了可以快速简便地编辑屏幕截图的工具。如果您需要更高级的功能,也可以使用第三方应用程序。
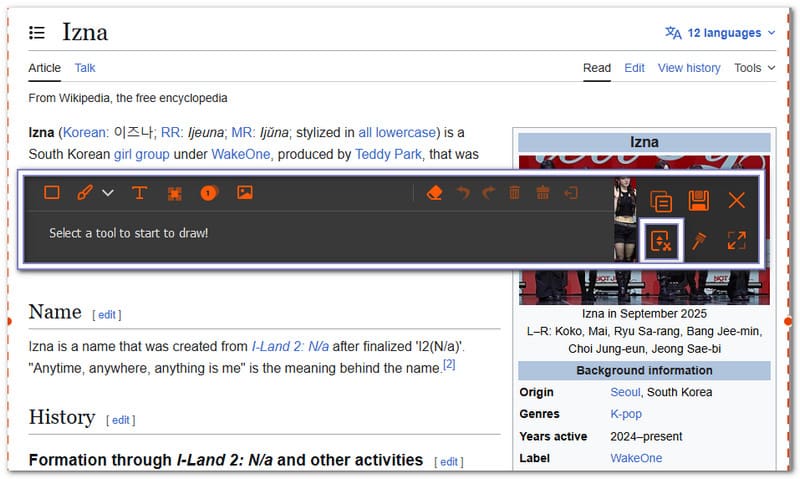
1. 拍摄后立即编辑
Mac 允许你在截屏后立即进行编辑。这是无需打开其他应用程序即可进行修改的最快方法之一。
第1步 使用以下方式截屏 转移 + 命令 + 4 或者 转移 + 命令 + 5.
第2步请查看屏幕右下角出现的浮动缩略图。
第 3 步在缩略图消失前点击它。它会在标记编辑窗口中打开屏幕截图。
第四步使用顶部工具栏可以添加文本、箭头、形状、线条或高亮显示。您还可以使用裁剪工具去除图像中不需要的部分。
第 5 步点击 完毕 保存更改。您也可以点击 分享 如果您想通过电子邮件、短信或其他应用程序发送屏幕截图,请点击此按钮。
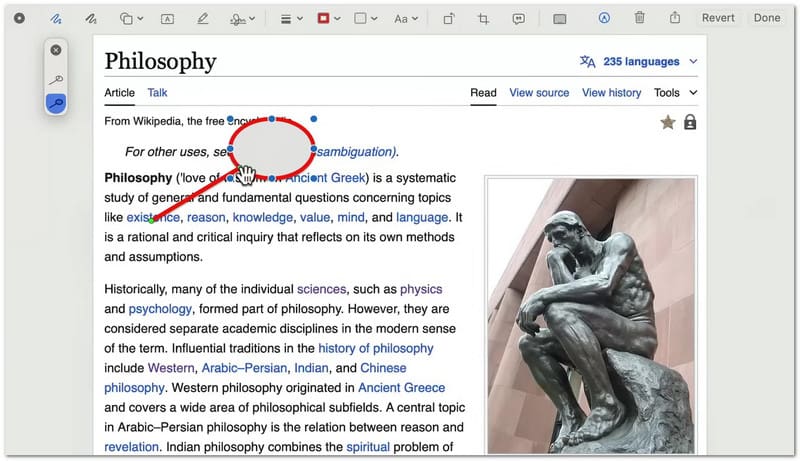
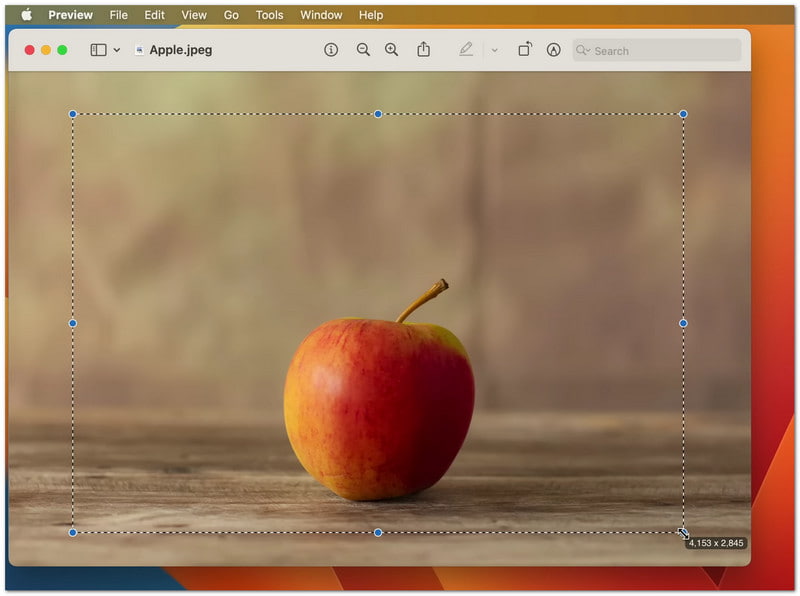
2. 使用预览裁剪现有屏幕截图
如果屏幕截图已保存在您的 Mac 上,您可以稍后使用内置的“预览”应用程序对其进行裁剪;此外,您还可以使用它来…… 裁剪视频.
第1步找到屏幕截图文件,双击打开预览程序。
第2步检查标记工具栏是否可见。如果看不到,请单击“视图”,然后选择“标记工具栏”。 显示标记工具栏.
第 3 步单击并拖动鼠标,选中要保留的区域。这样就能在图像的重要部分周围创建一个选区。
第四步点击 庄稼 工具栏上的按钮。预览功能会移除选定区域以外的所有内容。
第 5 步按 命令 + 秒 保存编辑后的屏幕截图。
3. 第三方照片编辑器
当 Mac 的内置工具不足以满足需求时,第三方工具就派上用场了。 照片编辑器 这些工具可以帮助您更好地利用屏幕截图。它们可用于在 Mac 上截取屏幕截图后进行编辑、改进和整理。每款工具都有其独特的优势,可满足您的不同需求!
1. 斯基奇
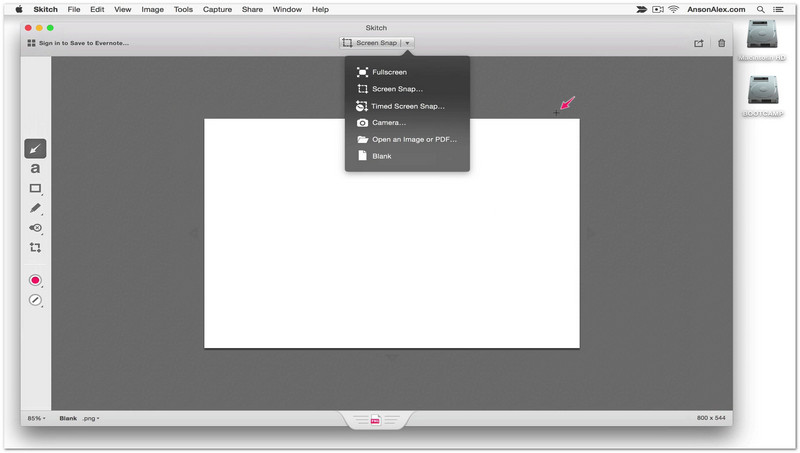
Skitch 是一款专为快速截图编辑而设计的软件,提供简洁易用的工具。您可以打开截图,并立即用箭头、图章或简短的文字注释进行标记。当您只需要快速突出显示重要部分时,它非常实用。Skitch 保持编辑的简洁性,不会用复杂的功能让您感到不知所措。
2.画布
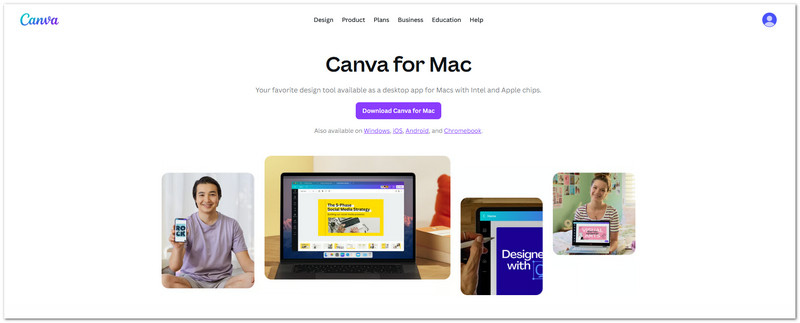
如果您想用屏幕截图创建简单的视觉设计,可以使用 Canva。您可以将屏幕截图添加到模板中,与其他形状或图像混合使用,并添加标题。它非常适合创建社交媒体帖子、幻灯片和学校报告。此外,它还可以轻松调整屏幕截图的大小,以适应各种布局。
3. Photoshop
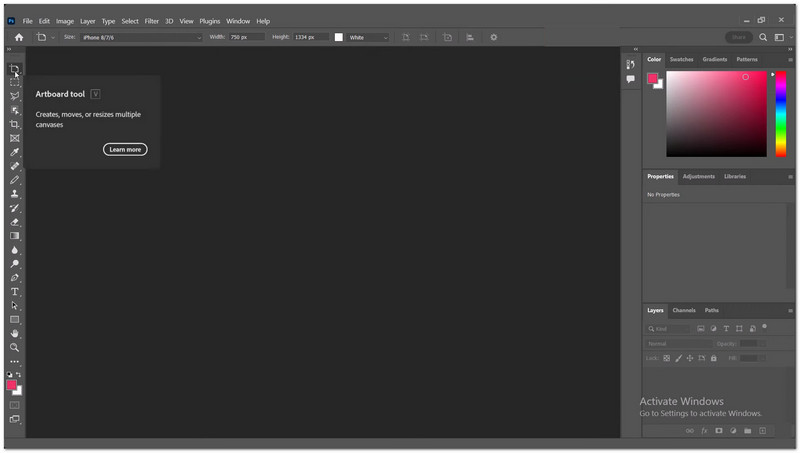
Adobe Photoshop 提供了对屏幕截图的全面编辑控制。您可以处理多个图层、移除不需要的对象、调整光线并进行精确裁剪。对于需要清晰、细节丰富的屏幕截图的专业工作而言,它非常有用。它提供了最强大的编辑功能,但需要练习才能熟练掌握。
第五部分:如何在 Mac 上打印屏幕截图
您可以按照 Mac 上打印屏幕截图的步骤,直接从已保存的图像进行打印。您也可以先复制图像,然后粘贴到文档中再进行打印。这两种方法都很简单,非常适合学校、工作或个人使用。
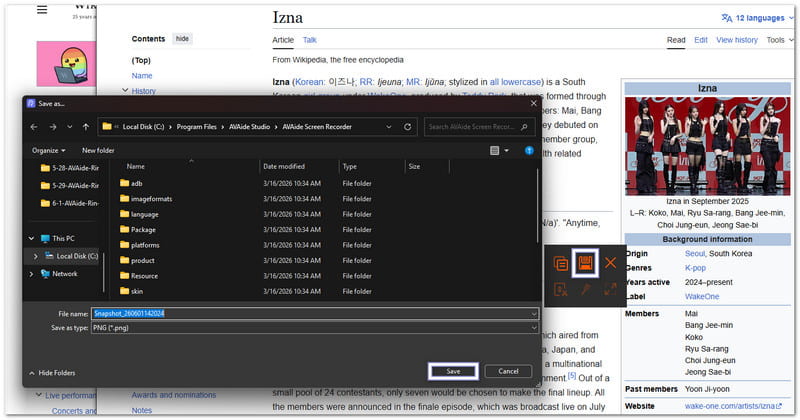
方法一:使用预览功能打印已保存的屏幕截图
利用 Mac 内置的打印功能,您可以在“预览”中打开已保存的屏幕截图并立即打印。
第1步在桌面或保存屏幕截图的文件夹中找到它。它通常是一个名为“屏幕截图 [日期] 于 [时间]”的 PNG 文件。
第2步双击屏幕截图文件。它将在“预览”应用中打开。“预览”是 Mac 上的默认图像查看器。
第 3 步仔细检查图片。确保它是您要打印的正确屏幕截图。
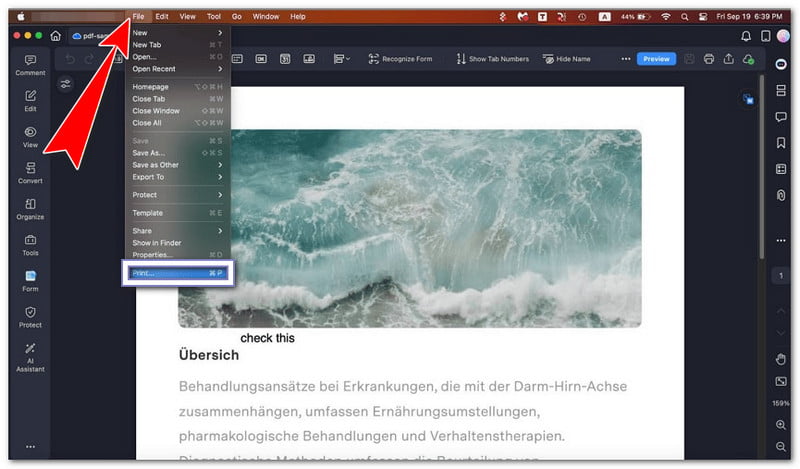
第四步按 命令 + P 在键盘上。您也可以点击 文件 在顶部菜单中,然后选择 打印.
第 5 步从列表中选择您的打印机。如有需要,请调整设置。然后单击“打印”开始打印。
方法二:打印前将屏幕截图粘贴到文档中
这种方法可以让你学习如何在 Mac 上粘贴屏幕截图:首先将屏幕截图放入文档中,然后根据需要添加内容并打印出来。
第1步按 控制 + 转移 + 命令 + 3 截屏并直接复制到剪贴板。
第2步打开 Pages、Word 或 Notes 等文档应用程序。转到空白页或空白章节。
第 3 步按 命令 + V 将屏幕截图粘贴到文档中。
第四步如有需要,移动或调整图片大小,使其适应页面。
第 5 步按 命令 + P 打开打印窗口。选择您的打印机,然后单击。 打印.
第六部分:如何管理和删除屏幕截图
Mac 上的屏幕截图很容易堆积,因此管理它们非常重要。您可以更改文件大小、切换文件格式,以及删除不需要的屏幕截图,从而保持桌面整洁有序。
1. 屏幕截图大小和文件格式设置
这些设置有助于控制屏幕截图的大小以及保存的文件类型。
减小屏幕截图文件大小
此选项有助于缩小屏幕截图的尺寸,从而减少它们在 Mac 上占用的存储空间。
第1步只截取你需要的部分屏幕截图。按 命令 + 转移 + 4 拖动鼠标即可选择一小块区域。这样可以避免选择全屏大图。
第2步保存后,右键单击 Mac 上的屏幕截图文件。
第 3 步选择 快速行动 > 转换图像您可以将其更改为 JPG 或 HEIF 格式。这些格式可以减小文件大小。
第四步保存新版本。这有助于节省您 Mac 上的空间。
使用终端更改屏幕截图文件格式
您可以使用终端切换屏幕截图格式,例如 PNG、JPG 或其他支持的文件类型。
第1步打开 终端 在你的 Mac 上。按下 命令 + 空间输入“终端”,然后按 返回.
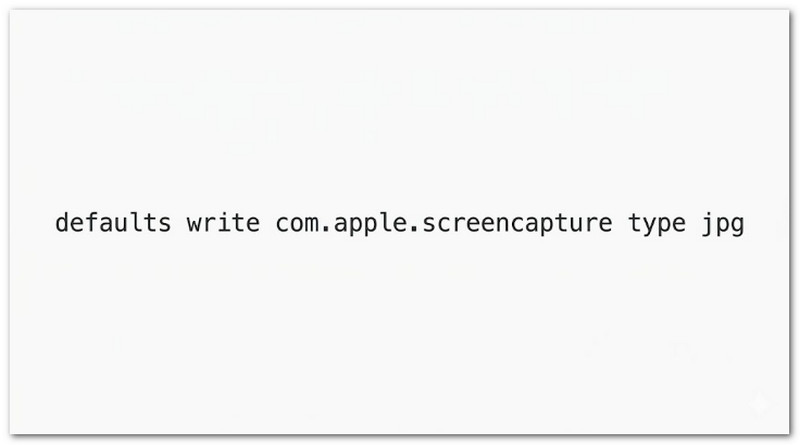
第2步请准确输入以下命令: defaults write com.apple.screencapture type jpg.
第 3 步按 进入 执行此命令。它会将屏幕截图格式更改为 JPG。
第四步重启你的Mac。或者输入 killall SystemUIServer 并按 进入 立即激活更改。
第 5 步重新截屏。它将以您选择的新格式保存。
2. 如何删除屏幕截图
本节介绍如何使用不同的方法在 Mac 上删除屏幕截图,以移除不需要的图像并保持 Mac 存储空间的清洁。
从缩略图中删除屏幕截图。
使用浮动预览窗口,您可以在截屏后立即快速删除屏幕截图。
第1步使用 Mac 上的任何快捷键截屏。
第2步请查看屏幕角落出现的浮动缩略图。
第 3 步在缩略图消失前点击它,即可打开编辑窗口。
第四步点击 垃圾 窗口内有一个按钮,可以立即删除屏幕截图。
第 5 步完成后请关闭窗口。
从桌面或 Finder 中删除屏幕截图。
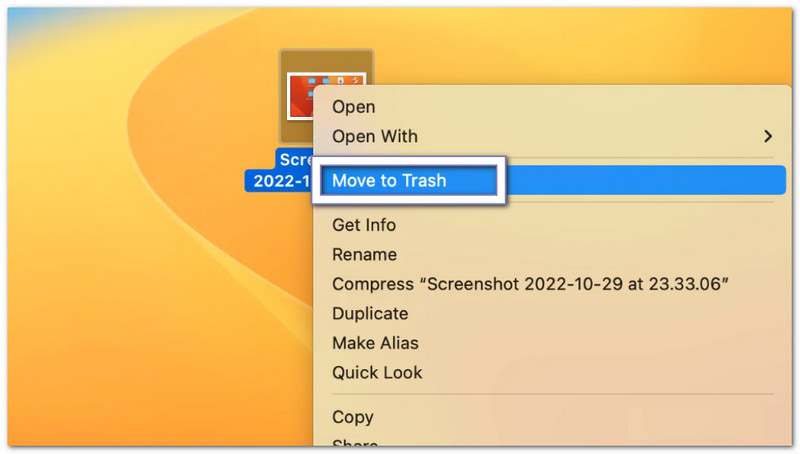
此方法通过将屏幕截图移至废纸篓,手动从桌面或 Finder 中删除屏幕截图。
第1步请前往桌面或打开 Finder,找到您的屏幕截图文件。
第2步单击屏幕截图一次即可选中。
第 3 步将文件拖到 垃圾 在被告席上。
第四步或按 命令 + 删除 尽快将其移至回收站。
第 5 步如果想永久删除,请清空垃圾桶。
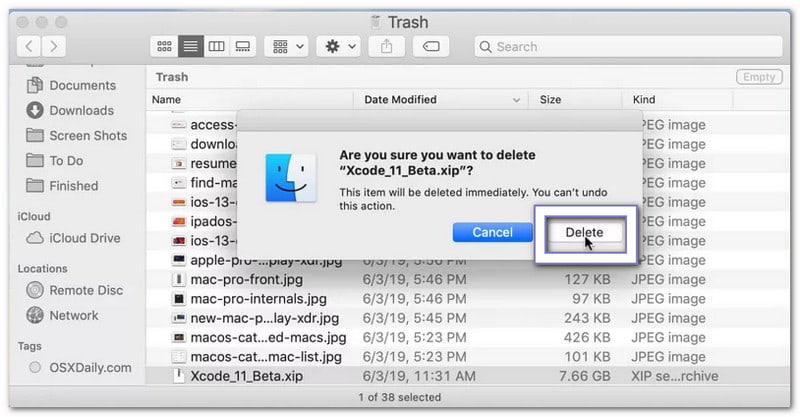
永久删除屏幕截图。
此选项会立即删除屏幕截图,而不会将其发送到回收站以供恢复。
第1步选择Mac上的屏幕截图文件。
第2步按 选项 + 命令 + 删除 在你的键盘上。
第 3 步屏幕上会弹出警告,要求确认。
第四步确认立即删除文件。
第 5 步截图将被直接删除,无需进入回收站。
第七部分:故障排除
有时,Mac 上的屏幕截图功能可能无法正常工作。您可能无法拖动屏幕截图,无法保存,或者屏幕截图显示为黑色。这些问题很常见,可以通过简单的检查来解决。
1. 无法再拖动屏幕截图
如果您遇到“无法在 Mac 上拖动屏幕截图”的问题,请前往: 系统设置 > 触控板 或者 老鼠 并确保已启用点击和拖拽功能,因为如果该功能关闭,拖拽将无法正常工作。然后,打开 发现者握住 Shift键, 点击 苹果 菜单,然后选择 强制退出查找器,然后单击 重新启动如果仍然失败,请打开屏幕截图缩略图并使用 分享 或者,您可以先保存文件,然后从桌面移动文件。
2. 屏幕截图无法保存
如果屏幕截图没有出现在桌面上,请按 命令 + 转移 + 5点击“选项”,检查保存位置,因为它可能设置不正确。确保 桌面 或者 文件 已选中。如果您使用 投递箱 或者 OneDrive检查他们的设置,因为他们可能将文件保存到云端。如果仍然无效,请重启。 发现者 或者重启Mac电脑来解决问题。
3. 屏幕截图为空白/黑色
如果屏幕是黑色的,应用可能会阻止您截屏。由于 Netflix 或 Apple TV 等流媒体应用使用 DRM 保护,因此无法截屏。请关闭此功能。 硬件加速 如果出现此问题,请在浏览器设置中进行检查。此外,请前往以下位置确认是否已授予屏幕截图权限: 系统设置 > 隐私与安全 > 屏幕录制.
希望这份指南对您有所帮助。 在 Mac 上截屏 很简单。现在,您可以随时轻松截屏。
如果您需要截取长页面或聊天记录,请随时使用 AVAide 屏幕录像它让您在不同应用中更轻松地滚动截屏。您还可以将截屏内容直接保存到本地文件夹。
关于作者

使用 AVAide 屏幕录像机捕捉最佳时刻。在几秒钟内进行截屏、定制和分享。