Vil du udforske how to record a Webex meeting? Recording is an ideal way if you want to save important presentations, discussions, or training sessions for future reference. Plus, with the built-in recording feature of Webex, you can capture both video and audio, along with shared content, ensuring that no important content will be missed. So, if you want to learn how to record a meeting on Webex, see this guide, as we offer all the best methods you can use.
Part 1. Who can Record a Webex Meeting
Wondering who can record a meeting on Webex? Well, only the meeting host and any designated cohosts can record sessions in Webex. Plus, normal participants cannot start recordings unless the host specifically permits them. Plus, take note that you must have the subscription plan to access the recorder feature.
Part 2. How to Enable Recording
Enabling the recorder feature in Website is as simple as long as you are the administrator. To enable recording, you have to:
Trin 1Log in to Webex Control Hub eller Site Administrator via admin credentials. Then, proceed to the Services > Meeting Settings afsnit.
Trin 2After that, locate the Indspilning section and toggle it to enable the recording. You can also choose storage types, such as cloud recording, local recording, and more, based on your plan.
Trin 3For the next process, set permissions for hosts and co-hosts to manage and control the recording.
Part 3. How to Record a Webex Meeting on Desktop
If you want to learn how to record meetings in Webex, you can read all the information in this post. We will teach you how to record a Webex meeting on the cloud and on a local computer.
Method 1: Record Webex Meeting in the Cloud
Recording the meeting on the cloud is a perfect method, especially if you want to preserve your recordings or share the file with other users. You can even access the video anywhere without downloading it on your device. So, to start the process, you can use the simple instructions below.

Trin 1Adgang Webex on your computer. After that, you can even create your account.
Trin 2Once done, you can now click the Start a Webex Meeting mulighed. Klik derefter på Optage knap.
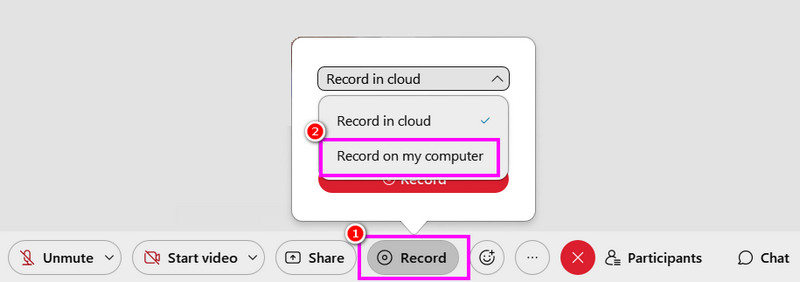
Trin 3Vælg Record in Cloud > Optage button to begin the recording process. To stop the recording, use the Hold op knap.
Method 2: Record Webex Meeting in Local Recording
Besides recording in the cloud, you can also save and record a Webex meeting on your computer. This method is better if you want to have your own record and collection of your meetings. What we like here is that the recording process is simple, thanks to the comprehensive layout. You can even save the video in the best quality for better video playback. Check the steps below for an effective Webex recording process.
Trin 1Efter adgang Webex, run it to begin the process.
Trin 2Then, from the main interface, hit the Start a Webex Meeting button. After that, from the Optage sektion, vælg den Record on my computer option to start the recording.
Trin 3Tryk på Hold op to finish the recording process. Once done, the file will be saved on your computer.
Method 3: Record Webex Meeting Using AVAide Screen Recorder
If you are a participant from the Webex meeting, then it might be impossible for you to record the meeting since only hosts and co-hosts can do so. If you are not permitted to record, the best thing to do is to use a better screen recorder, like AVAide skærmoptager. Recording a Webex meeting is easy when using this recorder. It is because the program has a comprehensive and neat user interface. You can even capture/record both video and audio, making it more elegant and powerful. Aside from that, you can even take a screenshot during the recording process. You can also save the recording, with the best quality, allowing you to get a satisfying viewing experience. To begin recording your meeting on Webex, use the steps below.
Trin 1Download og start AVAide skærmoptager on your computer. Click the buttons below to access the recorder instantly.

GRATIS DOWNLOAD Til Windows 7 eller nyere
 Sikker download
GRATIS DOWNLOAD Til Mac OS X 10.13 eller nyere
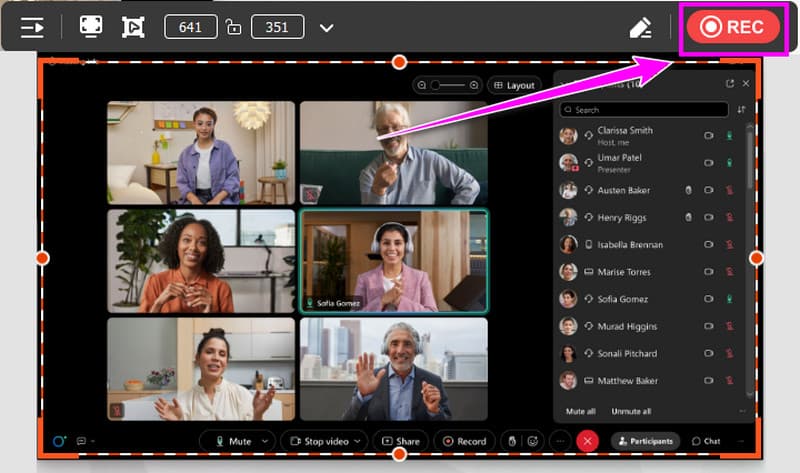
Sikker downloadTrin 2From the main interface, you can choose how you want to record your meeting by clicking the Fuld eller Brugerdefinerede options. You can also turn on the System lyd to record the audio of your computer.
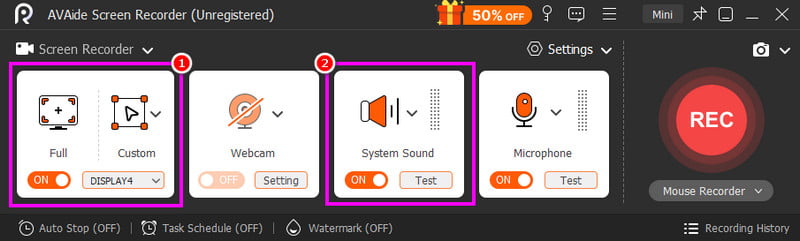
Trin 3Klik på REC button, and the three-second countdown will appear. After the countdown, the recording process will begin. Tick the Hold op knappen for at afslutte optagelsen.
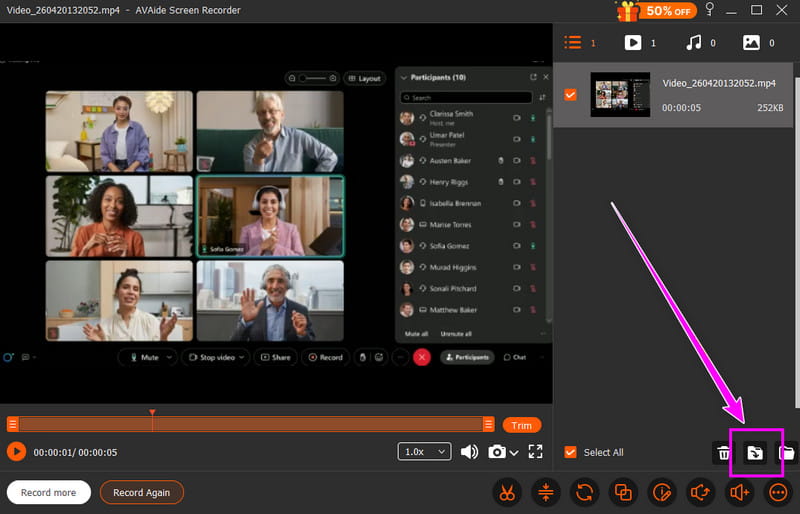
Trin 4When the preview shows up, you can start saving the video by clicking the Eksport knappen nedenfor.
Part 4. How to Record a Webex Meeting on Phone
You can also record a session in Webex using your mobile phone. The good thing here is that you can record the screen on iPhone and Android, thanks to their built-in recorder feature. With this feature, you can effectively record a meeting without downloading any third-party recorder.
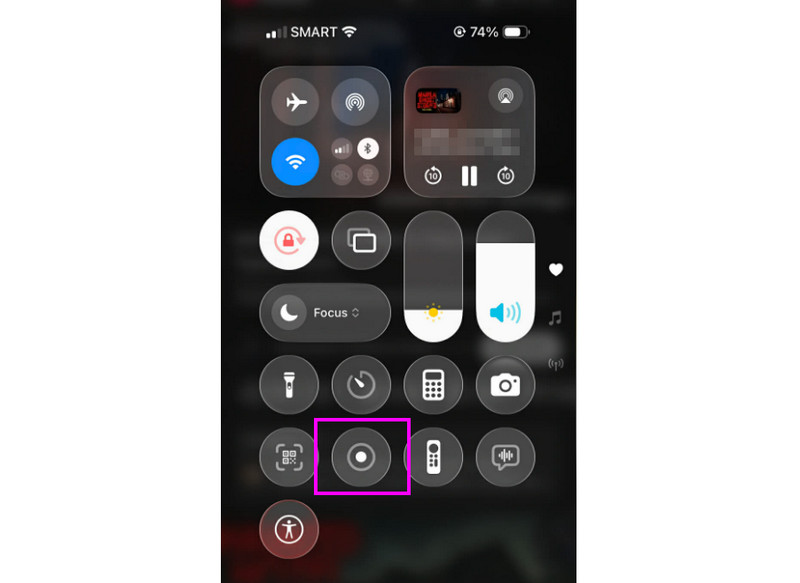
Trin 1From your phone, you can proceed to the Notifikation sektion. Se derefter efter Optage knap.
Trin 2Tryk på Optage button, and the 3-second countdown will show up. After that, the official recording process will begin.
Trin 3Trykke Hold op to finish the recording process. Then, you can now check the recordings on your Photos or Gallery app.
Part 5. How to Record a Webex Meeting on a Browser
Hvis du ønsker best online recorder, you can try using the Online Screen Recorder tool. This recorder is helpful if you want to record a Webex meeting on your browser. What we like here is that the process of recording is simple. It can even give you a smooth saving process. The only drawback here is that it lacks basic editing functions to improve videos. It also shows various annoying ads on the screen.
Trin 1Gå til din browser og få adgang til Online skærmoptager.
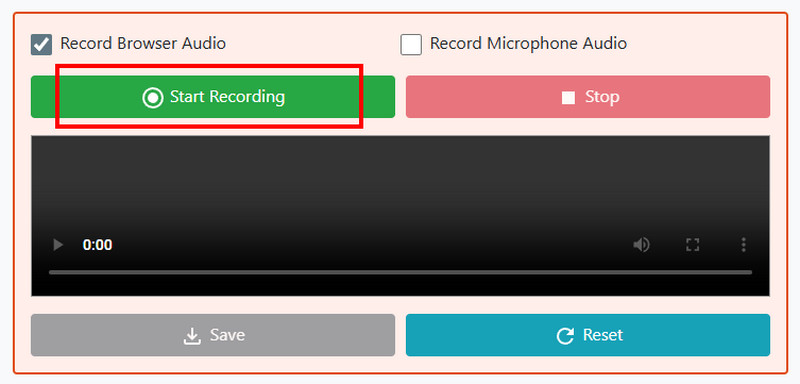
Trin 2Derefter skal du klikke på Start optagelse button. Then, choose the Webex meeting to begin the recording process.
Trin 3Til sidst skal du trykke på Hold op button to finish recording your Webex meeting.
Part 6. How to Download Webex Recording
Proceed to this section and learn how to download Webex recordings.
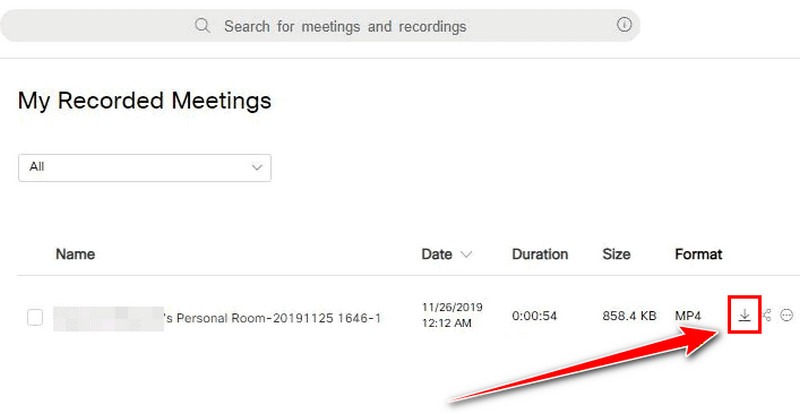
Trin 1Log in to your Webex account and proceed to the Optagelser afsnit.
Trin 2Then, select the recordings and hit the Hent symbol from the right interface.
Trin 3Then, the recording will be saved as an MP4 file on your computer.
Now, you have learned how to record a session in Webex. You even explore how to save the recordings on your cloud and computer. Plus, if you want a smoother recording process, you can try using AVAide skærmoptager. It can even offer various basic editing tools, allowing you to improve the video for better playback.
OM FORFATTEREN

Optag skærm, lyd, webcam, gameplay, onlinemøder, samt iPhone/Android-skærm på din computer.
Skærmoptagelse